This post is to illustrate how to create TLS profile using Local Test Manager(LTE) to securely authenticate your APIs.
Before we proceed further, make sure you have installed LTE and it’s running. If you haven’t installed yet, here’s the blog post detailing the installation steps –
https://developer.ibm.com/apiconnect/2019/08/23/intall-local-test/I have installed the LTE and it is running.
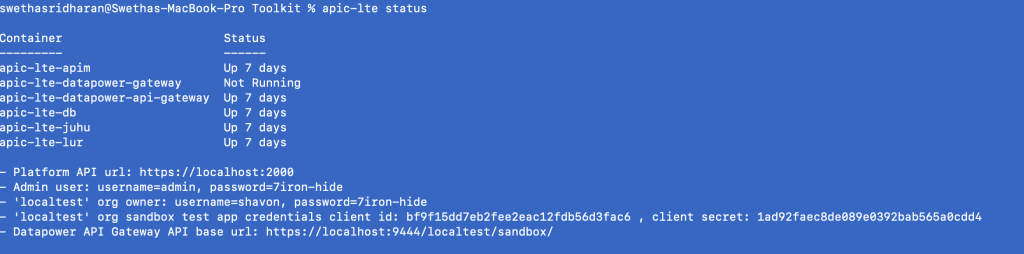
Now, login to LTE as API Provider using interactive login as shown below

Before we start creating the TLS Client Profile, Keystore and Truststore has to be set up.
Keystores contain matched pairs of public certificates and private keys used to confirm identity and encrypt/decrypt data transmission over HTTPS.
I used openssl command to generate my certificate and key to be used in my keystore.json. This varies for each customer based on their trust chain.
$ apic keystores:create -o localtest -s https://localhost:2000 --format json keystore.json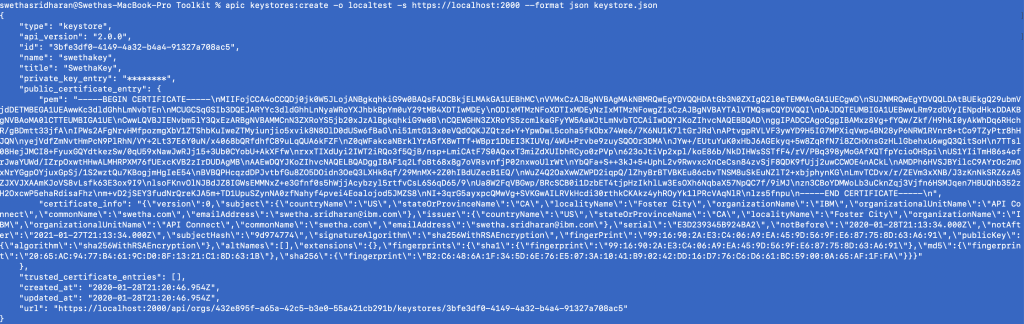
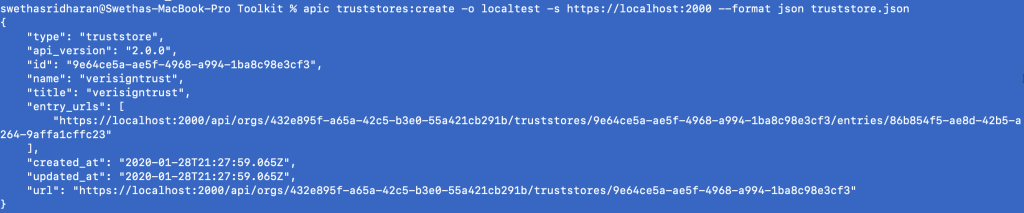
The next step is to set up Truststores. They are repositories containing trusted certificates with verified public keys. The certificates in the truststore are usually obtained from a third-party certificate authority (CA).
I used the Verisign Root CA certificate for this demo.
$ apic truststores:create -o localtest -s https://localhost:2000 --format json truststore.json
Now, the final step is to create the TLS Client profile. Before we do, ensure your TLS client profile file has keystore url and truststore url from the above steps.
$ apic tls-client-profiles:create -o localtest -s https://localhost:2000 --format json testprofile.json
You have successfully created a TLS Client profile!

With LTE you can manage authentication and security of APIs locally on your laptop without having to connect to API Manager cloud instance. As developers, you can enjoy the ability to develop and test APIs independently with LTE.
The yaml files used in this demo can be found in this
repository#APIConnectv.2018.1#APIDevelopers#APIEconomy#APImanagement#DigitalBusiness/Transformation#ProductCapabilities