Creating a Native OAuth Provider
*This post was originally published on 12 February 2019.
New API Connect v2018 supports two types of OAuth Provider resources. This blog focuses on the Native OAuth Provider. My blog ThirdPartyOAuth covers Third-party OAuth Provider.
A Native OAuth provider object provides settings for OAuth processing operations such as generating and validating OAuth tokens.
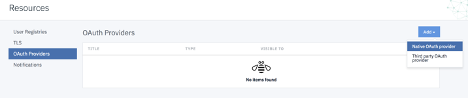
To create a native OAuth provider object in the Cloud or API Manager, select Resources tab on the left navigation bar. Under Resources, select OAuth provider and click on Add
For the purpose of this blog, we are working on adding a Native OAuth Provider object.
The native OAuth provider wizard will guide you on creating the native provider object. Simply fill out the details on the page and click next.
Step 1: Basic Info
The first step in the wizard requires you to fill out the basic details for your OAuth provider object.
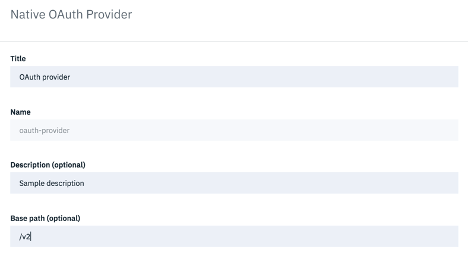
Enter your OAuth provider object title, description and Base Path.
Note: Base Path and Description are optional parameters. You may choose to leave them blank.
Gateway Version:
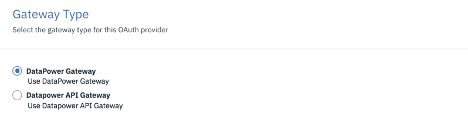
DataPower Gateway refers to APIC V5x framework (compatibility mode) and DataPower API Gateway refers to the new framework which uses API Gateway object. Select the DataPower version of your choice for the gateway and click Next.
Step 2: Configuration:
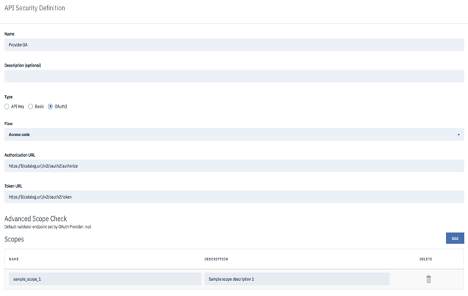
The configuration page allows you to view the OAuth endpoints for login and access token as well as allows you to select grant and client types.
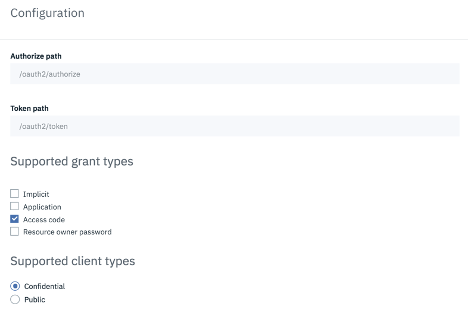
There are 4 supported Grant types i.e.
- Implicit - An access token is returned immediately without an extra authorization code exchange step.
- Application - Application to application. Corresponds to the OAuth grant type "Client Credentials." Does not require User Security.
- Access code - An authorization code is extracted from a URL and exchanged for an access code. Corresponds to the OAuth grant type "Authorization Code."
- Resource owner password - The user's username and password are exchanged directly for an access token, so can only be used by first-party clients.
There are 2 supported Client types i.e.
- Confidential - Client can maintain secure credentials on a secure server
- Public - Client credentials are not secure.
Select your desired grant type(s) and client type(s). Then click Next.
Step 3: Scopes
The second step in the wizard requires you to add scopes to your OAuth provider object. The scopes are included in the access tokens that are generated from the provider. When an OAuth protected API is invoked, the gateway checks the scopes carried in the access tokens against the list of allowed scopes in the security definition to determine whether to grant access.
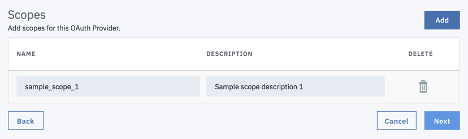
A sample scope is added by default. You may choose to modify this scope name/description or add more scopes.
Once you have finished adding the desired scopes, click Next.
Step 4: User Security
The fourth step in the wizard requires you to define the settings used to extract the application users’ credentials, authenticate their identities, and grant authorization.
Please note that User Security section is not required if the supported grant type in Step 1 has been set to Application.
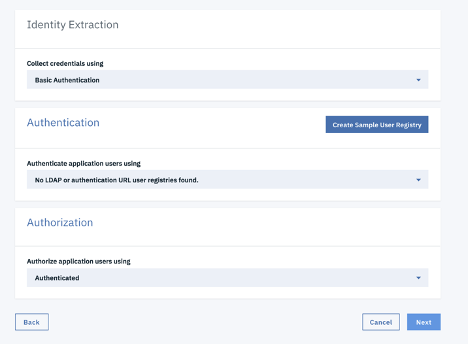
Identity Extraction:
Here we provide the method for collecting the user credentials. You can choose between the following options. By default, Basic Authentication is selected.
- Default HTML Form – Basic login form containing username and password
- Basic Authentication – HTTP Basic Authentication
- Custom HTML Form – Login form with custom endpoint and an option to select TLS profile
- Redirect – Redirect URL to a third-party provider
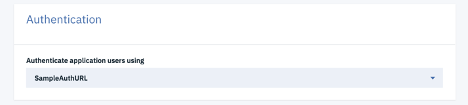
Authentication:
Specify which user registry you want to use in order to authenticate users. For this purpose, only LDAP or Authentication URL registry can be used. You may choose to create a registry of your choice from the Resources tab or you can click `Create Sample user registry` and it will create a sample Authentication URL registry for you. This newly created sample user registry will be populated in the dropdown menu item as well.
Authorization:
Specify how to Authorize application users. There are 3 different ways that you can choose from
- Authenticated – provide access to Authenticated users
- Default HTML Form – use Basic HTML login form
- Custom HTML Form – use HTML form with custom endpoint and an option to select TLS profile
Step 5: Summary
Summary page allows you to review your changes and gives you the ability to go back and make changes if necessary.
If everything looks good, simply click `Finish` and your Native OAuth provider object will be created.
Once the OAuth provider object is created, you’ll be able to see Advanced configuration options available for a native OAuth provider as explained below:
Advanced scopes:
When classic DataPower gateway is selected, you have an option to enforce Advanced Scope Check which will be performed in addition to the previously defined scopes. The final scope permission that is granted by the access token is the result of all scope checks.
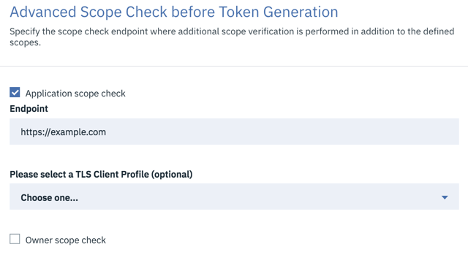
Advanced scope check before token generation:
The advanced scope check URLs are invoked after application authentication or after user authentication based on which URLs are configured.
- Application scope check - Enter the endpoint and a TLS Client Profile to use for an application scope check.
- Owner scope check - Enter the endpoint and an optional TLS Profile to use for an owner scope check.
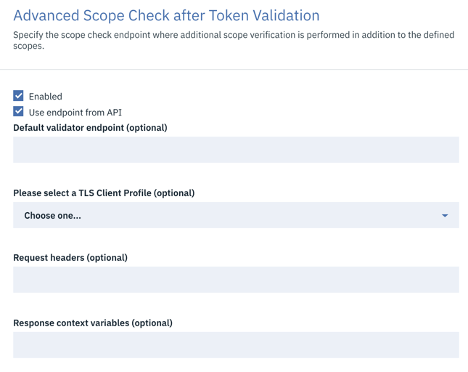
Advanced scope check after token generation:
Specify additional scope check at the API consumer level to verify compliance with the scope requirements of the API.
- Default validator endpoint - Enter the endpoint and a TLS Client Profile to use for a default validator endpoint.
- Use endpoint from API – When checked, allows override endpoint from API
When enabled, either override endpoint from API should be selected or the default validator endpoint must be provided. Both these fields cannot be empty.
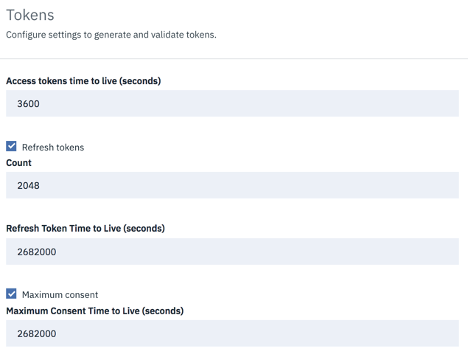
Tokens:
This section allows you to set time to live for access tokens and refresh tokens, and a time period for maximum consent for all tokens. Refresh tokens are issued to the client to obtain a new access token when the current access token becomes invalid or expires.
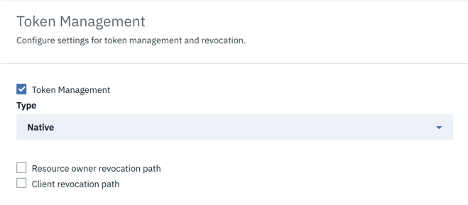
Token Management:
Token management enables you to prevent replay attacks, manage tokens, including whether and how the client applications or resource owners revoke OAuth tokens. This can be achieved by using a native gateway (DataPower) or a third-party endpoint.
- When a native gateway is selected, quota enforcement is used to manage tokens.
- You can choose to add a Resource owner revocation path which will allow the resource owner to revoke the application permissions or a Client revocation path which will allow the client to revoke a single token when the application closes.
- When a third-party endpoint is selected, you provide an URL to an external service to manage tokens.
- Also, there’s the option to select the TLS profile in order to verify the external endpoints.
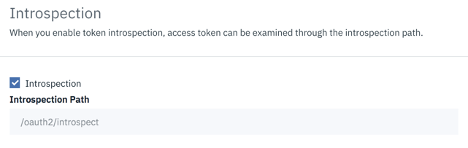
Introspection:
Token introspection allows an authorized holder of an access token to examine the contents of tokens using an introspection path.
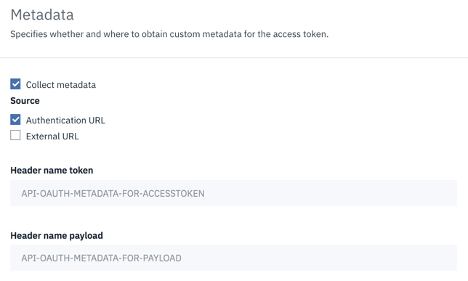
Metadata:
Metadata allows you to collect custom metadata to include during the access token generation process. This is achieved through an Authentication URL or a remote server where the custom metadata is stored, or both.
- The authentication URL field is checked by default and is required
- You may choose to add External URL field by entering the endpoint and selecting TLS Client profile
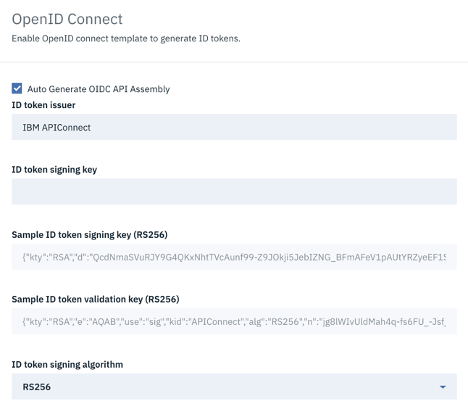
OpenID Connect:
The Open ID Connect (OIDC) section provides an additional authentication protocol based on OAuth 2.0. When you enable OpenID Connect, a template is provided for generating ID tokens along with access tokens and the required assembly policies are automatically created which can be customized to suit your needs.
API Editor:
The API Editor provides a source view where you can update your OAuth provider object and save it.
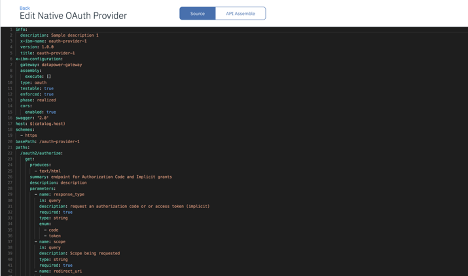
The API Assemble section allows you to view the list of available policies that you can drag and drop in order to add them to your OAuth provider object. The list of policies will differ based on the DataPower version.
You can view the list of your OAuth providers in the resources tab. You can view or make changes to an OAuth provider by clicking on each of the OAuth provider objects.
Using OAuth provider in an API
Once you have successfully created an OAuth provider, you can add OAuth security enforcement to an existing API. In order to achieve this, you first need to create a security definition and then including that definition in the security applied to the API.
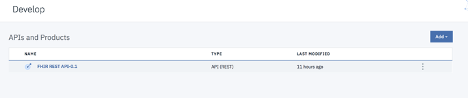
To create a security definition in an API, select Develop tab on the left navigation bar. Under Develop, select the API for which you want to create a security definition.
Select Security Definitions from the left navigation panel and click Add.
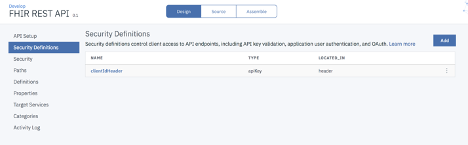
Enter the name for the security definition, select type as OAuth2, flow from the dropdown and click Save.
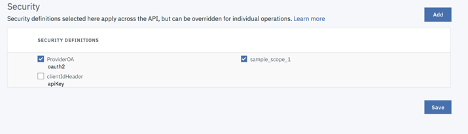
Select Security from the left navigation panel and click Add.
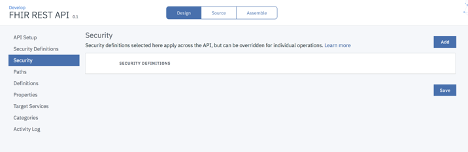
Select ProviderOA, sample_scope_1 and click save.
Test OAuth Security
Once we have created the OAuth provider object and added it to a security definition within an API, we can test User security using the API Assemble section.
From the top bar, select Assemble.

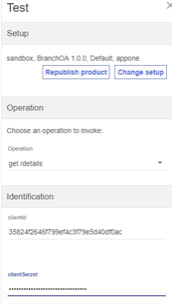
Click on the Test Icon button on the top bar. You should see a setup panel appear on the left bar. This setup panel allows you to change the existing setup in order to invoke the API.
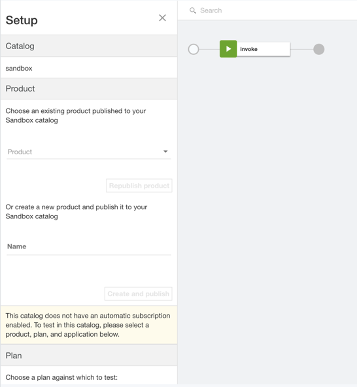
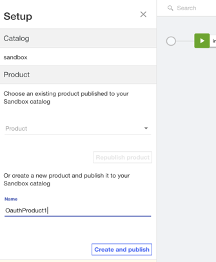
If you have an existing product, then you can select that Product from the list or else you can create on and publish it here.
Once the product is created and published, you can create a new application or select an existing one and Click Subscribe.

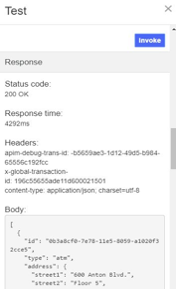
Enter the Client ID and Secret which was provided when creating a test application.
Enter or paste the access token in the explorer_access_token field. Here is an example token.
AAIgMzU4MjRmMjY0NmY3OTllZjRjM2Y3OWU1ZDQwZGYwYWOxkwNYTnIxWaHu8Htf1OUAQUEGl3TLJVHayXjPJE5Rxd7clNdBEYRAEkuHIWX8hR2KF4AA9_SuOCNxJsETDaiJ
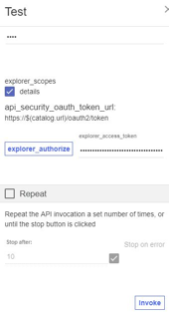
Click Invoke. If you encounter a yellow error box with a URL embedded in it. Click this URL to override a browser certificate error and Invoke again.