Getting more out of Blueworks Live: How to connect Systems to Data ObjectsBlueworks Live can reference the systems that are involved in your Process Blueprints. It can also reference the data objects involved via the Input/Output properties. But, did you know that it is possible to "connect" the data objects to the system properties.
Within the glossary any value can be given a reference. This could be a file or a URL. It can also be a reference to another property value. Using this capability an Input/Output value can reference a System value. When a user hovers over the Input/Output value in the read only view of a Blueprint the reference will appear with a link.
There are a number of ways for values to be added to the Glossary.
- Glossary values are usually built up organically as Editors create Blueprints. The editor types a value into a property and it is added to the glossary if it is not already there.
- Glossary values can be added manually by a "Glossary Manager" in the glossary tab.
- Values can be imported using a Comma Separated Value (CSV) file created by another application or in a tool like Excel.
- Values can be added to the Glossary via the Blueworks Live API.
When added manually by an editor there is no immediate opportunity to add a reference. This is probably not a bad thing. It means that the Glossary can be rapidly populated with basic information. But, as your modelling matures it is necessary to apply more rigour and detail to the Glossary. This is where the other three methods become important.
Adding Glossary values manuallyAccess to the Glossary is restricted to "Glossary Managers". The Administrator can set up a user as a Glossary Manager.
To add a new Input / Output value with a reference you first have to scroll down the the relevant property section and expand the "twisty" to see the first few values. Then click on the "New Input / Output" icon:
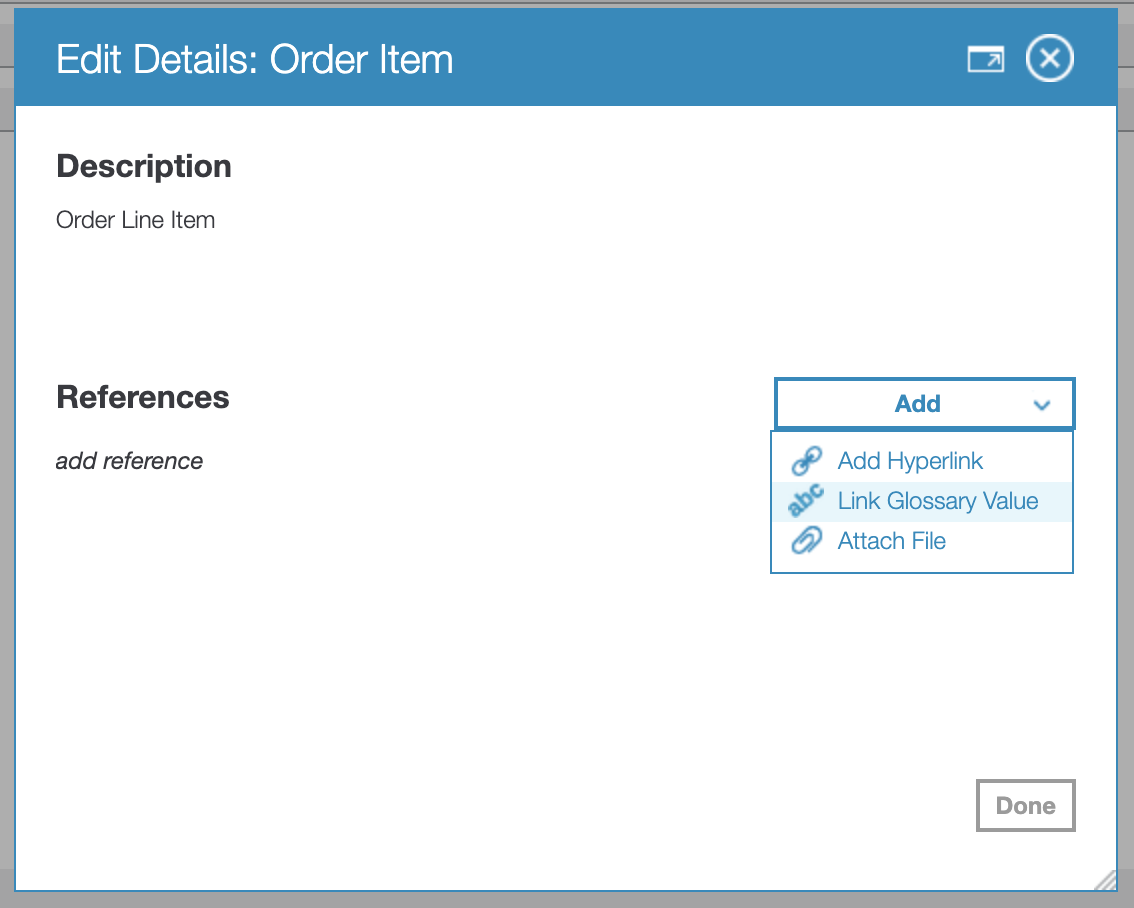
Give your new value a name and a description. Ignore the type and content fields for now (these are handy and could be the subject of a future blog post). Then click on the "References" icon.
This will open the references dialogue. Click "Add" and then select "Link glossary value".
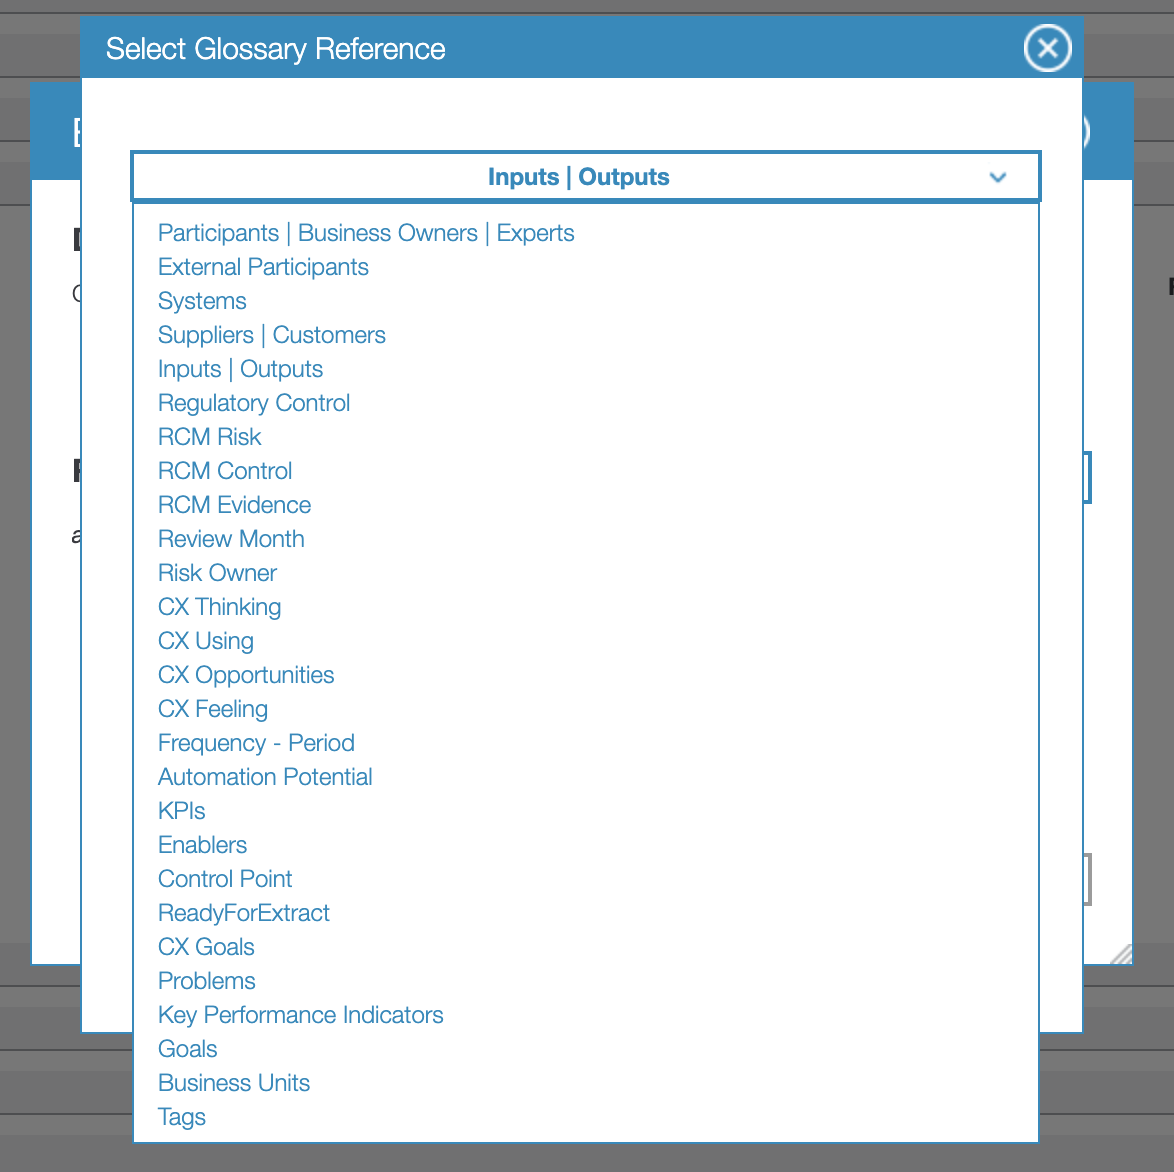
This will then show the dialogue to choose the linked value. Expand the twisty next to the name of the current property to change to the "Systems" property.
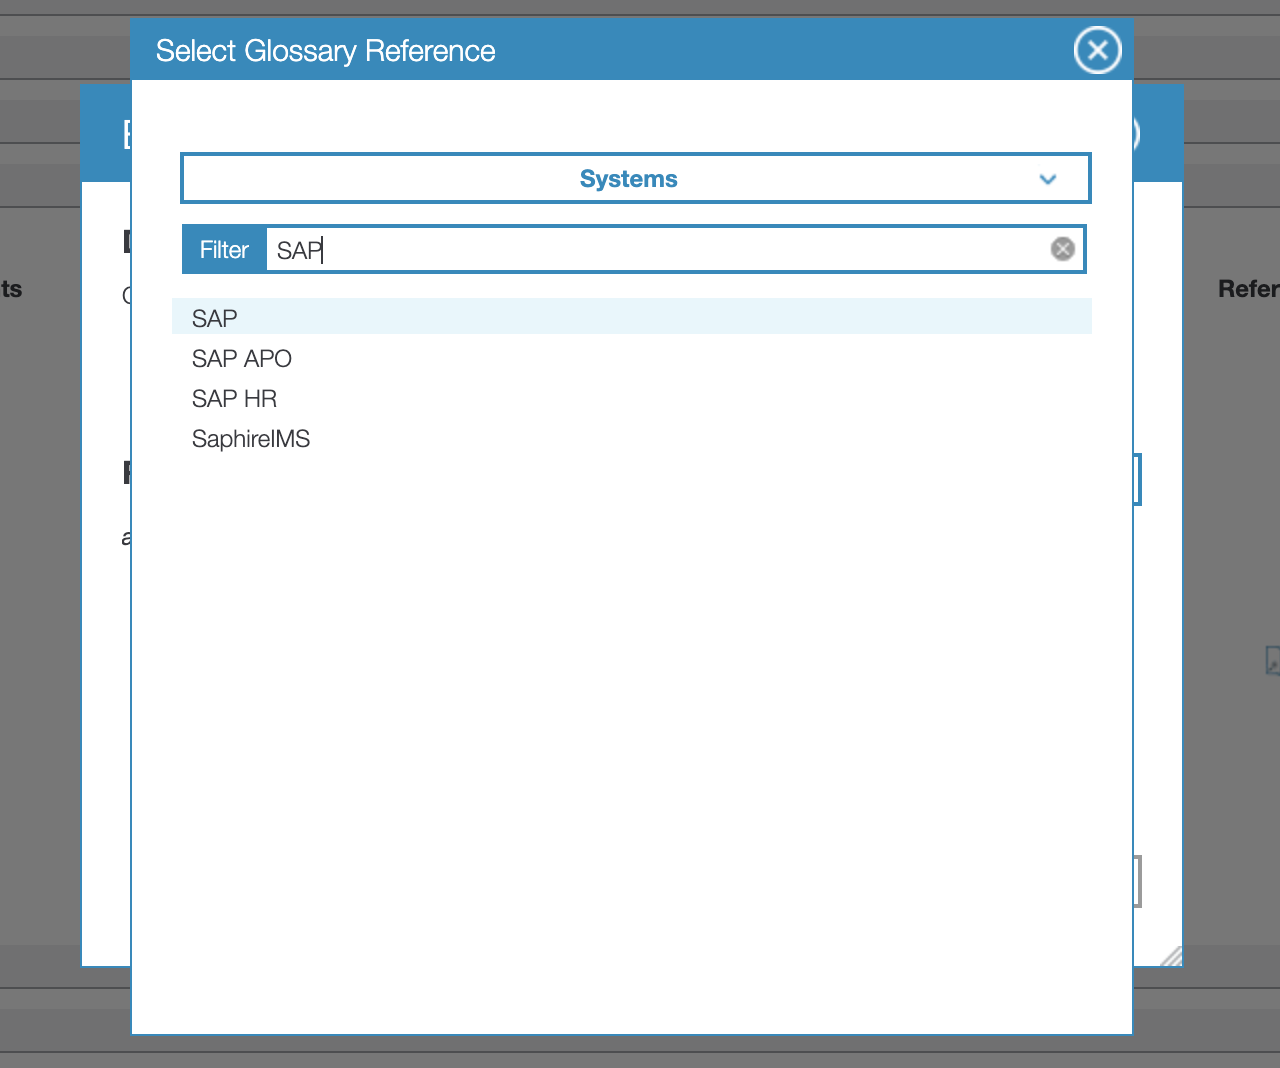
You can then select the relevant system.
You can add as many references as you need including links and files.
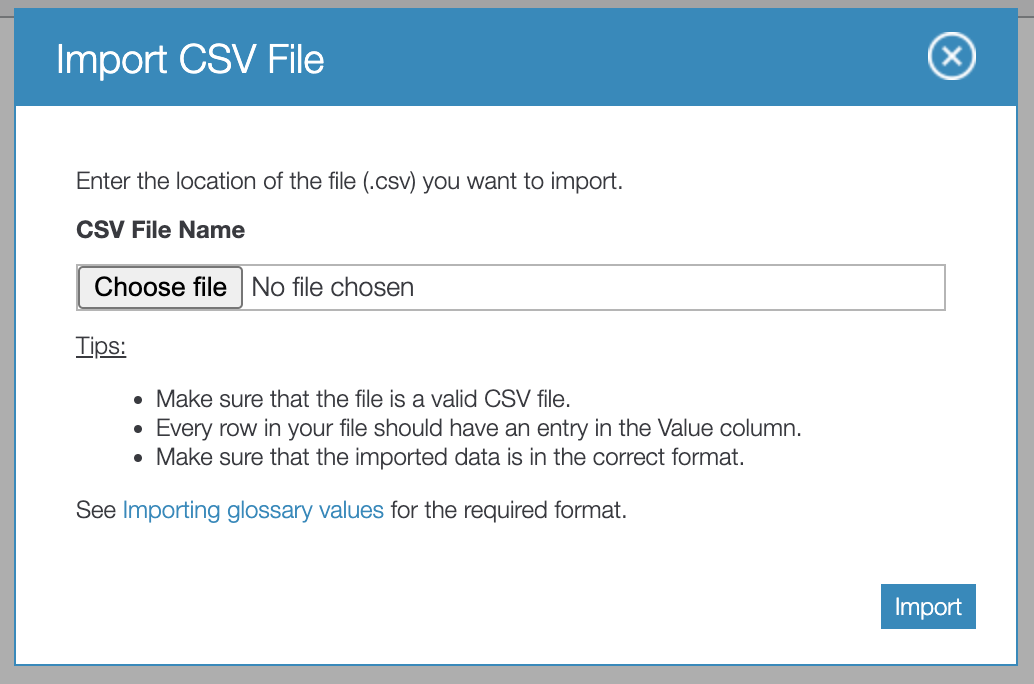
Importing values from a CSVEach glossary section has an icon that can be used to upload a CSV file. Clicking this shows the dialogue for the upload.
Details of how the upload works, the file format required and sample files that can be edited in Excel are provided in the Blueworks Live help. Please refer to the
Importing glossary values section of the help documentation.
Adding glossary values using the BWL APIThe Blueworks Live API provides operations to add values to the glossary. This is typically used where the glossary values are available in another system. For details please see the documentation for the
glossary-values API operation.
Restricting the values that an editor can selectOnce you start adding detail to glossary values it can be useful to restrict editors to only using the values that you have added. There is a Blueworks Live feature called "Enumerated Values" that enables this. Please see the blog post on
Defining Enumeration Values in the community blog.
SummaryThe Blueworks Live glossary is arguably one of the most important features of the product. By linking glossary values it is possible to provide traceability between those values. In this post I discuss how to link data values to system values.
#API#BlueworksLive