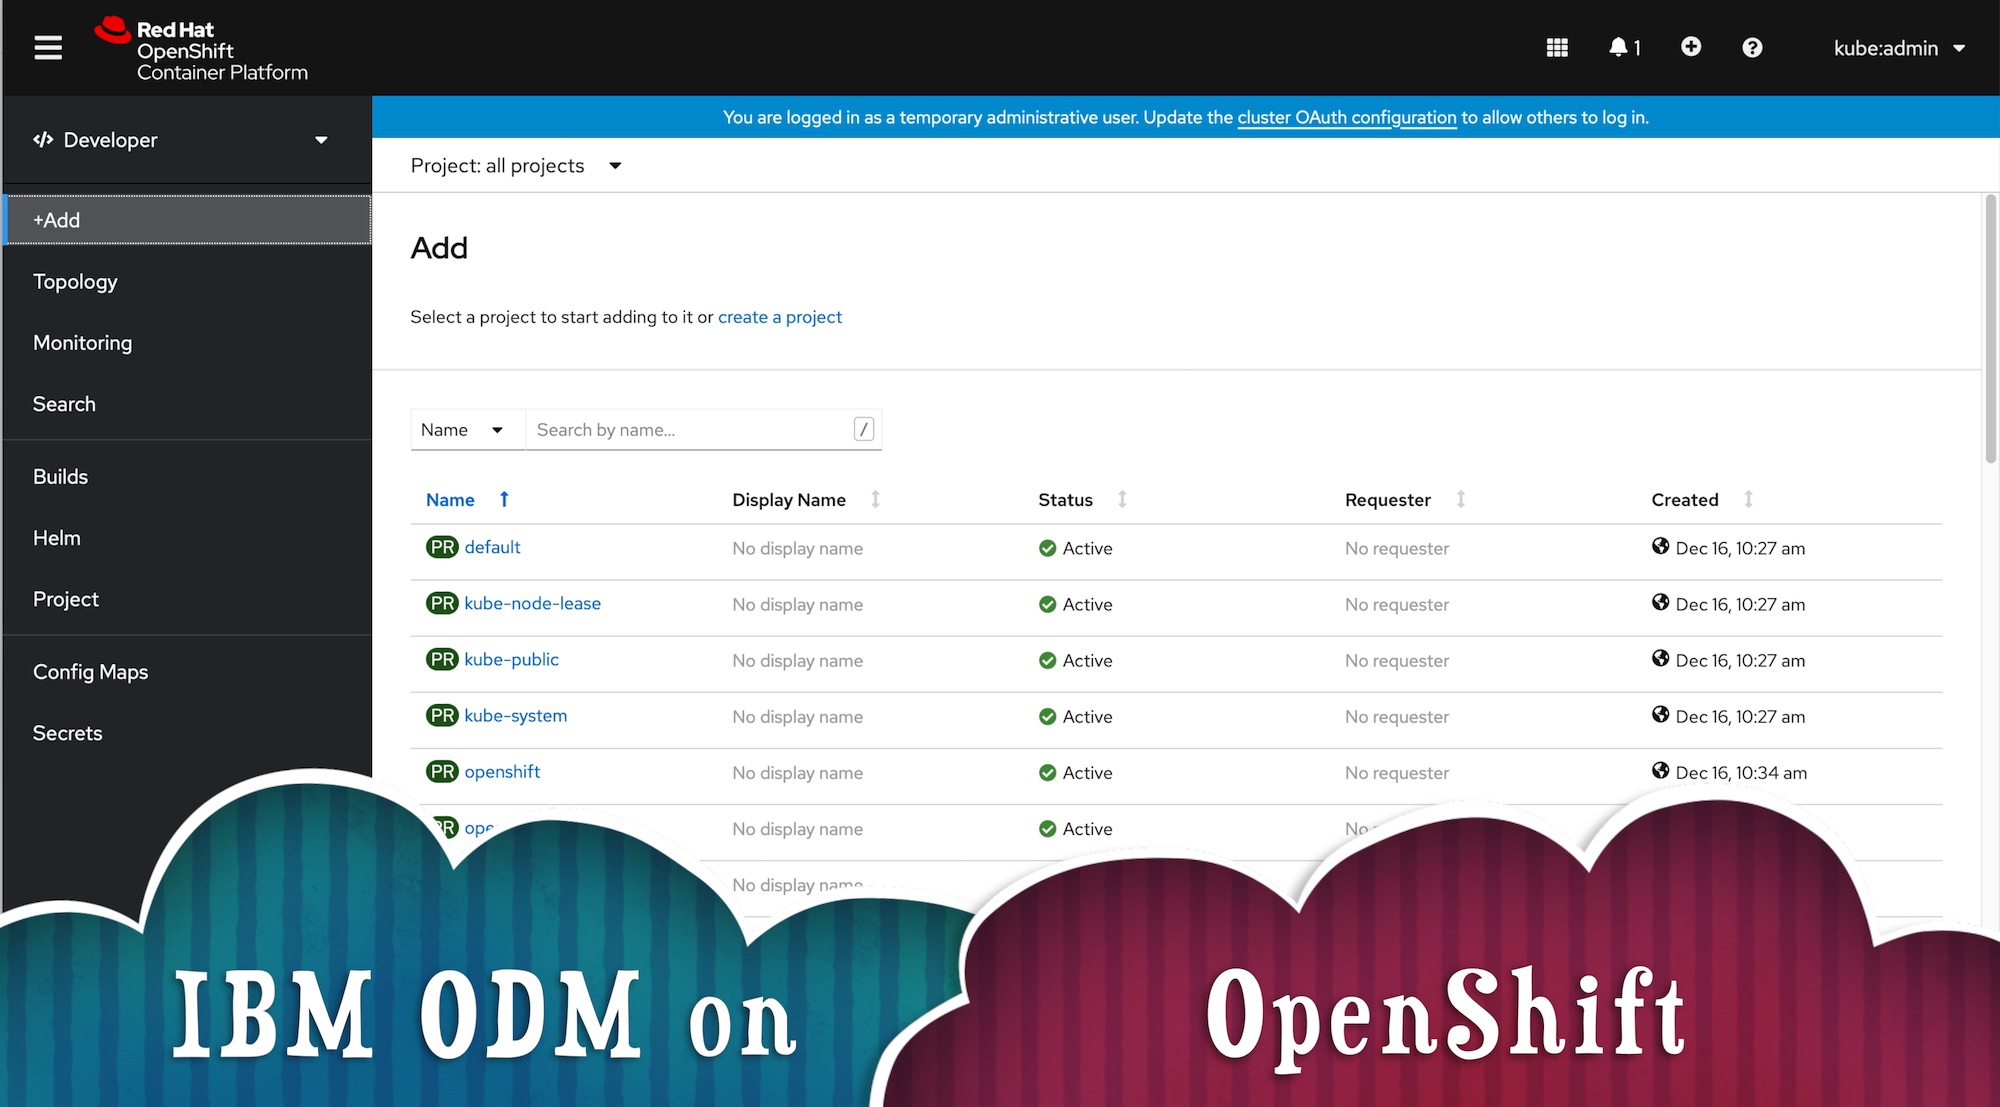
The OpenShift Container Platform web console is a user interface accessible from a web browser. Developers can use the web console to visualize, browse, and manage the contents of projects. In this article, we will explain you, how to deploy Operational Decision Manager on Kubernetes in an OpenShift cluster with a web browser.
Pre-Requisites:
- Access to an OpenShift cluster 4.8 or higher
- Access to the an Operational Decision Manager product.
- A Browser
Here is a video (5 min )of the steps explained below
Step 1 : Create an OpenShift project :
- Login to the OpenShift console.
- Go to the Developer view
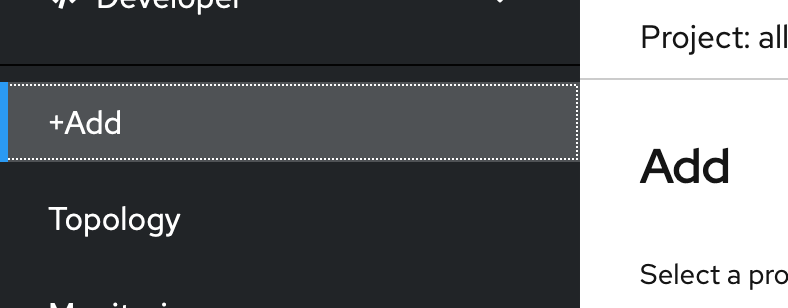
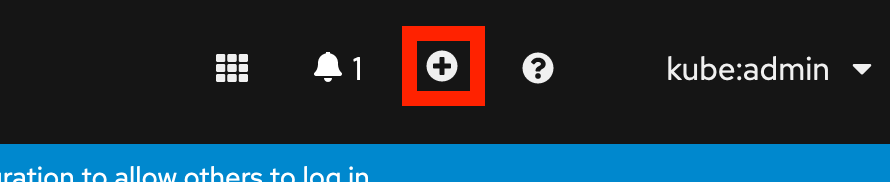
- Click Add button.
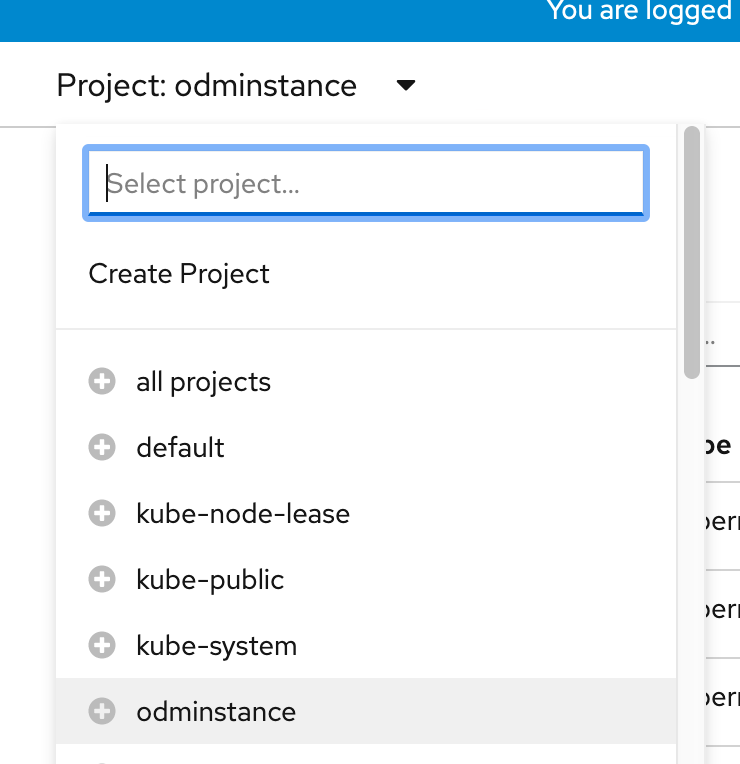
- Click Select Project drop down
- Click Create Project
- Fill the dialog box :
- Name : myodmrelease
- Display Name : My ODM Release
- Description :
The odminstance is now created
Step 2 : Create a Pull Secret to download the ODM images
- Retrieve your IBM Api Key
- Login https://myibm.ibm.com/products-services/containerlibrary
- Click Copy Key button
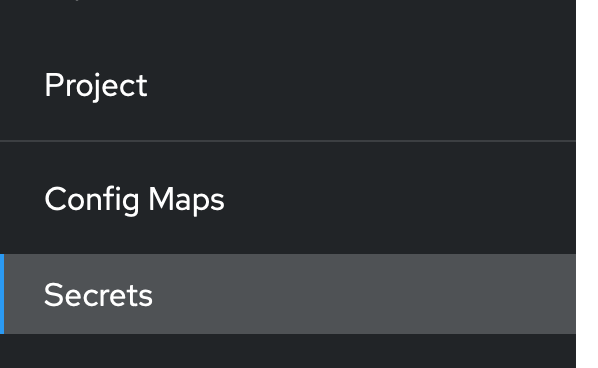
- Click Secrets Menu button
- Select odminstance project
- Click Create button and select Image Pull Secret
- Fill the Create Image Pull Secret panel with this informations:
- : odmreg
- Authentication Type: Image Registry Credential
- Registry Server Address: cp.icr.io
- Username: cp
- Password : <Paste the IBM Api Key>
- Email: <Your Email>
6. Click Create button
Step 3: Add the IBM Helm Charts repository in the OpenShift catalog :
- Click the Import Yaml button at the top of the page
- Copy paste this yaml fragment
apiVersion: helm.openshift.io/v1beta1
kind: HelmChartRepository
metadata:
  name: ibm-repo
spec:
  connectionConfig:
    url: https://raw.githubusercontent.com/IBM/charts/master/repo/ibm-helm
By performing this action the OpenShift catalog will be augmented by the IBM Helm Charts products. If you want to install additional ODM instance, it's not necessary to do this action again.
Now we are ready to install ODM
Step 4 : Install ODM
- Click the Add menu button
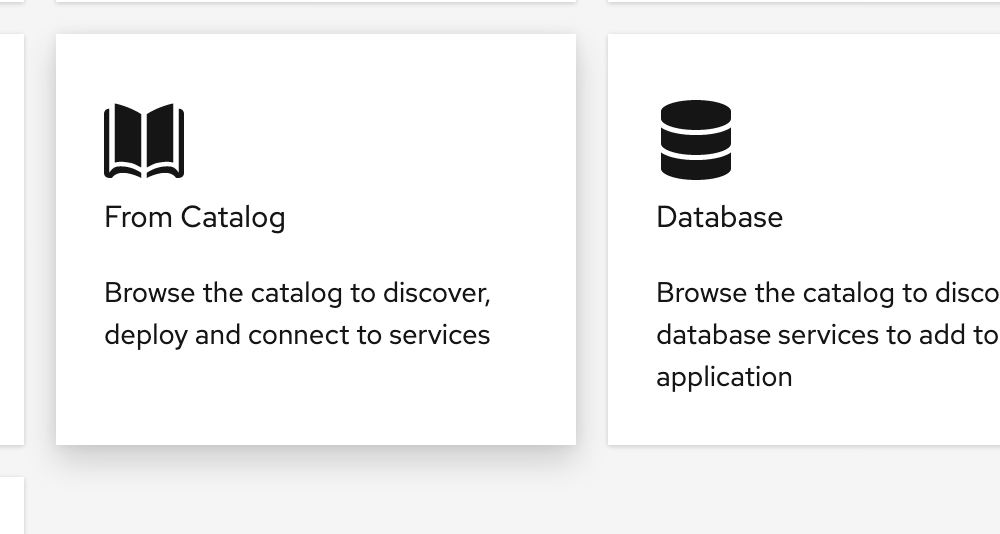
- Click the From Catalog box
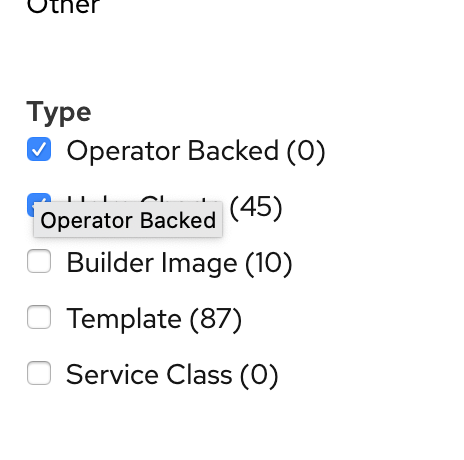
- Check the Helm Charts
- Search "odm" in the filter box
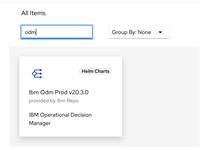
- Click the ibm-odm-prod box
- Click the Install Helm Chart button
- Fill the Install Helm Chart panel with this informations
- Release Name : odminstance
- Copy / Paste this yaml content in the text area.
customization:
  runAsUser: ''
image:
  arch: amd64
  pullSecrets:
  - odmreg
  repository: 'cp.icr.io/cp/cp4a/odm'
internalDatabase:
  databaseName: odmdb
  password: odmpwd
  persistence:
    enabled: false
    storageClassName: ''
    useDynamicProvisioning: false
  populateSampleData: true
  runAsUser: ''
service:
  enableRoute: true
8. Click Install button
Note 1 : This topology use a Postgresql database for Evaluation or Demonstration usage which is not supported for a production environment. You need to adjust this Yaml to rely on an external database for a production topology.
Note 2 : To simplify this article we don't use Persistence Volume that means that if the dbserver pods restart the data are lost. To enable data persistence you should change the configuration by these following values
  persistence
    enabled: true
    storageClassName: '<A Valid Storage Classname>'
    useDynamicProvisioning: true
Step 5 ... Wait for installation
Wait a couple of minutes to have the images downloaded and the instances created.
The container is ready when the deployments are in Dark blue color:
Step 6 : Play with product.
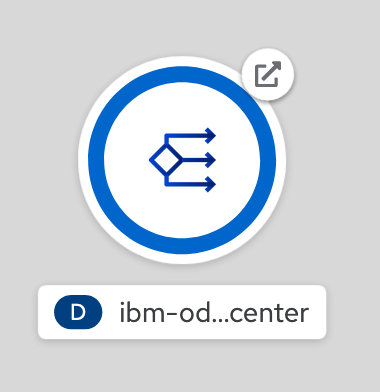
To access to the product:
- Go to the Topology menu
- Click the icon on the top of the deployment

You can take a look in the quick started for more details in the Operational Decision Manager product.
Useful links :
- The ODM knowledge center product.
- The OpenShift documentation
#OperationalDecisionManager(ODM)
#RedHatOpenShift