I usually don't have a lot of time to write blogs, but this time, given the holiday period gave me some free time, I decided to share how to run Maximo Mobile in an Android emulator on your laptop, connected to a locally running MAS Manage. You probably have come across the instructions on how to run MAS Manage on your laptop. In case you have not, you can find them at this link: https://github.com/evilADevil/mas-local. Having such environment running is a prerequisite.
With MAS Manage locally running, the next step is to install the Android Studio from the Android Developer's site: https://developer.android.com/studio
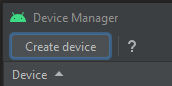
Run the Android Studio and open the Virtual Device Manager.
Create a new Device using the "Create device" button:
pick one that you like, that has the Play Store installed and is supported by MAS Manage, for example a Pixel 4
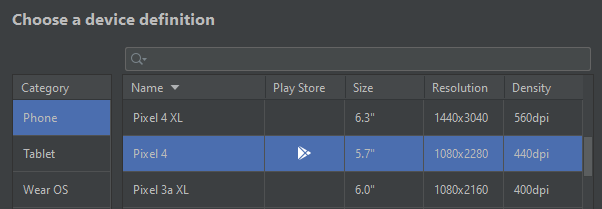
click "next" and select the default image to run on the device
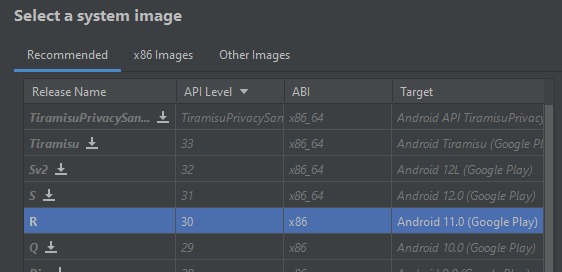
click "next", verify the configuration and then click "Finish". Start the emulated mobile device using the "play" triangle button.

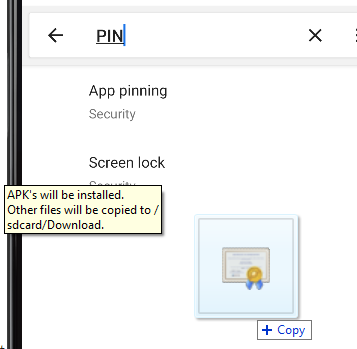
The first thing you have to do is to set a PIN code for the device. Open the Settings, search for "PIN" and click on "Screen lock"
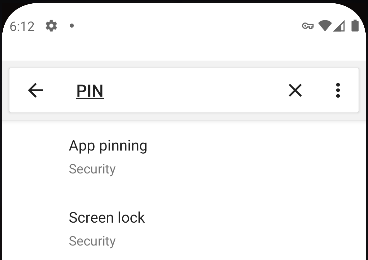
It will show you where the "Screen lock" option is. Click on it. In the following screen click on "PIN" and follow the instructions to set it. When done, go back to the search screen shown above by clicking the left arrow at the top and leave the Android emulator on that screen.
Now we need to grab the CA certificate that has been generated when you installed MAS in OpenShift Local. To do this, use Google Chrome on your computer and follow this steps.
Navigate to the MAS home page: https://home.masdemo.apps-crc.testing/
The browser will land on the authentication link in which it is asking a username:
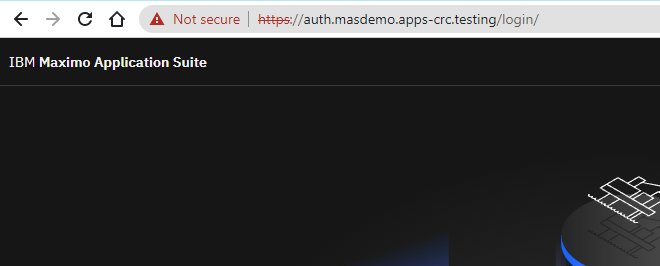
click on the "Not secure" warning:
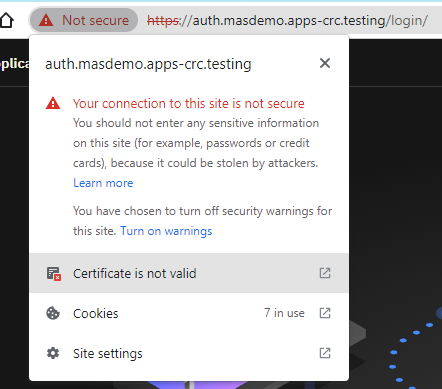
Then click on the "Certificate is not valid" menu item and you will be shown the certificate details:

click on "Details" tab.
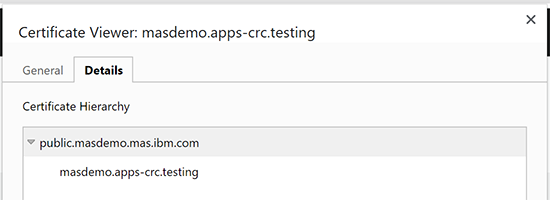
Make sure you click on the "public.masdemo.mas.ibm.com" row of the Certificate Hierarchy box, otherwise you are not going to get the CA certificate you need.
At the bottom right you will find an export button, that you should use to save the certificate on your computer file system. Name the file "rootCA.crt".
Use Windows Explorer to find the file, pick it and drag it on the Android Emulator. You should see something like this:
Drop it and then use the search bar you see at the top of the configurations screen to type "Install a certificate"
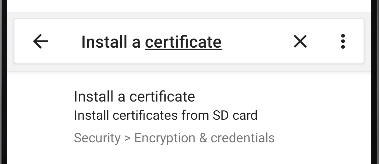
Click on the only result, which will show you where the entry is in the "Encryption & credentials" screen. Click on the entry and you'll see:
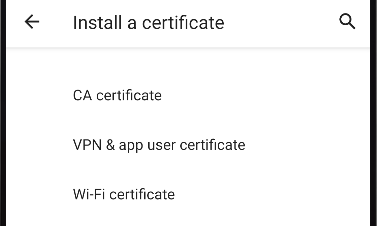
Click on "CA Certificate", you'll get a message that "Your data won't be private". At the bottom left, click on "Install anyway" and enter the PIN you set previously.
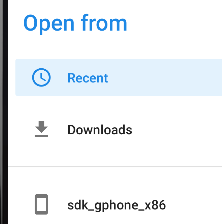
In the next screen, use the three horizontal bar menu and click on the "Downloads" entry.
You should see the certificate file that you dropped before on the Android Emulator
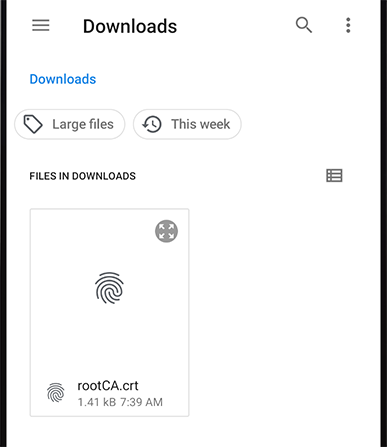
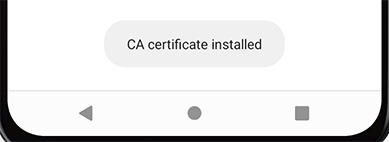
You should see the message "CA certificate installed" at the bottom of the Android Emulator screen
Go back to the Android desktop screen, open the Play Store, sign in, and answer any remaining questions. You need to install two applications from the Play Store:

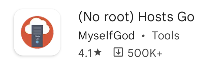
Don't make mistakes. You don't want to download Maximo Mobile for EAM and you don't want the VIP version of Hosts Go.
Open the Hosts Go application and give it access to the file system.
Configuring this application is a bit complicated and unusual due to a set of bugs it has, but I will try to be as clear as possible, so follow the steps carefully.
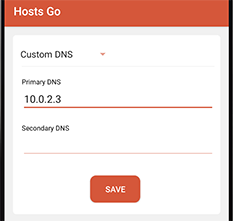
In Hosts Go, click the "DNS Editor" button. In the following screen, use the pulldown to chose "Custom DNS" and enter "10.0.2.3" in the "Primary DNS" field.
Click the "Save" button. In the main screen, click the "DNS change switch" to the OFF position (yes you read it right, it has to be switched OFF). Then click the "Hosts change switch" to the ON position, which will bring you to another screen.
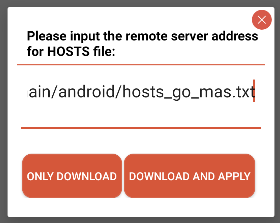
Use the three dots menu and select "Download HOSTS file". Type (or cut/paste) the following link in the popup and click "Download and Apply":
https://raw.githubusercontent.com/evilADevil/mas-local/main/android/hosts_go_mas.txt
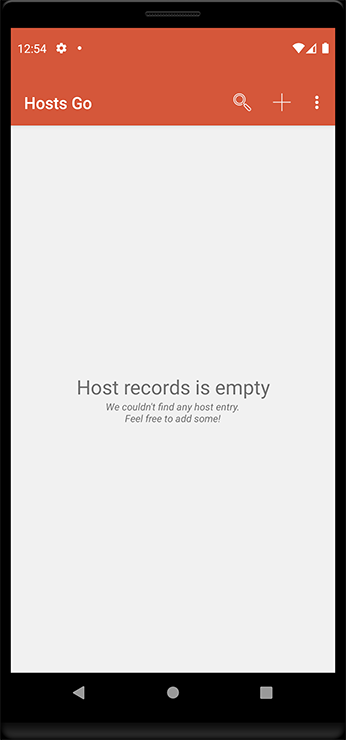
You should be seeing this screen:

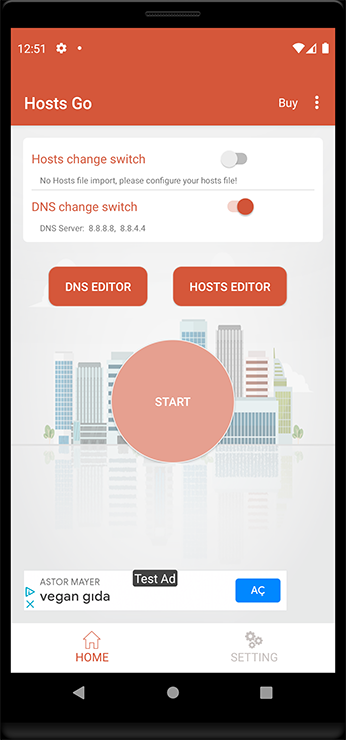
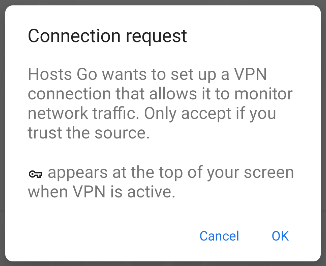
Go back to the main screen of the application by using the back button at the bottom left of the screen and then click the "Hosts change switch" to the ON position. Then click the big circular "Start" button at the center of the screen. Answer "OK" to the Connection request.
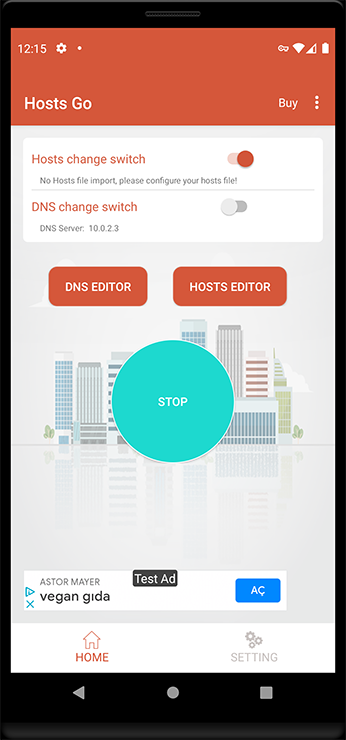
This is what you should be seeing (don't pay attention to the fact that under "Hosts change switch" it states "No Hosts file import...", it indeed got the configuration):
At this point you can go back to the main screen using the round dot at the bottom of the screen.
Start Maximo Mobile by clicking on its icon, click the continue button at the bottom of the screen, agree to the terms and conditions.
In the next screen input the following url: https://maslocal.home.masdemo.apps-crc.testing
and click the blue arrow at the top right. You should be seeing the login screen:

Log in as usual with a user you have configured in Manage and you should be seeing the Biometric login page.
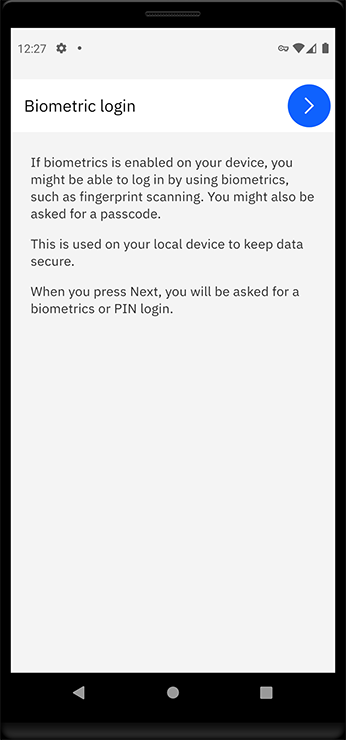
Click the blue arrow at the top right, provide the PIN you have set previously and you should see the Navigator being downloaded and then the Welcome page.
From this point on, you should know what to do.
I hope you will find this useful. Before you had a MAS Manage Local environment to demo with, now you also have a local Maximo Mobile to show.
#Maximo#AssetandFacilitiesManagement