It’s the end of the quarter. Your team has just completed a rigorous testing cycle ahead of your next production release, and your attention has just turned to planning a new suite of tests for your next round. The plan is to create an entirely new set of tests but there are some test assets you do wish to carry forward.
As it happens, there was a significant amount of manual correlation and even some custom Java code involved in fleshing out your older tests. That work was saved in rules files and custom code classes and might still be of some value even as you start over.
This post assumes rudimentary knowledge of creating rules and custom code; the focus is on moving those test assets between projects.
What is the best way to move correlation-related test assets from an old project to a new one?
Data Correlation Rules
There are two projects in the workspace.: MyOldProject and MyNewProject.
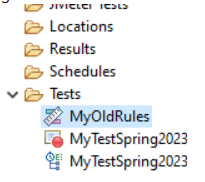
The old project contains a test: MyTestSpring2023.
The old project contains a rules file: MyOldRules.
Working from the idea that this testing cycle is seasonal, or perhaps semester-based, when the Spring2023 testing over, there is going to be Fall2023 testing to come. The tests may not be valuable in the next round of testing, but there is a good chance the rules will be helpful.
To export:
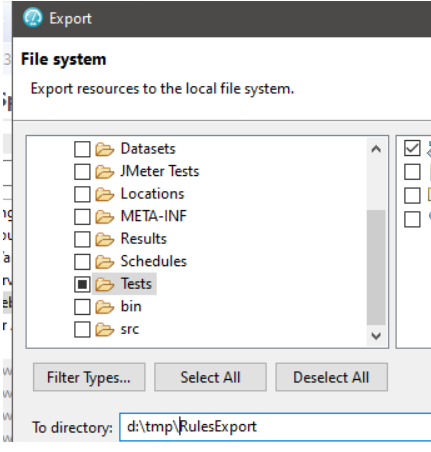
- Highlight the rules file in the Test Navigator panel.

- Right-click to select Export.
- Select General > File System.
- Click the Next button.
- Provide an easy-to-find directory in the “To directory” field.

- Click the Finish button.
The rules file is now available in the file system outside the workspace (note: it is a bad idea to perform file system operations on directories inside a workspace).
To import:
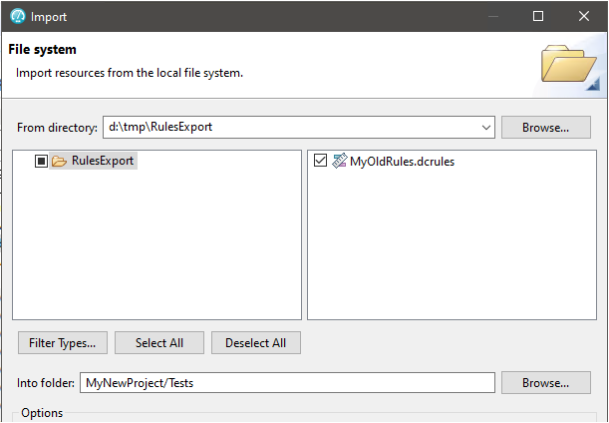
- On the Test Navigator panel, click on the new project (ex. MyNewProject).
- Right-click to select Import.
- Select General > File System.
- Browse to the directory containing the rules file that was just exported.
- Check the box(es) for rules file(s) you wish to import. Pick the ones that are still relevant; there is no point in cluttering new projects with obsolete test assets.

- Click the Finish button.
Now you have a copy of MyOldRules in the old project and the new project.
Note: I find the problem with this is that both files are called MyOldRules. Especially over time, as one instance of the file changes, this can get a little confusing. I would recommend renaming MyOldRules right after you import it into the new project. Make the name meaningful.
This new name calls out the application-under-test (App) and the general time frame (Fall2023). Rules that you produce for testing your accounting application are unlikely to be of benefit in testing your widget manufacturing application so the application distinction can be useful. The time frame, of course, keeps you from accidentally using your Fall2023 rules with your Fall2025 testing. Presumably the rules have evolved over time.
Custom Code
Moving custom code is just a bit trickier; you have to pick your from and to locations correctly.
MyOldProject contains my custom code. MyNewestProject is empty.
To import:
- Select the src directory in the destination project (ex. MyNewestProject).
- Right-click to select Import.
- Select General > File System.
- Browse to the customcode directory of the source project (ex. MyOldProject)

- Check the box for each Java class to be imported. The example only has one – MyOldCustomCodeClass.java – but you might have more.

- Make sure the “Into folder” value terminates with the /src directory. Check the box for “Create top-level folder.

- Click the Finish button.
The src/customcode/ directory of the target project is now populated with the desired custom code.
To use the custom code in a test, make sure the Class name matches as you Add (or Insert) > Custom Code.
#RationalPerformanceTester