Deploying IBM Sterling B2B Integrator On Openshift Container platform using the ICP Catalog UI
1. Introduction
As a part of the 6.0.3 release of IBM Sterling B2B Integrator, the b2bi container was qualified as a certified container by IBM. The certified container comprises of the Helm charts defined for deploying B2BI. More details about Helm can be found here and about the b2bi certified container can be found here.
This blog covers details about deploying the certified container of IBM Sterling B2B integrator on Openshift Container Platform (OCP) integrated with IBM Cloud Private (ICP) using catalog UI provided by ICP.
1.1 About Openshift Container Platform
OpenShift Container Platform is an on-prem platform service that uses kubernetes to manage containers built on a foundation of Red Hat Enterprise Linux. Below is the link that provides steps to install OpenShift Container Platform along with the prerequisite details
https://docs.openshift.com/container-platform/3.11/install/running_install.html
1.2 Openshift + ICP
IBM Cloud Private can be installed with Openshift to leverage the core services of ICP like catalog UI, metering and monitoring services etc. Below is the link to install ICP with OpenShift Container platform.
https://www.ibm.com/support/knowledgecenter/en/SSBS6K_3.2.1/supported_environments/openshift/install_openshift.html
Post installation of ICP on Openshift, we need to setup the CLI tools for the cluster, these can be setup using the tutorial
https://www.ibm.com/support/knowledgecenter/en/SSBS6K_3.2.1/manage_cluster/cli_guide.html
2. Steps to install B2BI using ICP Catalog UI
2.1 Download the certified container
The certified container can be downloaded from IBM Passport Advantage using the steps mentioned in the below link.
https://www.ibm.com/support/knowledgecenter/SS3JSW_6.0.3/installing/installing/integrator/SI_Download_Certified_Container_Image_PA.html
2.2 Push the certified container to the cluster repository.
As mentioned in 1.2 post the installation of ICP on Openshift, we need to setup the CLI tools of ICP for cluster. Next, we need to push the the certified container downloaded in the previous step.
a. Login to the cluster console as an administrator user using cloudtcl login
b. Push the certified container archive (ibm-b2bi-prod-1.0.0.tgz) downloaded from PA to the catalog UI using the following command
cloudctl catalog load-chart --archive ibm-b2bi-prod-1.0.0.tgz [--repo HELM_REPO_NAME]
c. Verify that the charts are pushed from catalog UI by logging into the ICP Catalog UI, navigate to catalog.

Search for the charts

2.3 Install B2BI using UI.
Once the charts are pushed and verified as mentioned in 2.2, next let us deploy b2bi using the catalog UI.
2.3.1 Navigate to catalog tab on the ICP catalog UI, click on the ibm-b2bi-prod charts.
2.3.2 There are two tabs displayed overview and configuration

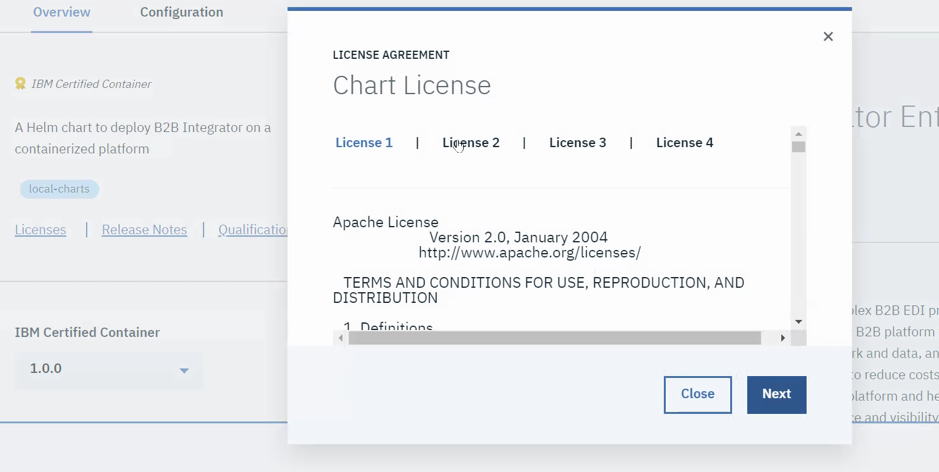
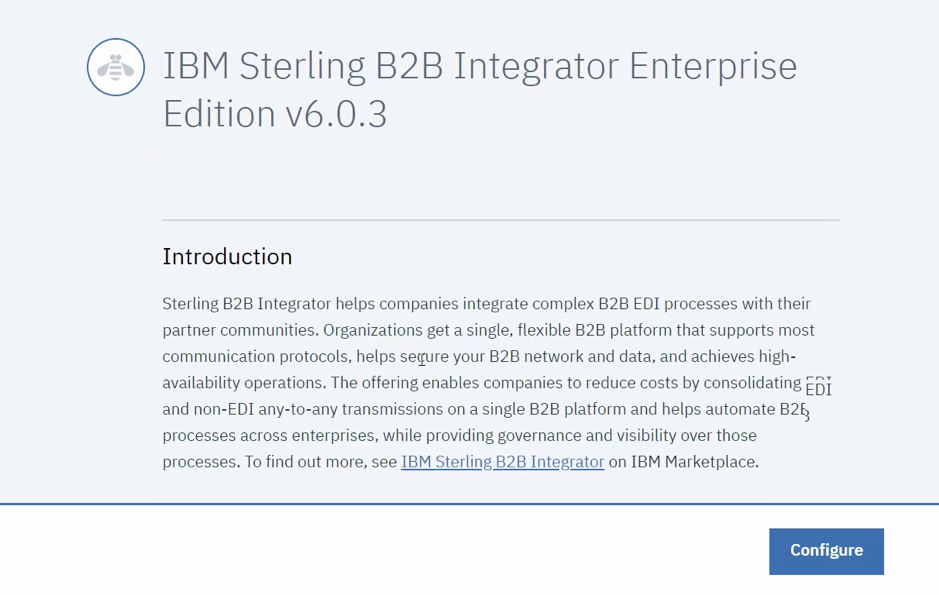
The overview tab lists all the details about the installation like the versions available, licensing details etc.
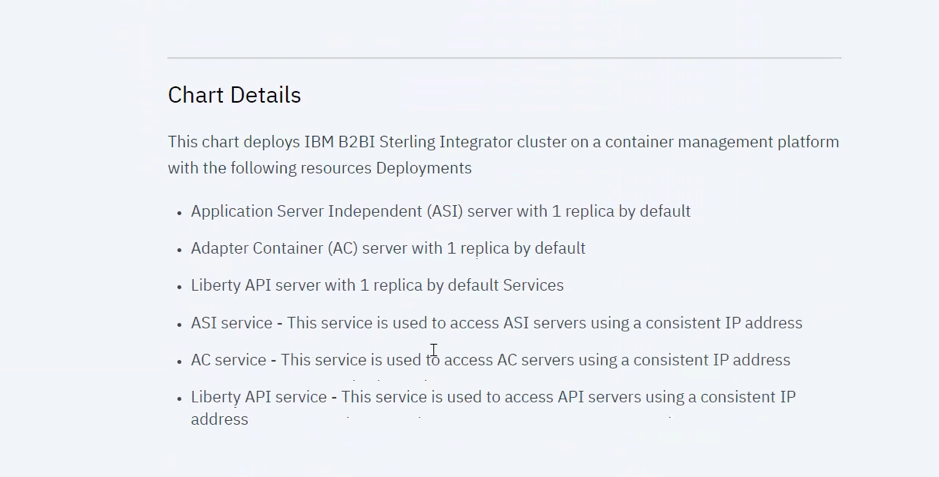
There are also installation details like pre-requisites to be done, default settings please go through these and setup the requirement as mentioned.
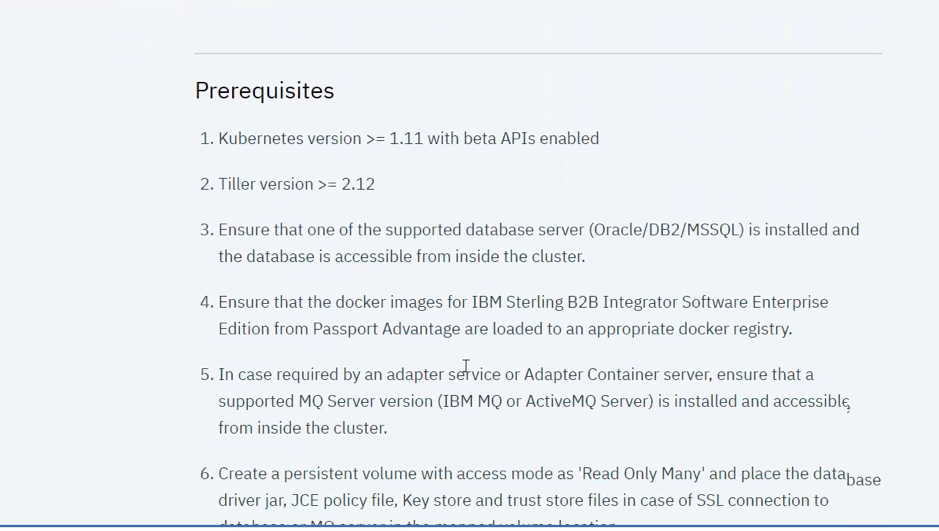
As a part of pre-requisites, we need to create certain Kubernetes resources like secrets, persistent volumes, we can do them by using the create resource option from the UI as shown below: 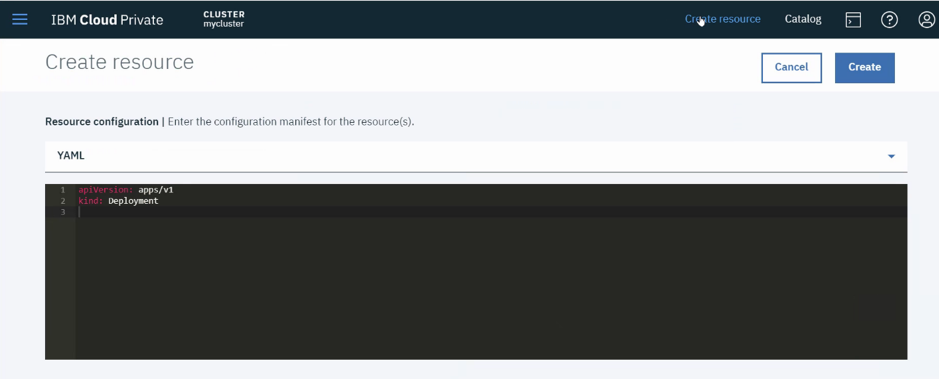
Paste the yaml contents in the text area highlighted about and click on create, the resource will be created.
Click on Configure button to go to the configuration tab.
The configuration tab requires user-input which is explained in the next section.
2.3.3 Configuration tab has three sections.
The configuration section is used to provide different user-input that are required to setup B2BI. It is divided mainly into 3 sections as shown below:
2.3.3.1 Configuration
This Section mainly contains details related to release like the release name, namespace etc.
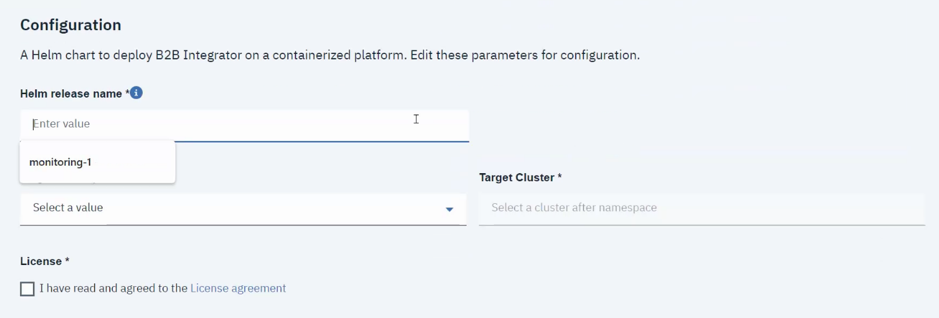
2.3.2.2 Parameters
This Section is for user-inputs related to B2BI, there are basically two sections here
Quick Start
The Quick Start section displays the mandatory parameters that are required to setup B2BI, below is the list of few mandatory parameters
- StorageClass Name
- Database Server Vendor
- Database Host
- Database Port
- Database User
- Database Name
- Database Secret
- Database Driver
- Email Address
- SMTP host details
- System Passphrase
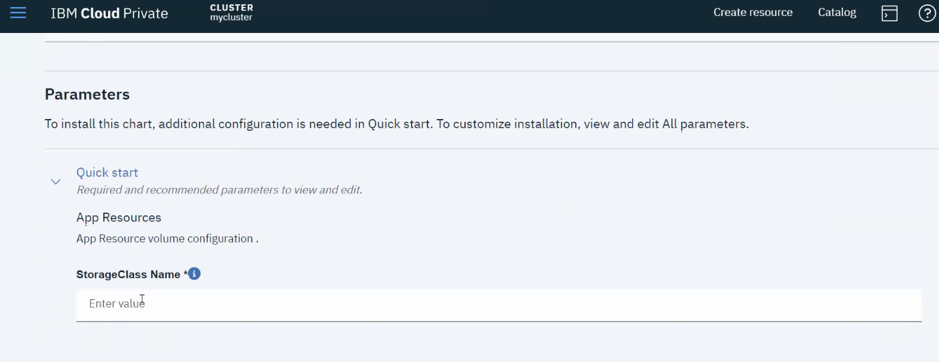
All parameters
The All parameters section includes the other required, optional parameters which have been provided with a default value, user can refer to the configuration section in the overview tab for details about these parameters.
- Image tag
- Image Repository
- B2BI Image Pull Secret

Note:
- The details of all the parameters are provided in the Overview section.
- The parameters section is further divided logically
2.3.4 Once all the mandatory and necessary parameters are updated, click on configure button to setup the installation. If everything is correct then a screen as shown below will appear. Once can click on the hyper link – View Helm releases to monitor the installation.

2.4 Verify the installation.
At the end of the installation, if it is successful a helm release gets created with name specified, we can monitor this by click on “View Helm Releases” button as shown in the previous section or go to Menu >> Workloads >> Helm Releases as show below and select the release 
This Menu can be used to monitor different Kubernetes resources that get created as a part of this deployment.
For Eg. Statefulsets, pods, pvcs, services etc
3. Deployment Life cycle (Upgrade/Rollback/Delete).
The ICP Catalog UI provides and option to upgrade, rollback and delete a release.
3.1 Upgrade
If the user wishes to upgrade certain configurations or to a certain image it can be done using the upgrade option provided. The user must push the newer version of b2bi charts using the steps described in steps 2.1 and 2.2.
Go to Menu > Workloads > Helm releases
Select the release you are willing to upgrade. The Following UI will be seen.

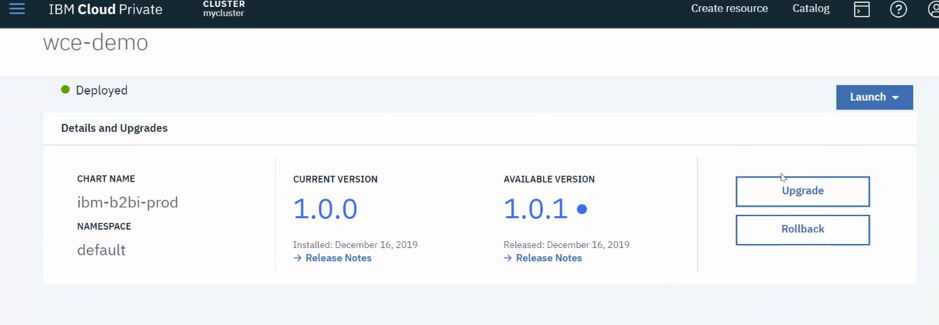
Select the upgrade option, an inline window will open which will ask for the details, select the upgrade version from the drop down.
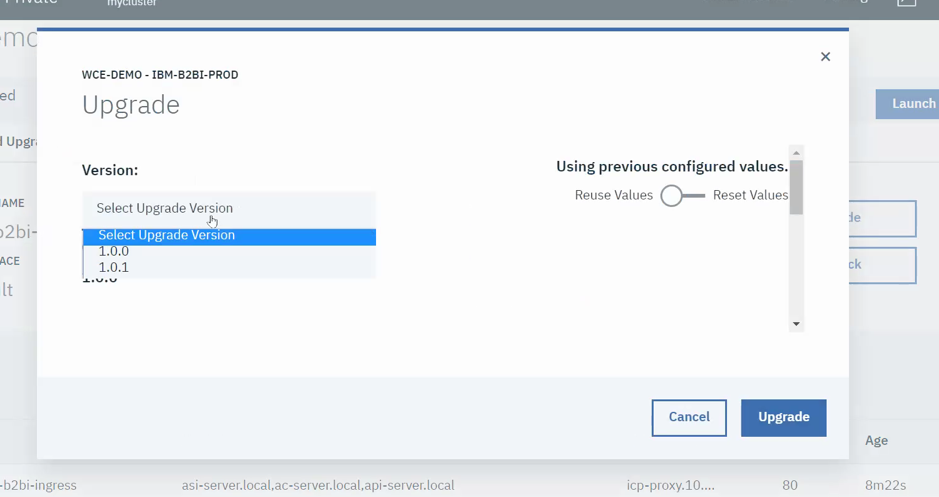
Once selected the parameters section will made available, the user should update the parameter that the user wishes to change for this release.
For eg. The user can change the number of replicas, the memory request, the image tag etc.
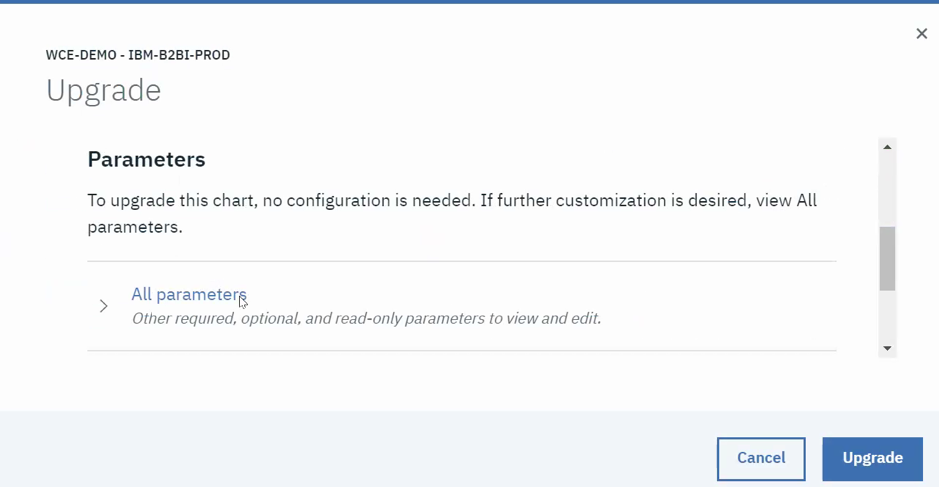
Once the required parameters are changed select Upgrade button. Post upgrade the inline window gets closed and the current helm release UI will be updated as shown below:

3.2 Rollback
Post upgrade, the user can also rollback to a previous version of the release.
Go to Menu > Workloads > Helm releases
Select the release you are willing to rollback. The Following UI will be seen.

Click on History, this will show the upgrade history with the time stamp.
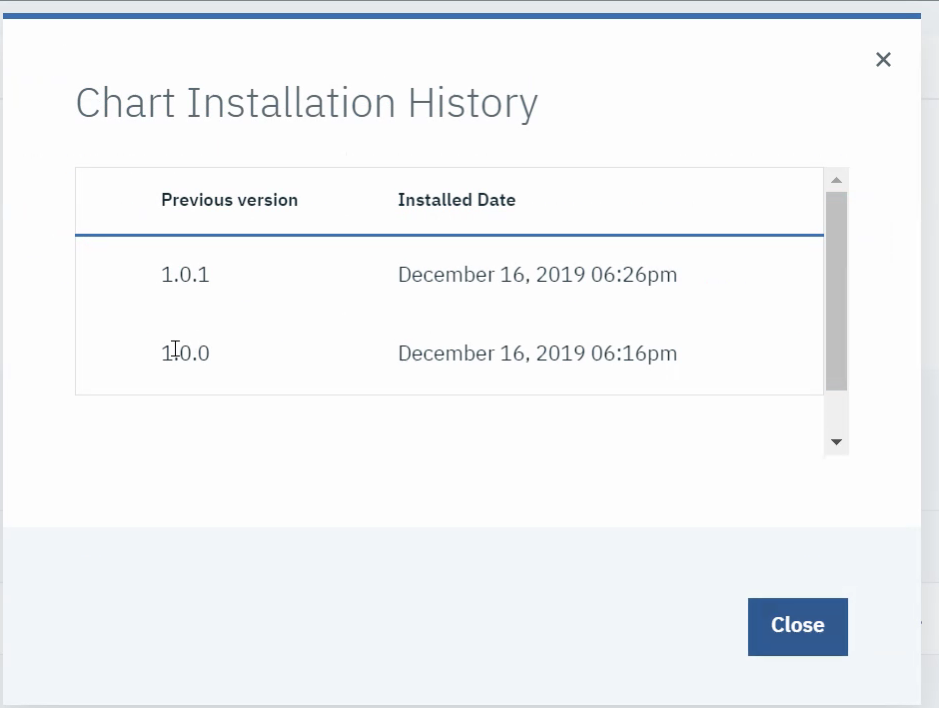
Close this and select rollback, from the options select the version you wish to roll back to and click Rollback
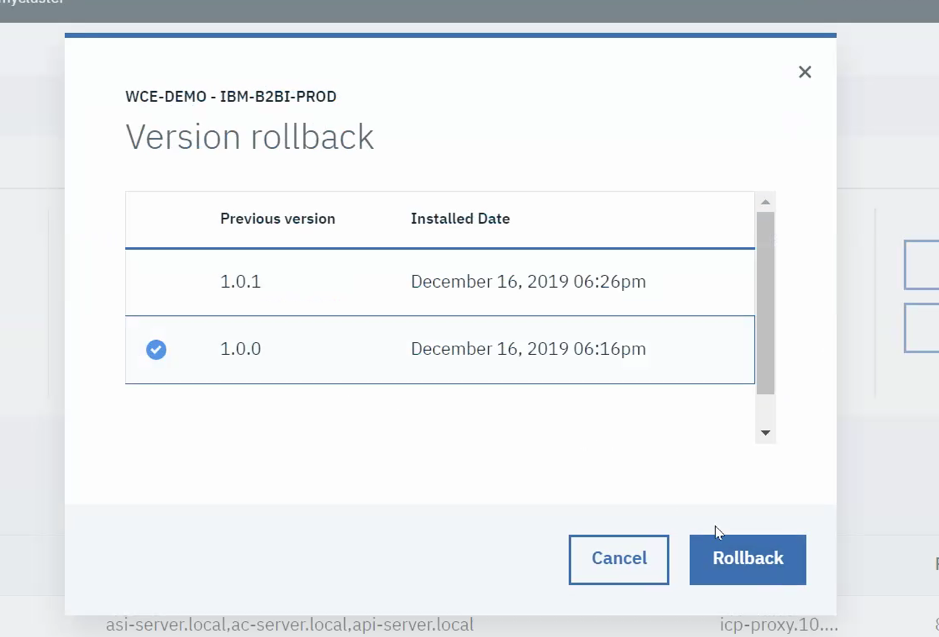
The release UI will be updated as shown below.

3.3 Delete
The deployed release can also be deleted using the delete option as shown below:

4. More Reference Links
https://www.ibm.com/support/knowledgecenter/SS3JSW_6.0.3/installing/installing/integrator/InstallingCertifiedContainer.html
#DataExchange
#IBMSterlingB2BIntegratorandIBMSterlingFileGatewayDevelopers