Setting up Integrations Development Environment
Setup python virtual environment (optional)
This can be useful when working on multiple integrations which are unrelated and require different packages to be installed.
- Install
virtualenv (these steps are specific tovirtualenv but there are numerous other tools out there and they should all serve the same purpose, ie: pyenv)
- Create a location for the virtual environment (these steps create a base directory for all virtual environment but this can be anywhere)
- Create a virtual environment (the below command will create a python3 environment in the directory you pass in place of <name of environment>
virtualenv --python=python3 ~/.python_envs/<name of environment>
- Activate the environment (once activated anything done with Python or installed will be done using the specific environment)
source ~/.python_envs/<name of environment>/bin/activate
Install package to communicate with Resilient
- Install resilient python packages in Python virtual environment. With the environment activated:
pip install resilient-circuits- ... or download packages from here and pip install the
.tar.gz files
That will install the minimum required files to communicate with the Resilient platform.
- (optional) install <g class="gr_ gr_33 gr-alert gr_spell gr_inline_cards gr_run_anim ContextualSpelling" id="33" data-gr-id="33">pytest</g>-resilient-circuits for testing
pip install pytest-resilient-circuits
- (optional) install resilient-lib for a set of methods to help perform common tasks.
pip install resilient-lib
While developing/debugging install integrations in development mode
Development mode allows you to edit the files directory without having to reinstall the whole python package every time a code change is made. This also allows for breakpoints to be added to these files in the IDE while debugging. If you are starting with a
.tar.gz file of <g class="gr_ gr_1731 gr-alert gr_gramm gr_inline_cards gr_run_anim Grammar only-del replaceWithoutSep" id="1731" data-gr-id="1731">an integration</g> you would like to debug, the compressed file should be unzipped first. In a terminal window, from the directory where the
setup.py file is, run
pip install -e .
Configure PyCharm or another IDE
The following steps are specific for PyCharm but the process should be similar in other IDEs. This was done using PyCharm Community Edition 2018.2 on a Mac.
- Open your project
- When PyCharm is first opened, from the Welcome to PyCharm screen click Open and choose the directory you would like to do your development in. Note if you create a new project the following steps will have to be done again. You should see your project directory in the left panel in PyCharm.
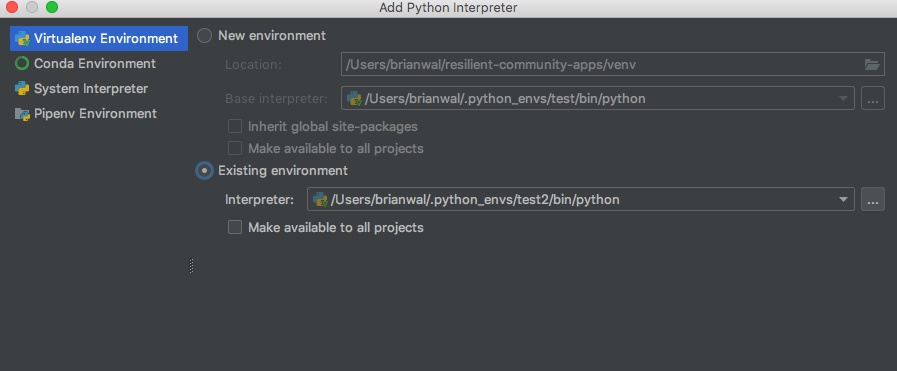
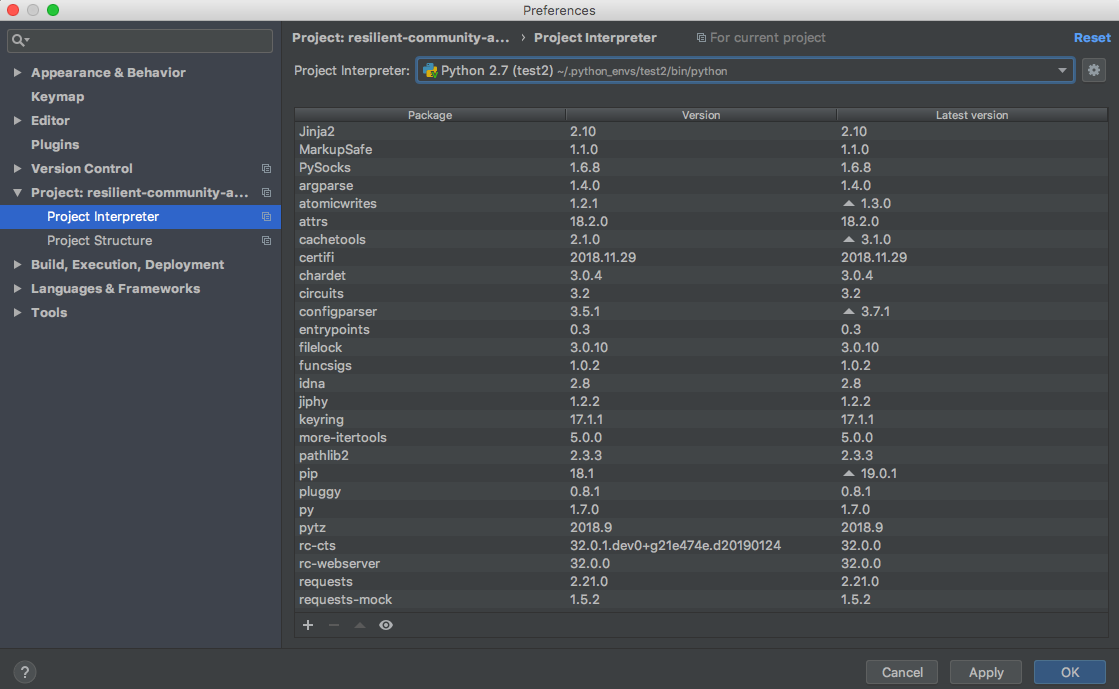
- Add Project Interpreter to PyCharm
- From the menu bar at the top of the screen choose PyCharm > Preferences.
- From the <g class="gr_ gr_379 gr-alert gr_gramm gr_inline_cards gr_run_anim Punctuation only-ins replaceWithoutSep" id="379" data-gr-id="379">Preferences</g> popup click the drop-down arrow by Project: and choose Project interpreter.
- Click the gear icon at the top right of the Project Interpreter box and choose Add.
- Click Existing environment and the 3 dot icon to the right, then choose the directory where your python virtual environment lives. If set up like the above steps it should <g class="gr_ gr_557 gr-alert gr_gramm gr_inline_cards gr_run_anim Style multiReplace" id="557" data-gr-id="557">be </g>
~/.python_envs/<name of environment>/bin/python<g class="gr_ gr_557 gr-alert gr_gramm gr_inline_cards gr_disable_anim_appear Style multiReplace" id="557" data-gr-id="557">.</g>
- Click OK.
-
- Make sure your environment is selected in the Project Interpreter dropdown and click OK.
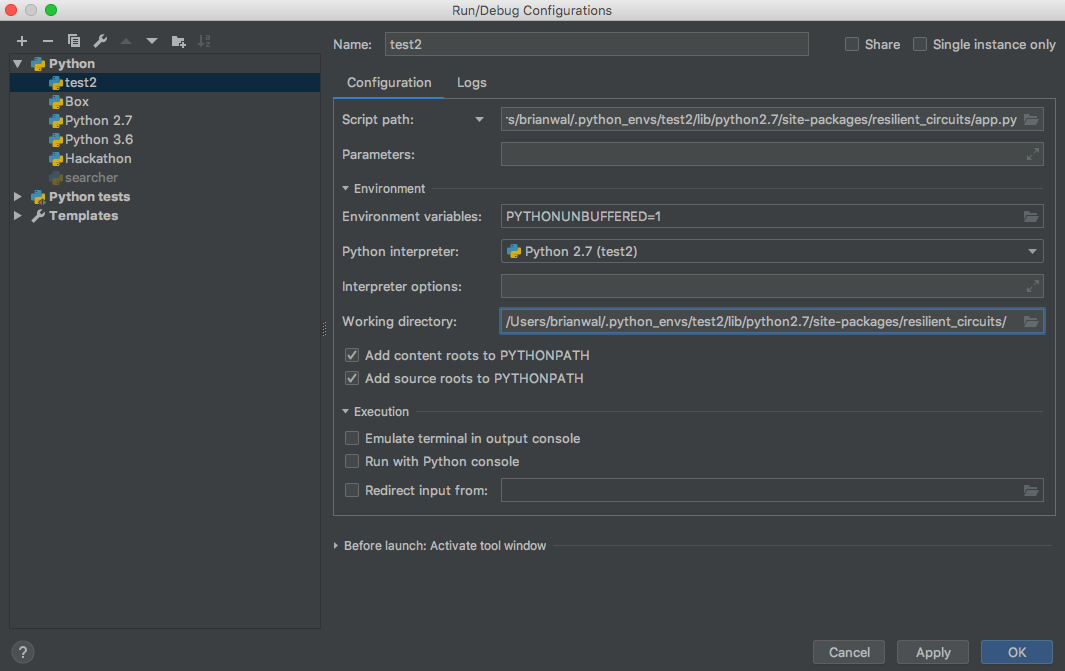
- Edit Configurations
- From the top menu bar click Run > Edit Configurations. You may need to hit run beforehand for this option to show up.
- In the top right of the popup click <g class="gr_ gr_970 gr-alert gr_gramm gr_inline_cards gr_run_anim Style multiReplace" id="970" data-gr-id="970">the </g>
+<g class="gr_ gr_970 gr-alert gr_gramm gr_inline_cards gr_disable_anim_appear Style multiReplace" id="970" data-gr-id="970"> icon</g> to add a new configuration and choose Python.
- Name it whatever you would like.
- Python interpreter should be set to the Python environment you just created.
- Script path should be set to
~/.python_envs/<name of environment>/lib/<python_version>/site-packages/resilient_circuits/app.py
- Working directory should be set to
~/.python_envs/<name of environment>/lib/<python_version>/site-packages/resilient_circuits/
- Click OK
Now you are ready to run and debug python integration code that uses resilient-circuits
in PyCharm!
That's it! Now when you hit Run in PyCharm it will be the same as <g class="gr_ gr_1308 gr-alert gr_gramm gr_inline_cards gr_run_anim Style multiReplace" id="1308" data-gr-id="1308">running </g>
resilient-circuits run<g class="gr_ gr_1308 gr-alert gr_gramm gr_inline_cards gr_disable_anim_appear Style multiReplace" id="1308" data-gr-id="1308"> from</g> the command line. To do so, go <g class="gr_ gr_1342 gr-alert gr_gramm gr_inline_cards gr_run_anim Grammar multiReplace" id="1342" data-gr-id="1342">to Run</g> > Run (your_configuration) or Run > Debug (your_configuration) to run the code while taking advantage of the developer tools in PyCharm.
------------------------------
Brian Walsh
Resilient Software Engineer
------------------------------