Customizing IBM Cloud Identity
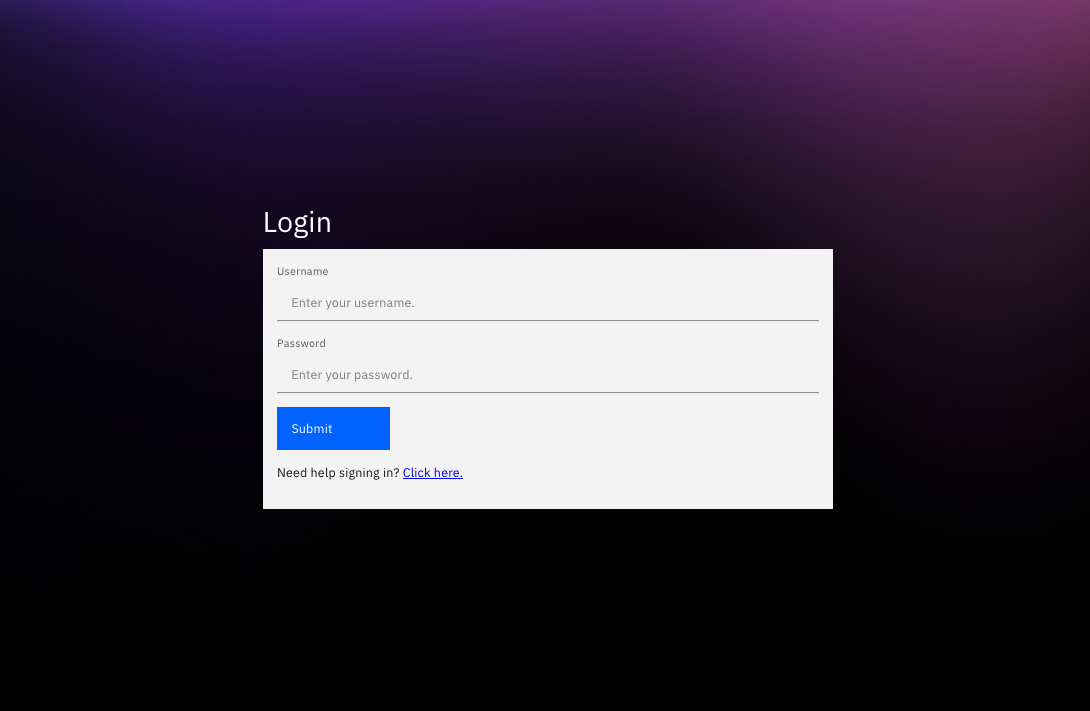
Branding the login page
Customizing the sign on experience of your application is something that all consumers of IBM Cloud Identity have asked for. Fortunately, you can brand almost every page, multi-factor page, and error page that end user facing. Following the steps below provides how to obtain the branding package, manipulating the template, and packaging the branding files back up for upload. We will use curl as it is cross platform but using an API program like Postman provides a better GUI for manipulating API calls.

Note: Once you upload the package, the changes are now live.
Step 1 / Create an API key
Create an API client ID and secret with the following permissions:
- Read templates
- Manage templates
Note: Creating an API key is performed by going into the admin portal under the Settings tab, and selecting API Access.
Step 2 / Authorize API
With your new API client ID and secret in hand, obtain an access token by running the following curl command:
curl -X POST \
  https://{tenantUrl}:443/v1.0/endpoint/default/token \
  -H 'Content-Type: application/x-www-form-urlencoded' \
  -d 'grant_type=client_credentials&client_id={client_id}&client_secret={client_secret}&scope=openid'
You will receive a JSON response with an access token. Copy this to your clip board for later use.
Step 3 / Download branding templates
With the access token you received, make the following API call to download all template files. It is important to run this command everytime you make a change to get the most up to date templates.
curl -X GET \
  https://{tenantUrl}/v1.0/branding/download \
  -H 'Authorization: Bearer {access_token}' \
  -o branding.zip
This will download a file called branding.zip to the folder that you're terminal window is currently in.
Step 4 / Customize the templates
- First, unzip the
branding.zip file. You will see a parent folder called templates.
- For the Cloud Directory login page, navigate to
templates\authsvc\basicldapuser_login\default\default.
- Note: As of October, the login page if multiple identity sources are available, will use the "social_login" template located in:
templates\authbroker\social_login\default\default
- Edit the page
page.html in an HTML editor.
- Remove the
ng-app="app" from the <html> tag. If you leave this in, we will automatically override what you put in the body of the HTML.
-
In your HTML file, you may customize the entire page, but the following components are required components to be present within the HTML.
- Form:
<form method="POST" action="@ACTION@">
- Error message on failures
@ERROR_MESSAGE@
- Hidden input:
<input type="hidden" name="operation" value="verify"><input type="hidden" NAME="login-form-type" VALUE="pwd">
- Username field:
<input id="user-name-input" name="username" type="text" required>
- Password field:
<input id="password-input" name="password" type="password" required>
A basic working example:
<form method="POST" action="@ACTION@">
    <p>@ERROR_MESSAGE@</p>
    <input type="hidden" name="operation" value="verify">
    <input type="hidden" NAME="login-form-type" VALUE="pwd">
    <input id="user-name-input" name="username" type="text" required>
    <input id="password-input" name="password" type="password" required>
    <input id="submit" name="submit" type="submit" required>
</form>
-
You may add any HTML that you wish, including stylesheets and other JS that needs to be loaded to render the page.
Note: You can add styles and classes to the input fields to style the page as long as the input fields and form action are present.
Step 5 / Upload the templates
- Zip (compress) the
templates parent folder after you are done.
- With the same access token you used, make the following API call to upload all template files.
Note: Ensure that file=@ prefixes the filepath in this API call.
curl -X POST \
  https://{tenantUrl}/v1.0/branding/upload \
  -H 'Authorization: Bearer {access_token}' \
  -H 'Content-Type: multipart/form-data'
  -F file=@/my/file.zip'
You should expect a 201 Created response if all checks out.
Your templates are now immediately live in production. If you don't see your template live, then either the upload failed, or your browser has cached the older templates. Try a private browser without cache in order to test accurately.
Download Sample
Download a sample template file for the login page as a basis for your project.
Download page.html
#CloudIdentity