Earlier in PowerVC, an empty image could not be created. As a result whenever an image was deployed, it cloned the image volumes and attached to the virtual machine. Until recently, you could not specify to use only existing volumes for the virtual machine.
Starting PowerVC 1.4.4 release, you can deploy a virtual machine using existing volumes without cloning them. You can create an empty image without any volumes from PowerVC via user interface or REST API.
Working with empty images via user interface
In this section, we will see how you can create an empty image, deploy a virtual machine, and delete a virtual machine.
Creating an empty image
You can create an image without specifying any volumes through user interface.
- On the 'Create Image from volumes' page, specify the image name, hypervisor type, and operating system details.
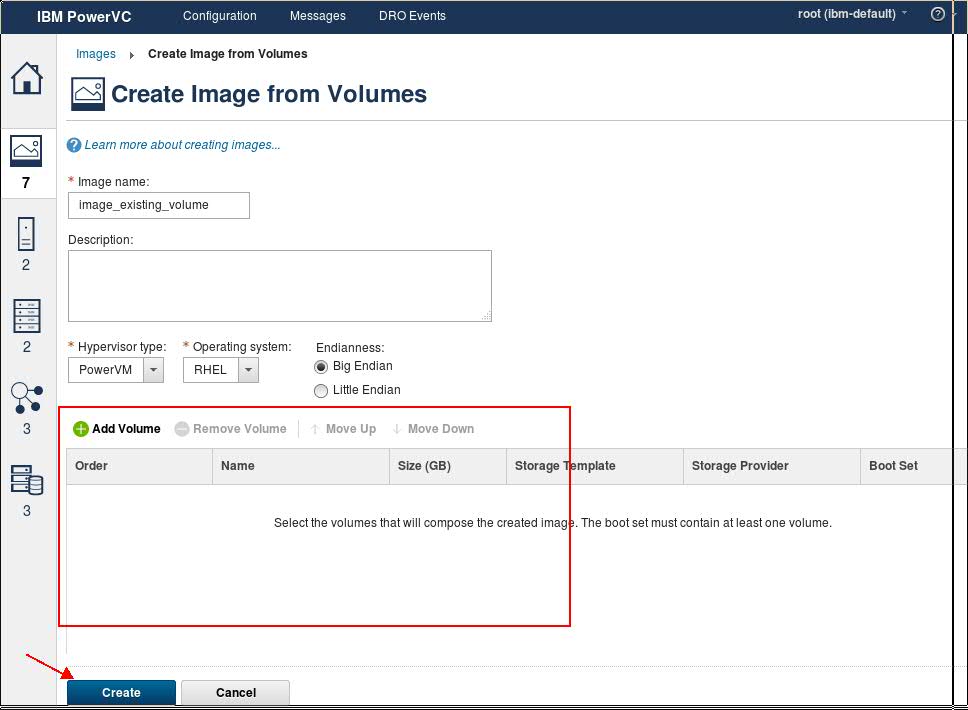
- Click Create.
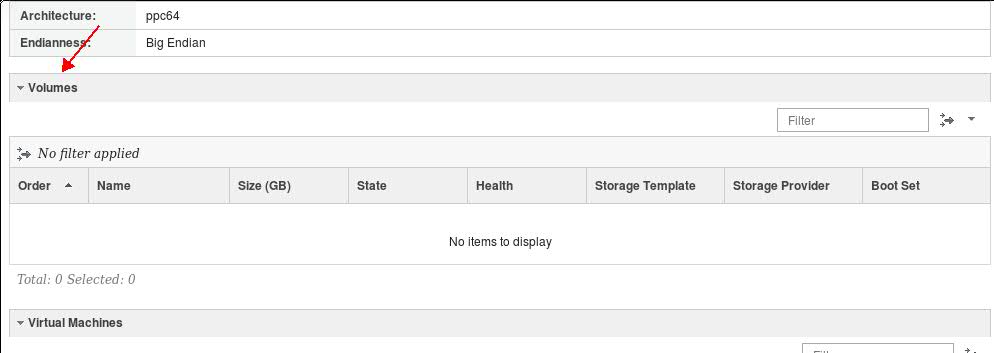
An empty image with no volumes will be created.
Deploying a virtual machine
If the image with no volumes is selected for deploy, you can add volumes during deploy.
Preconditions:
a) At least one of the existing volumes being attached must be a boot volume.
b) os_distro (OS type of volume) must be mentioned in the request body.
Virtual machine will get deployed without creating any clone of the volumes.
Working with images by using REST API
To create an image without cloned volume using REST API, you need to create an image containing only the image metadata properties with no data volumes (BDMS).
Creating an image
Below is the example of creating an image by using REST API.
POST: powervc/openstack/image/v2/images
Request Body:
os-distro
endianness
hypervisor_type
root_device_name
bdm_v2
visibility (Optional) string
container_format (Optional)
enum
disk_format (Optional) enum
architecture
min_ram (Optional) integer
name (Optional) string
protected (Optional) boolean
min_disk (Optional) integer
Request Example
{
"name":"test_empty_image",
"os_distro":"rhel",
"endianness":"bigendian",
"visibility":"private",
"min_disk":1,
"architecture":"ppc64",
"hypervisor_type":"phyp",
"disk_format":"raw",
"container_format":"bare",
"root_device_name":"/dev/sda",
"bdm_v2":"true"
}
The response body contains the new image entity.
Normal response codes: 201Error response codes: 400, 401, 403, 409, 413, 415
Response Example
{
"container_format": "bare",
"min_ram": 0,
"updated_at": "2019-09-09T06:01:31Z",
"file": "/v2/images/4d65b583-9b8e-4300-bf5b-b7eef123459f/file",
"owner": "5d724fd3c85344a4a2d9f26ecd73cf13",
"id": "4d65b583-9b8e-4300-bf5b-b7eef123459f",
"size": null,
"os_distro": "rhel",
"root_device_name": "/dev/sda",
"self": "/v2/images/4d65b583-9b8e-4300-bf5b-b7eef123459f",
"disk_format": "raw",
"os_hash_algo": null,
"bdm_v2": "true",
"endianness": "big-endian",
"schema": "/v2/schemas/image",
"status": "queued",
"tags": [],
"visibility": "private",
"min_disk": 1,
"virtual_size": null,
"name": "test_empty_image",
"hypervisor_type": "phyp",
"created_at": "2019-09-09T06:01:31Z",
"os_hidden": false,
"protected": false,
"architecture": "ppc64",
"os_hash_value": null,
"checksum": null
}
Update image status
To update image status created in step 1, use the "id" attribute from response parameters as shown below.
"id": "4d65b583-9b8e-4300-bf5b-b7eef123459f"
Use this ID to update image.
PUT /images/4d65b583-9b8e-4300-bf5b-b7eef123459f/file
Status Code: 204 No ContentNote:
Earlier in the image POST request,
block_device_mapping was passed to specify the volumes, which is no longer needed.
For example, the following is not needed:
"block_device_mapping":"[{\"guest_format\":null,\"boot_index\":0,\"no_device\":null,\"image_id\":null,\"volume_id\":\"7902f964-6fc8-4a89-80ad-da92373a3af7\",\"disk_bus\":null,\"volume_size\":null,\"source_type\":\"volume\",\"device_type\":\"disk\",\"snapshot_id\":null,\"destination_type\":\"volume\",\"delete_on_termination\":true}]"
Deploy a virtual machine
You can deploy a virtual machine with empty image (no volumes or BDMS) created above.
To deploy the virtual machine using multiple boot or single boot and data volume, we can use servers API.
POST :- /servers
In request body, you need to specify
block_device_mapping_v2 with existing boot volumes and data volumes.
Request Body Example:
{
    "server": {
        "name": "test_no_boot_vols_5",
        "imageRef": "4d65b583-9b8e-4300-bf5b-b7eef123459f",
        "availability_zone": "Default Group",
        "block_device_mapping_v2": [{
            "boot_index": 0,
            "delete_on_termination": true,
            "destination_type": "volume",
            "source_type": "volume",
            "uuid": "bb70d640-09e6-4686-b972-953996772189"
        }, {
            "boot_index": 1,
            "delete_on_termination": false,
            "destination_type": "volume",
            "source_type": "volume",
            "uuid": "8882ae26-fb7d-45ef-b79a-051fff4f4a1a"
        }],
        "flavor": {
            "ram": 4096,
            "vcpus": 1,
            "disk": 21,
            "extra_specs": {
                "powervm:max_proc_units": "1",
                "powervm:shared_weight": "128",
                "powervm:min_mem": "2048",
                "powervm:max_mem": "6144",
                "powervm:uncapped": "true",
                "powervm:proc_units": "0.5",
                "powervm:dedicated_proc": "false",
                "powervm:max_vcpu": "1",
                "powervm:availability_priority": "127",
                "powervm:min_proc_units": "0.1",
                "powervm:min_vcpu": "1",
                "powervm:storage_connectivity_group": "0ae57c65-ad67-4d37-8d5b-f683b4c90e9b"
            }
        },
        "config_drive": true,
        "networks": [{
            "uuid": "8b0d416d-69af-4ea1-998c-f7525ca340d7"
        }]
    }
}
Response Example::
{
"server":
 {
"security_groups": [{"name": "default"}],
 "OS-DCF:diskConfig": "MANUAL",
"id": "6f176abe-94d2-4171-98a7-354845e8f40a",
 "links": [{"href": link", "rel": "self"}, {"href": "link1", "rel": "bookmark"}],
"adminPass": "4K3Kdn3sPFv6"
}
}
Conclusion:Now you know how to create virtual machines with existing volumes attached instead of using cloned volumes.
If you have any questions about this topic, please comment below. Watch this space for more information about troubleshooting your environment. In the meantime, don’t forget to follow us on LinkedIn, Facebook, and Twitter.
Authors:
Preeti Duhan (pduhan05@in.ibm.com)
#Storage#deploywithoutcloningvolumes#PowerVC