A brief intro to projects and rolesA project, sometimes referred to as a tenant, is a unit of ownership. Most resources, such as virtual machines, volumes, and images, belong to a specific project. To work with the resources belonging to a project, users must have a role in that project.
During installation of PowerVC, a project named "ibm-default" is created under the 'Default' domain. PowerVC supports the creation of additional projects for resource segregation.
What's new now!Earlier releases of PowerVC brought the ability for administrators to manage projects and roles via the command line interface, but starting with version 1.3.3, you can manage them from the user interface.
From the PowerVC UI, if you create a project, you are assigned the admin role for the project by default, which allows you to assign roles to other users in the project. I'll get in to all the details of how this works below.
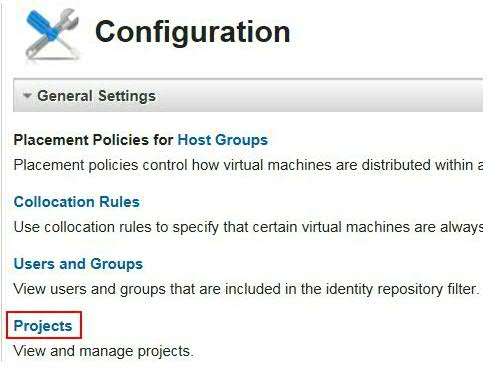
Configure projects:To work with projects, log in to the 'ibm-default' project as an administrator. Click
Configuration at the top of the user interface, then click
Projects:
The Projects grid lists projects with their unique project identifiers and descriptions:
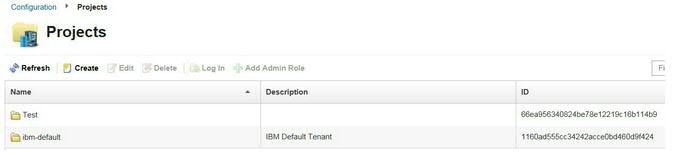
From here, you can create new projects, edit, or delete existing projects.
Note: To access a project, you must have a role in the project.
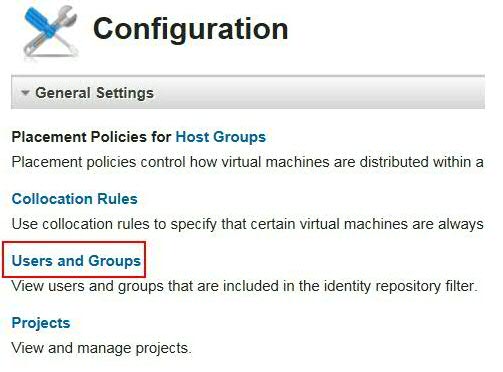
Assign roles to users and groups:An administrator can assign roles to users and groups in the project. To work with users and groups, open the Configuration page and click Users and Groups.
By default, PowerVC uses the local operating system to manage users and groups. To avoid exposing all of the system's users and groups, such as those for system accounts, PowerVC supports both user and group filtering. Only users and groups that match the corresponding filter are listed on the 'Users' page. If you do not see the expected groups and users, see
Configuring operating system users and groups and
Configuring LDAP in the PowerVC Knowledge Center.
The following image depicts two users with their roles assigned for the selected project:
 Working with roles:
There are two ways a user can be assigned a role:
- Assigned Roles – A role that is directly assigned to a user
- Inherited Roles – When a group is assigned a role, all users in the group inherit the group’s roles.
Note that because inherited roles are not listed on the user interface, a user might have a role that is not listed on this page.
Now let’s take a quick look at the procedure for assigning a role to a user or a group:
- On the Users or Groups tab, select any existing user or a group and click Edit Assigned Roles or Edit Roles, as appropriate.
- Select the role to assign. You see this screen when assigning a role to a user:

This screen is shown when assigning roles to a group:
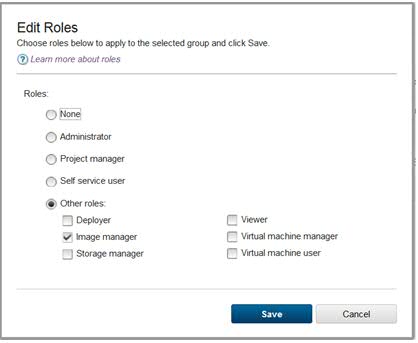
Note that the project manager and self service user roles are available only in IBM cloud PowerVC Manager.
For a description of each role and what authority it includes, review
Managing roles in the PowerVC Knowledge Center.
After updating the roles, save your changes and you're ready to go!
If you have any questions, feel free to add them below. We’d love to hear from you! And don’t forget to follow us on
Facebook,
LinkedIn, and
Twitter.
Blog authored by: Suma Allipuram, Sri Ram Pisupati, Ramyasree Sankepally
IBM PowerVC Software Engineers#security#PowerVC