By: Ajay Kumar
IBM PowerVC software engineer
By now I’m sure you’ve heard about the benefits of our new PowerVC cloud offering. This article describes how to install Cloud PowerVC Manager on a fresh environment, upgrade an environment to 1.3.1 and enable cloud, and how to enable Cloud PowerVC manager on an existing PowerVC Standard 1.3.1 environment.
Installing Cloud PowerVC Manager is similar to installing PowerVC Standard Edition, so if you have already done a PowerVC standard version installation, it will be simple for you to install Cloud PowerVC Manager. Cloud PowerVC Manager and PowerVC Standard Edition use the same installer. You control what’s installed by selecting options during the install.
Before starting, I assume you already have a PowerVC 1.3.1 installer purchased from IBM. If you don’t, you can obtain it from the Entitled Software Support website. Also, make sure that your environment meets all the requirements listed in the PowerVC Knowledge Center Hardware and software requirements topic.
If you follow the below steps carefully, your installation for a fresh or upgrade install will be done in a few minutes. Click this link if you just want to enable cloud edition on your existing 1.3.1 PowerVC: Instructions to Enabling cloud edition on an existing PowerVC 1.3.1
Otherwise continue with the below steps:
Instructions to install/upgrade cloud edition
- Untar the downloaded installer tar file to any location. Your downloaded file name should be like powervc-install-arch_name-rhel-1.3.1.tgz

- Navigate to directory <extracted_directory>/powervc-1.3.1/

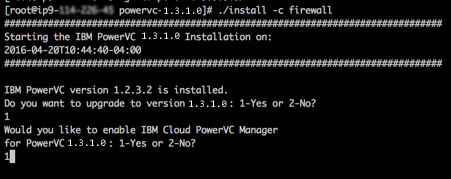
- If you want to configure the firewall manually after the installation run this command: ./install. Otherwise, run ./install –c firewall to go with automatic firewall configuration. In this article, I assume you are going with the automatic firewall configuration option “./install –c firewall”.

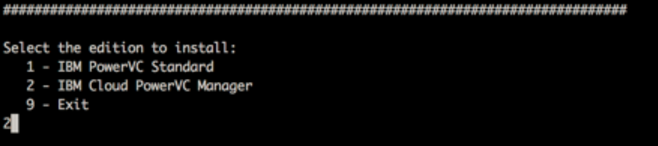
- Next, you can select the edition to install. Type 2 for cloud and press Enter.
If you are upgrading PowerVC then you will get the below options. You need to type 1 for both, as shown in the screenshot:
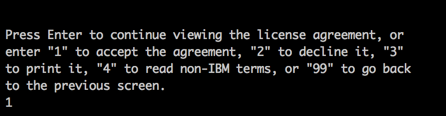
- Type 1 to accept the license and press Enter.
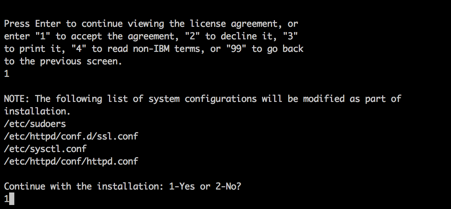
- Type 1 to continue with the installation and press Enter.
The install starts, as shown below:
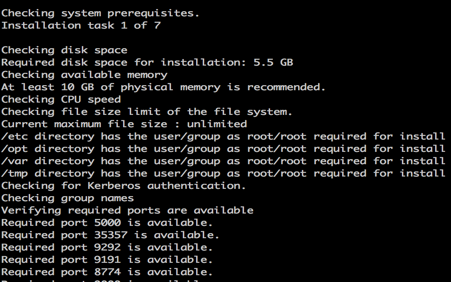
That’s it. Wait for few minutes and your installation will be done. Didn’t I tell you it was simple?

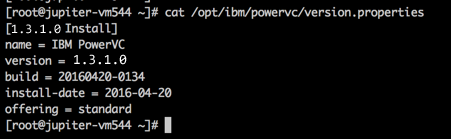
After the install completes, you can verify that the version has been updated and that Cloud PowerVC Manager has been enabled by running the below command:
# > cat /opt/ibm/powervc/version.properties

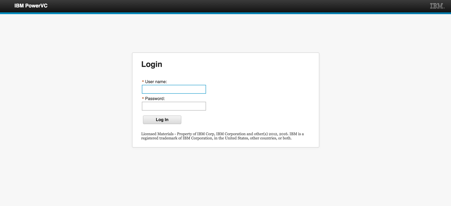
Type the URL-https://your_machine_ip in a PowerVC supported web browser to open the PowerVC UI and PowerVC is ready to start working.
Instructions to enable Cloud PowerVC Manager on an existing PowerVC 1.3.1 system
- Log in to your PowerVC machine via an SSH and verify the version properties by running the below command. You must see that cloud is not enabled yet and offering type is ‘standard’:
#> cat /opt/ibm/powervc/version.properties
- Next, go to the directory ‘/opt/ibm/powervc/images/cloud/’ and run the ls command:
#> cd /opt/ibm/powervc/images/cloud/
#> ls

- You will find a script called ‘install-cloud’. Execute the script by running ./install-cloud.

- Type 1 to accept the license and press Enter.

- That’s it. The installation is started. Wait for a minute and it will be done.
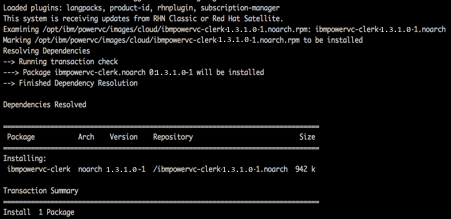
At the end of the installation, you will see the message “IBM Cloud PowerVC Manager installation successfully completed,” like below:

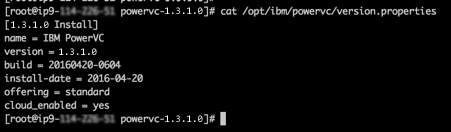
- Run the below command to check the version and cloud status. You will see the “cloud_enabled=yes” as shown in the following screen shot:
#> cat /opt/ibm/powervc/version.properties
As you can see, PowerVC is easy to use from beginning to end. If you have any questions, feel free to add them below. We’d love to hear from you! And don’t forget to follow us on Facebook, LinkedIn, and Twitter.
#privatecloud#Infra#PowerVC