Import an OVA image using PowerVC
Introduction
Previously OVAs created using powervc-image CLI and GUI were not compatible. There was no way to bring those images in PowerVC if it was using remote backup node for export or import images and did not have FC connection on PowerVC controller nodes.
PowerVC 2.1.0 brings the capability to discover and import OVAs using PowerVC GUI as well as REST API.
Let us see how to export an existing image that uses powervc-image CLI, and then import by using the PowerVC GUI.
PowerVC setup
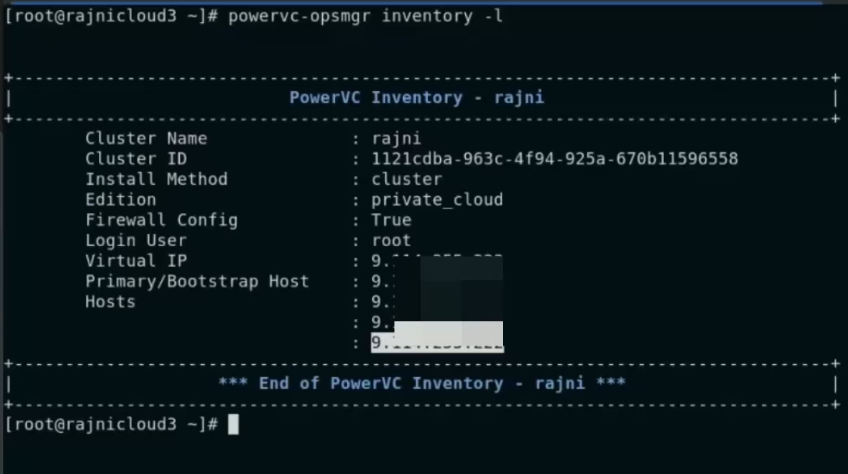
As a first step, consider a three-node PowerVC cluster with two registered Storwize storages.
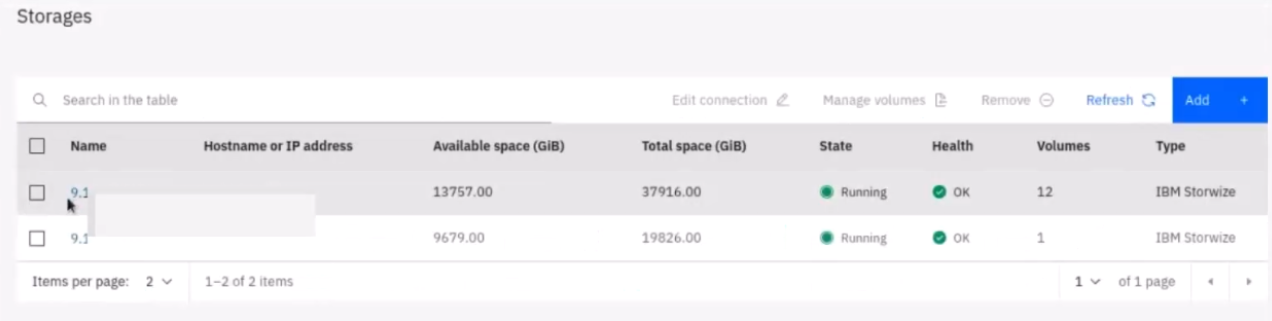
The two registered Storwize storages are displayed.
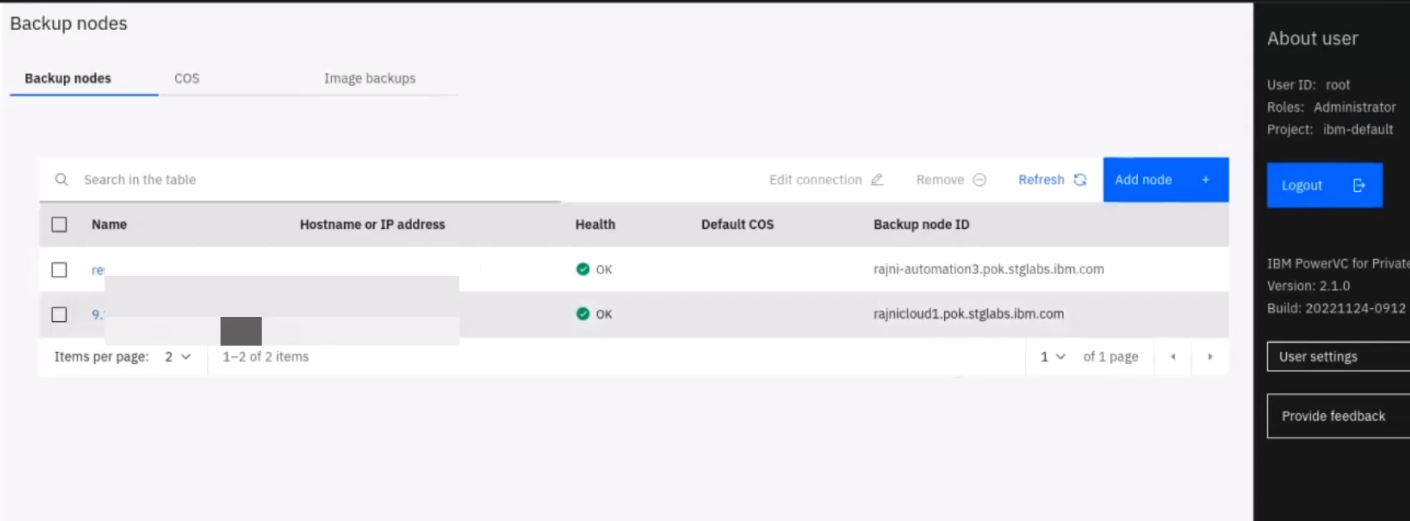
There are two registered backup nodes. One is a local backup node and the other is a remote backup node that contains a fibre channel connection to the first Storwize.
Exporting image using powervc-image CLI
We will use the RHEL-demo-image to export.
Export the RHEL-demo-image image by using the powervc-image CLI command.
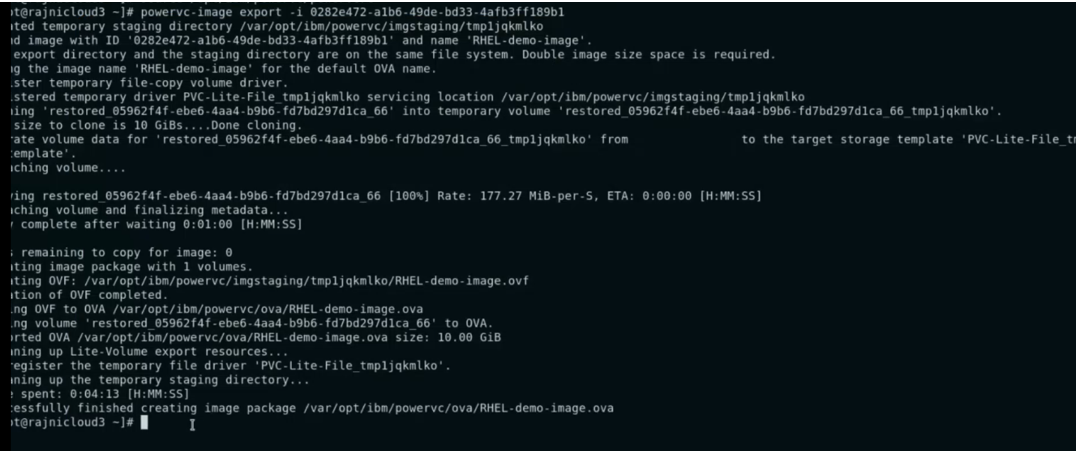
You can see that OVA with the name, RHEL-demo-image.ova is created inside “/var/opt/ibm/powervc/ova”.
Placing OVA on the backup node
To allow PowerVC to discover the powervc-image OVAs, you need to copy the OVAs on the backup node image-ova directory. You can copy the OVAs from one PowerVC instance to another PowerVC instance having the backup node.
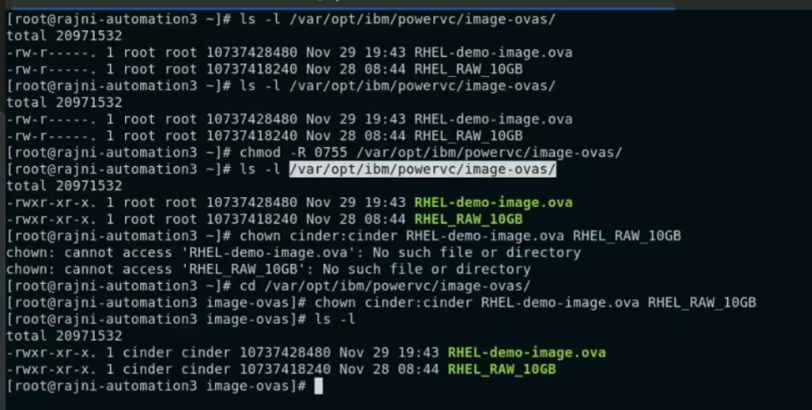
1. Copy or download both the raw file and the newly created OVA file to the backup node in the /var/opt/ibm/powervc/image-ovas
directory.
2. Ensure the file that is copied to this directory must be created with the 0755 permission and cinder:cinder owner and group.
3. Ensure that the directory also has 0755 permission and cinder:cinder owner and group.
3. By default, Image Import-Export operations for backup node use two default paths:
a./var/opt/ibm/powervc/image-backups (param name: backup_posix_path in cinder.conf)
b. /var/opt/ibm/powervc/image-ovas (param name: backup_ova_path in cinder.conf)
Ensure the path set meets the space considerations.
If you want to change the default directories, you should use these steps to configure the paths:
1. Configure or change both params by running this command from one of the nodes on management nodes.
powervc-config storage backup-service posix --backup-node <backup_node_hostname> --posix-path <desired-posix-path> --ova-path <desired-ova-path> --restart
2. Re-check the set properties by running this cli command.
powervc-config storage backup-service show
Discover OVAs using PowerVC GUI
After placing OVA files on backup, discover the images on PowerVC using these steps.
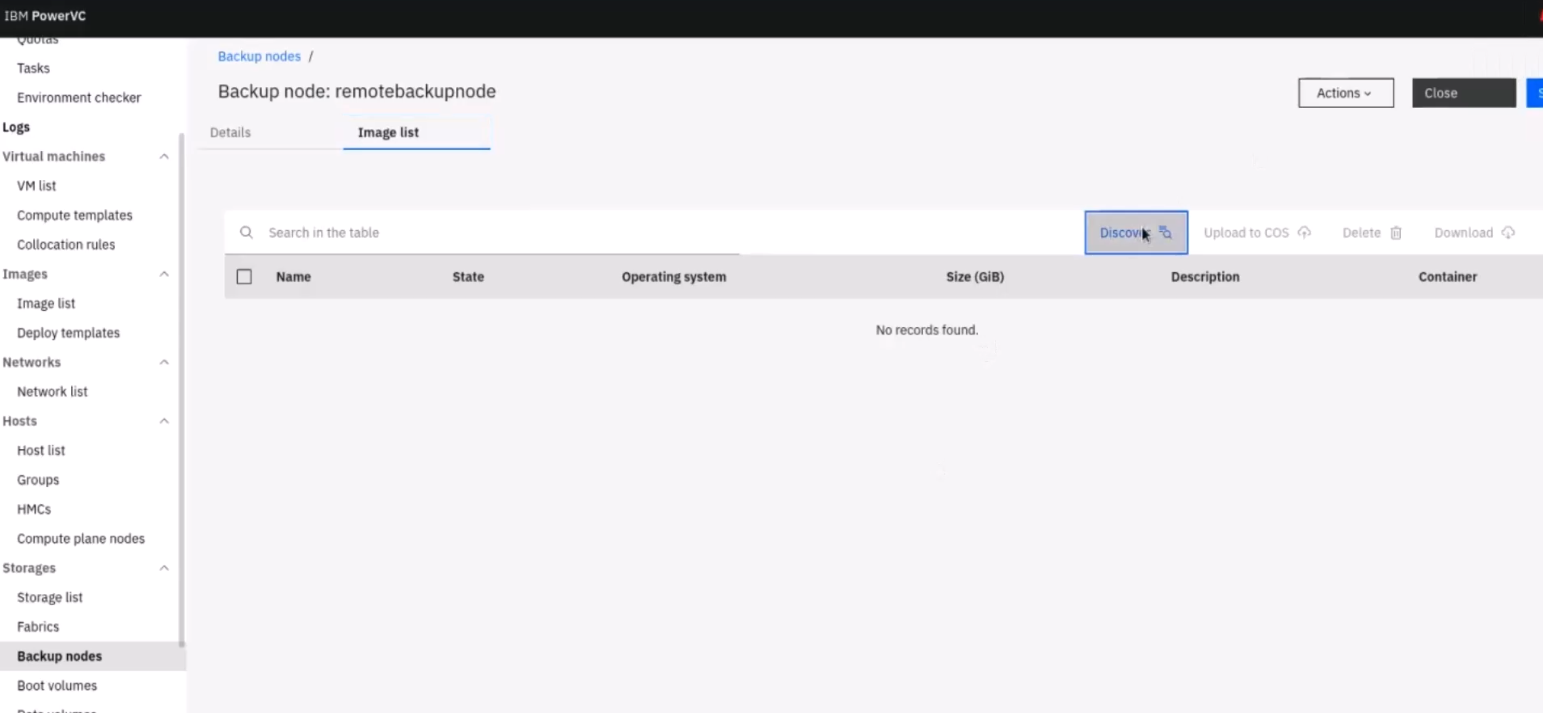
1. Navigate to the Backup Node sub-section under Storage section.
2. Click on the specific Backup Node and navigate to the Image List page.
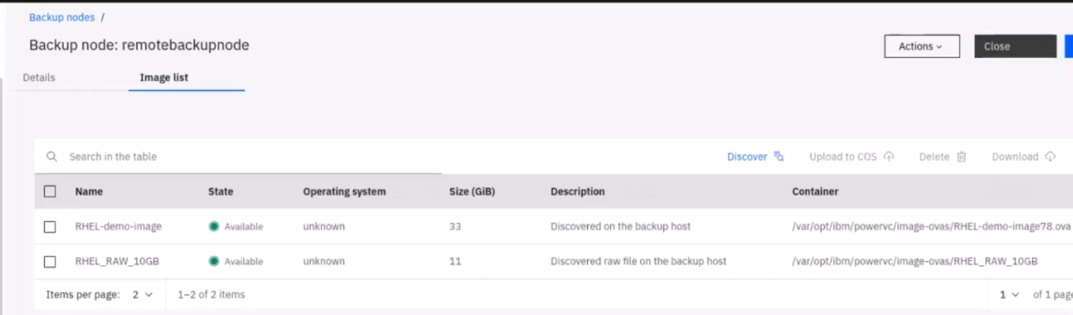
3. Click Discover.
In few seconds, PowerVC discovers the files as image backups.
Alternatively, after placing the files on the backup node, you can discover the files by using REST API.
PUT https://<PowerVC-Virtual-IP>:9000/v3/<tenant-id>/backup-nodes/<BACKUP_NODE_ID>/discover
Sample response
{"backup_node":{"ova_count":10}}
Importing OVA using PowerVC GUI
You can import the discovered OVA by using the PowerVC GUI as follows.
1. Navigate to the Images section, then click Import.
2. Select the image backup name, then click Import.
You see a dialog box.
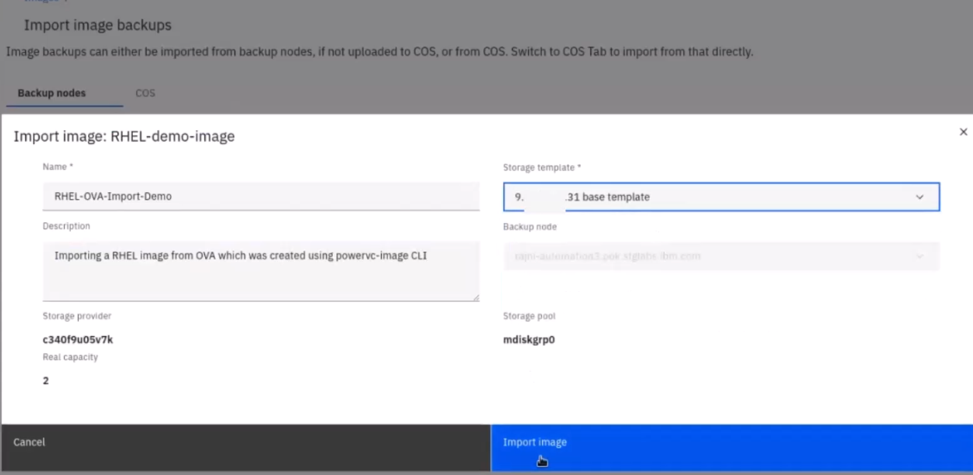
3. Click Import Image after adding the required detail.
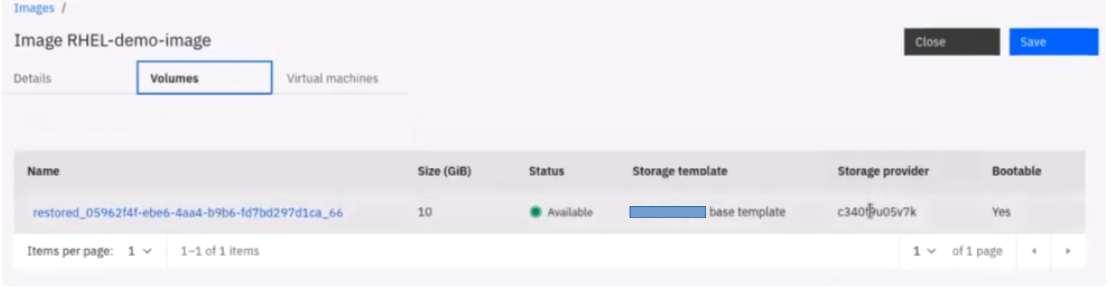
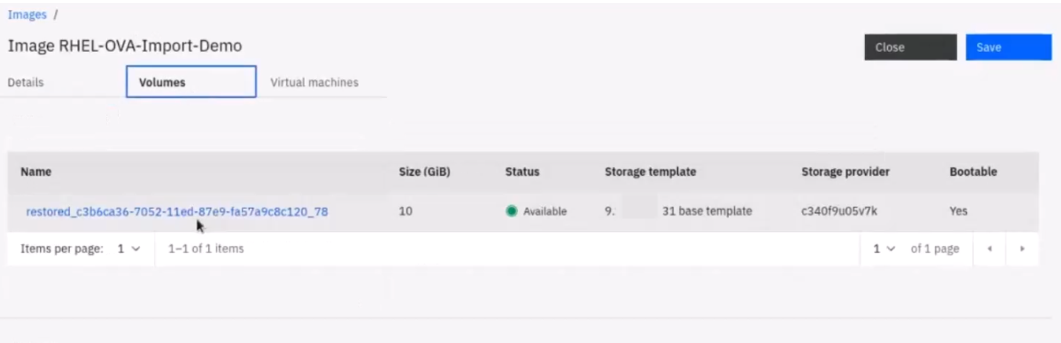
4. In some time, you can see the import operation completion and an image created that is ready for further deployment.
For more information, see the documentation, https://www.ibm.com/docs/en/powervc/2.1.0?topic=images-export-import-using-gui.
Keep watching our social outlets for more interesting information about PowerVC! Find us on Facebook, LinkedIn, Twitter, and YouTube.
Do comment your queries, if any, in the comments section.
Blog authors
Abhinav Shrivastava
Chhavi Agarwal
Rajni Kumari