Co-authors : Amar Shah, Hamsa N.
Introduction
IBM® App Connect Enterprise provides a LoopBackRequest node, which enables you to issue synchronous requests to backend data sources by using LoopBack® connectors such as MongoDB, Cloudant®, or PostgreSQL.
In this article we provide detailed information on the installation and configuration of the required LoopBack® connectors for use with IBM® App Connect Enterprise in container based deployment in Cloud Pak for Integration. We will primarily cover Cloudant and CouchDB databases, however similar technique can be applied to other databases like MongoDB and PostgreSQL.
Pre-requisites:
A cloud infrastructure with OpenShift installed and Cloud Pak for Integration.
Environment:
CP4I 2021.2.1.
Build an ACE Custom Image with Loopback Connectors
First, you need to create a custom ACE container image by installing the required LoopBack connectors. Following is a sample Dockerfile that shows how to install Cloudant and CouchDB LoopBack connectors on top of the base ACE server image.
FROM cp.icr.io/cp/appc/ace-server-prod@sha256:fad57087e71d4630e9321ea9f913f8d3bc7ab41ae6287ac1d8fb69bafab23159
USER root
RUN export PATH=$PATH:/opt/ibm/ace-11/common/node/bin \
    && cd /opt/ibm/ace-11/node_modules \
    && npm install loopback-connector-cloudant --save \
    && npm install loopback-connector-couchdb2 --save \
    && chown -R aceuser:mqbrkrs /opt/ibm/ace-11/node_modules
USER 1000
The directory /opt/ibm/ace-11/ in the example above is with reference to use of an ACE V11 based image. For ACE V12, this path will change to /opt/ibm/ace-12.
Now build the custom ACE image using the above Dockerfile :
docker build -t ace-lb:latest -f <Dockerfilename> .
(last period is important)
Once the image is built, push it to your OpenShift repository
HOST=$(oc get route default-route -n openshift-image-registry --template='{{ .spec.host }}')
docker login -u $(oc whoami) -p $(oc whoami -t) $HOST
docker tag ace-lb $HOST/cp4i-ace/ace-lb:latest
docker push $HOST/cp4i-ace/ace-lb:latest
Note: If you want to use your own registry, then make sure the credentials to access your registry are added to the cluster’s secret.
At this point you should have an image in the OCP Registry that you can use to deploy an Integration Server with the BAR file that contains the message flow with the LoopBack connector.
We now have the ACE image with required LoopBack connector modules to work with Cloudant and CouchDB databases. Let's look at the details on how to develop message flows with a LoopBack request node and deploy them to the ACE Integration Server in CP4I.
Cloudant Database
In this section we will see the configuration steps for the LoopBack connector for Cloudant database.
Step 1: Develop the Integration Flow with LoopBackRequest Node.
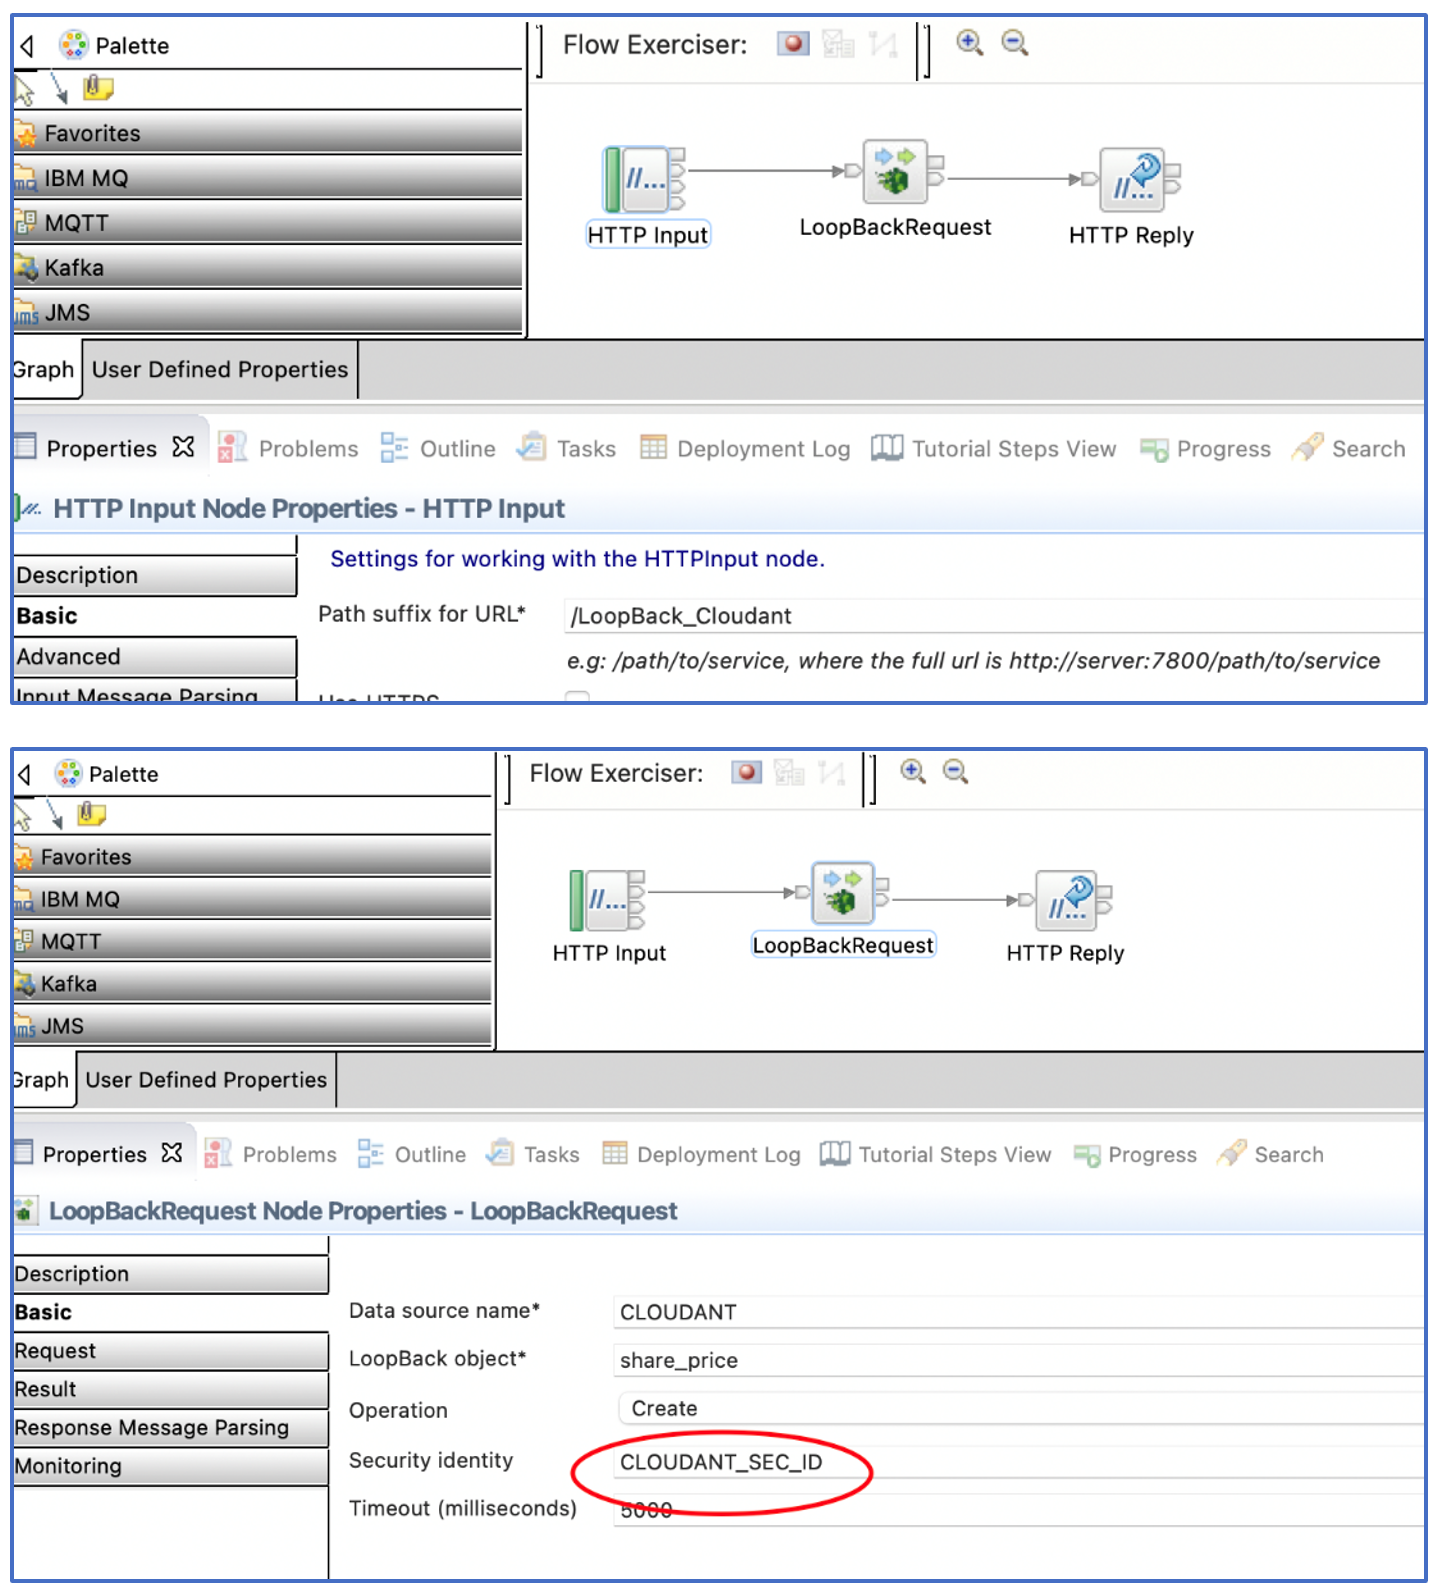
Below is an example of a simple flow developed for creating a record in the Cloudant database.
HTTP Request --> Loopback Request node --> HTTP Reply

Step 2: Prepare Configuration Objects
To deploy to the CP4I Container environment, you will need to inject a certain configuration to the Integration Server at the time of deployment.
For example, userid/passwd for database access, datasource.json file, model definition etc.
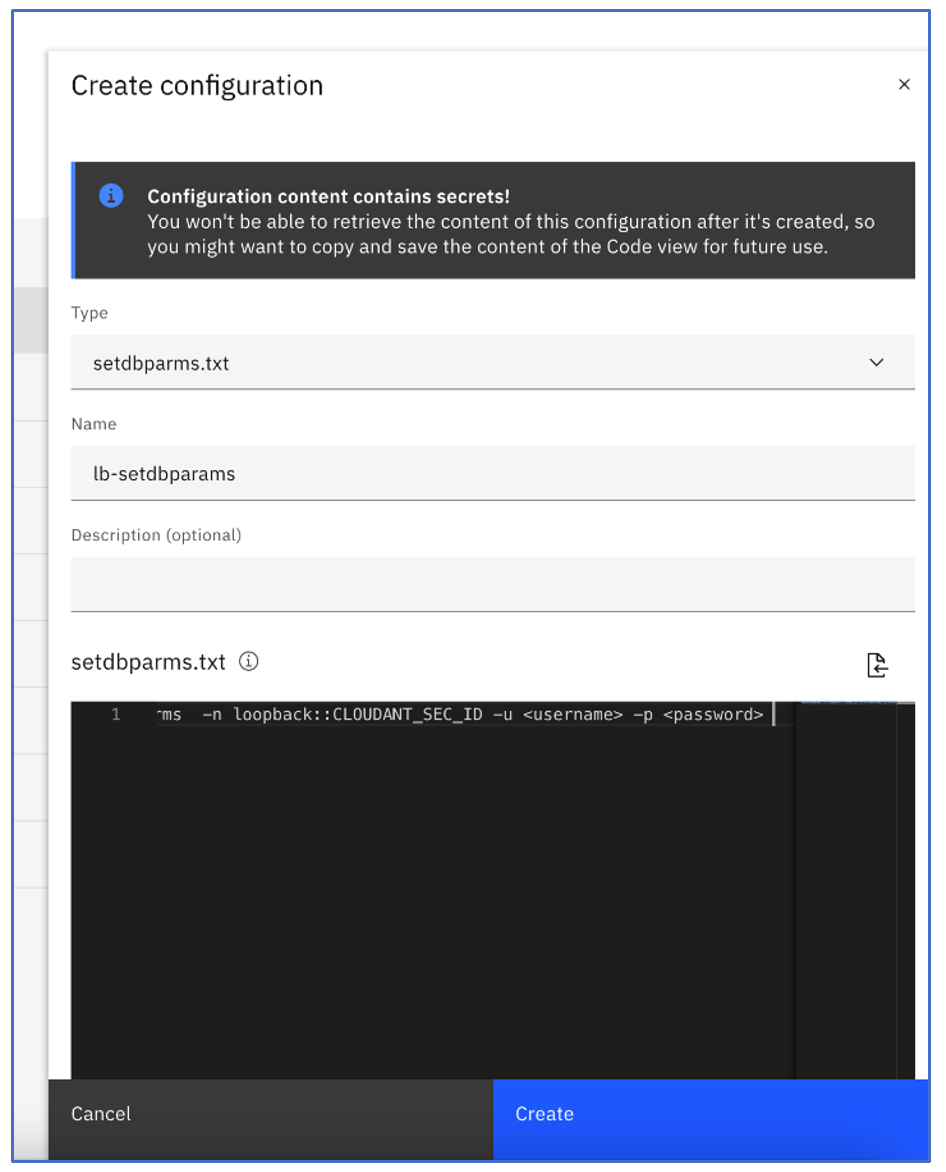
- Create a setdbparms definition
mqsisetdbparms -n loopback::CLOUDANT_SEC_ID -u <username> -p <password>
Note the value for security ID, CLOUDANT_SEC_ID, should be same as what is configured in the message flow node property.
- Create LoopBack connection definition
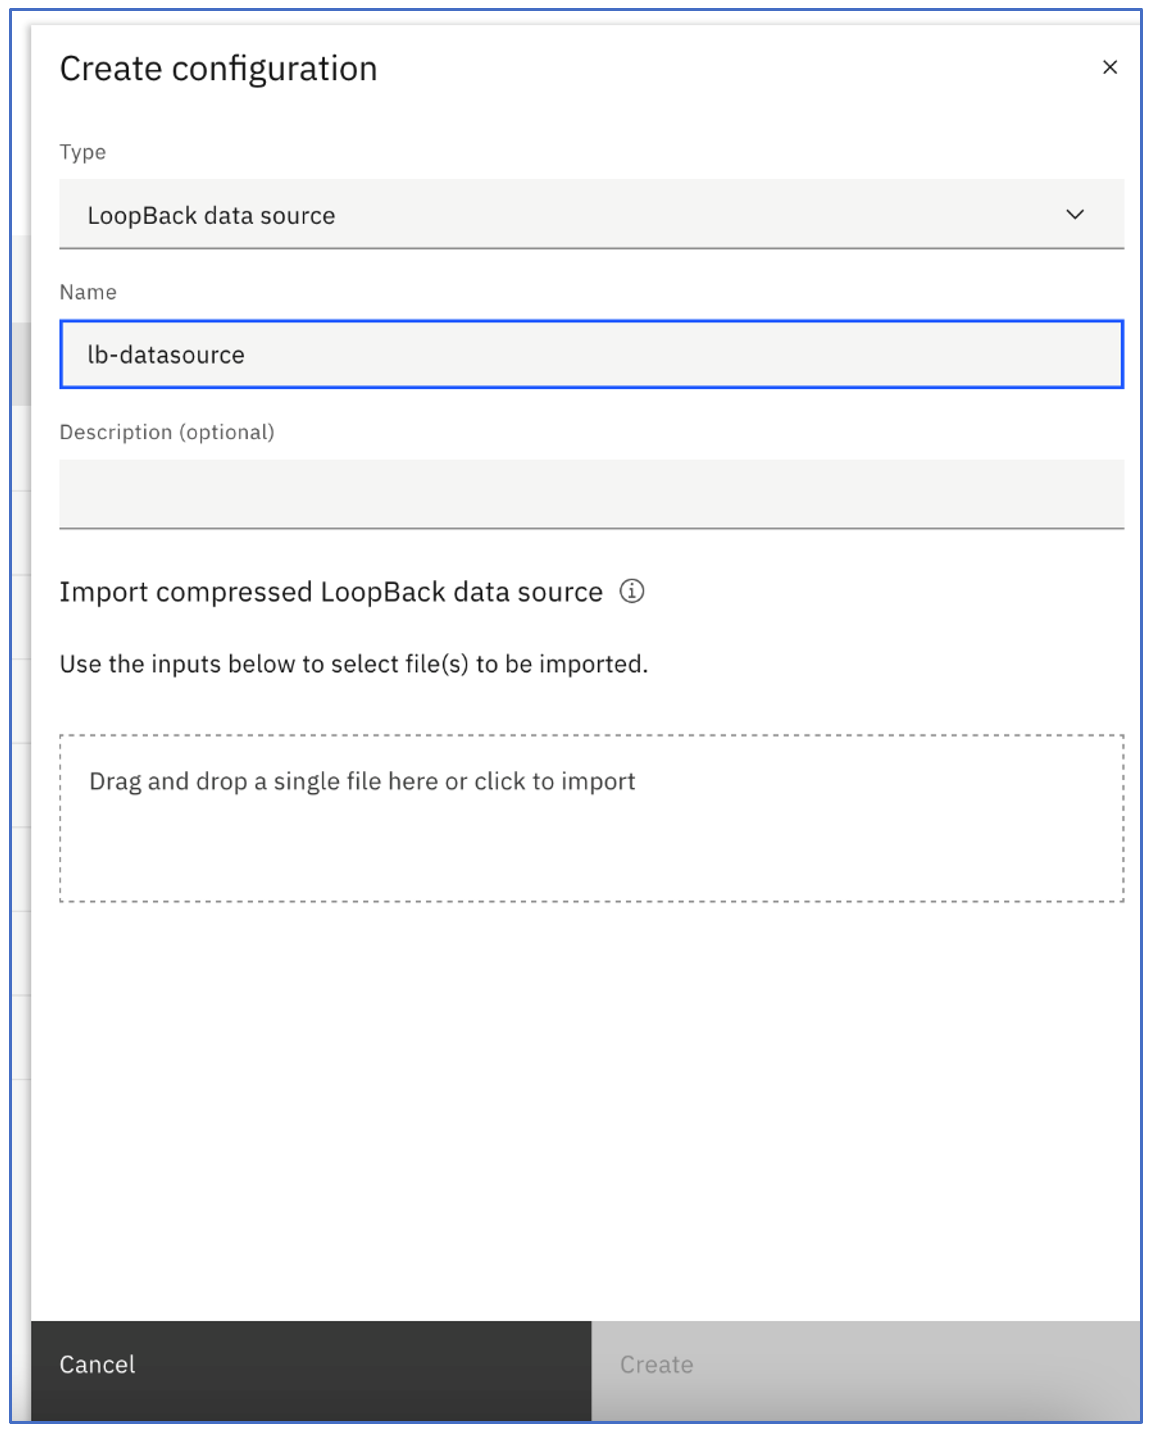
You need to upload the file for datasource and any models defined as a zip.
A sample datasource.json file is shown below for Cloudant.
{
"CLOUDANT":  {
"database": "share_price”,
"name": "CLOUDANT",
"host": "<Host name of Cloudant>",
"port": 443,
"connector": "cloudant"
 }
}
Package this datasource.json and models (if any) into a zip file.
Step 3: Deployment
- Prepare artifacts for deployment to the CP4I cluster.
- Create a BAR file for the message flow from Step 1.
- Keep the Cloudant config objects ready as per Step 2.
- Keep the custom Docker image link created in 1.c handy.
- Login to the ACE Dashboard and click on create Server.
- Select Toolkit flow and click next.
- Upload the BAR file and click next.
- Create configurations.
- Create a setdbparms.txt config – paste the mqsisetdbparms command that you prepared in Step 2 in the text box, as show in the figure below.

- Create one more configuration of type ‘LoopBack Datasource’. You need to upload the file for datasource and any models defined as a zip that you
prepared in Step 2.

Step 4: Testing the Message Flow to Insert a Record into Cloudant DB
- Get the https route to IS POD which you need to invoke the HTTP request of the flow
curl --location --request POST 'http://test-lb-http-ace-lb.apps.acecc-shared-46-eus-2.cp.fyre.ibm.com/LoopBack_Cloudant' \ --header 'Content-Type: application/json' \ --data-raw '{"companyID":"102","company":"IBM UK Ltd","price":198}'
- Verify record created in cloudant
Couchdb Database
#AppConnectEnterprise(ACE)#Loopbackrequestnode#cloudant#couchdb#IBMCloudPakforIntegration(ICP4I)