In this article, we talk about the steps required to deploy simple File Nodes flow in IBM CP4I and use it to transfer the file from one server to another server. Here we use SFTP (Secure File Transfer Protocol) to establish secure communication channel to an SFTP server to perform file-based operations.
File Nodes message flow has FileInput node connected to FileOutput node. A FileInput node can be used to read a local file or a file from a remote server and a FileOutput node can be used to save the output file to a local machine or a remote server using FTP/SFTP transport.
The remote server details from where the file is read, can be directly mentioned in the FTP tab of File Nodes or it can be provided in the policy file. In-order to do that using policy file, create a policy file inside a policy project and mention the remote server details, then create a message flow with a FileInput node and a FileOutput node and specify the policy file in the node properties.
The steps to do the same are explained below.
Creation of policies :
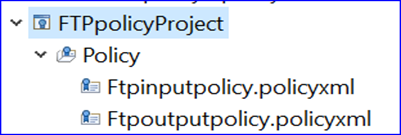
Create a policy project with 2 policies Ftpinputpolicy and Ftpoutputpolicy as shown below.
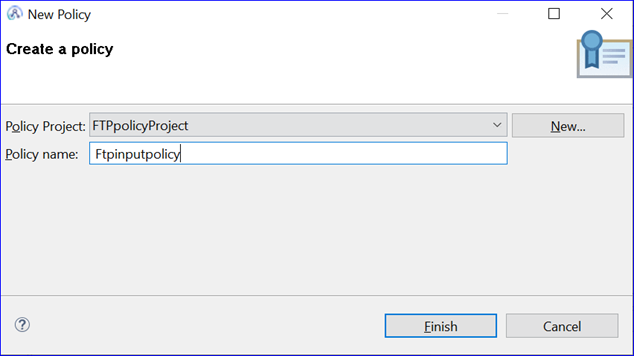
To create the policy in Application Development Perspective, Go to File -> Click on ‘New’ -> Select ‘Policy’
Further, Click on ‘New’. Provide any ‘Policy Project’ say FTPpolicyProject. Then provide any ‘Policy name’ say Ftpinputpolicy. Similarly create Ftpoutputpolicy.
-> Ftpinputpolicy - Used to specify the details like server name, directory and other related properties to access the remote server which is used by FileInput node.
-> Ftpoutputpolicy - Used to specify the details like server name, directory and other related properties to access the remote server which is used by FileOutput node.
Open Ftpinputpolicy policy file. Select Type as “FTP Server” and provide the Ftpinputpolicy properties as shown below :
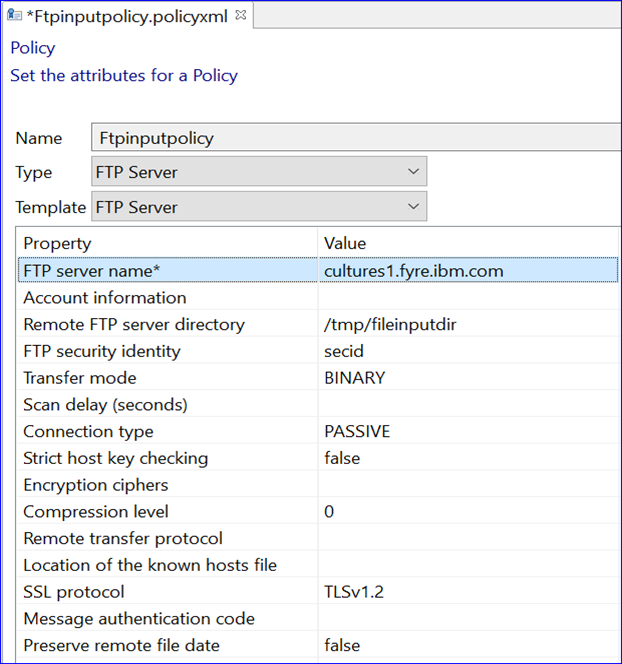
-> FTP server name is the remote server’s name (Eg : cultures1.fyre.ibm.com) which needs to be accessed.
-> FTP security identity is the security identity (Eg : secid) which is created using mqsisetdbparms command to access the remote server.
-> Remote FTP server directory is the directory used in the remote server (Eg : /tmp/fileinputdir).
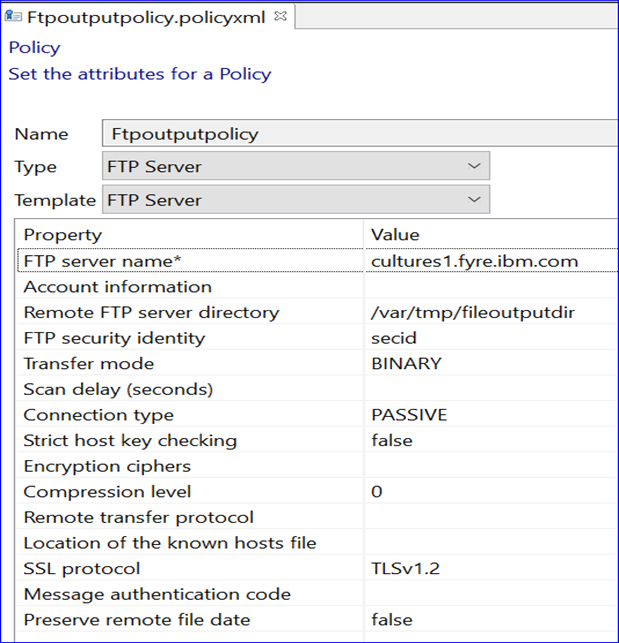
Similarly create the new policy with the name ‘Ftpoutputpolicy’ and provide the remote server details as shown below.
Creation of File Nodes flow.

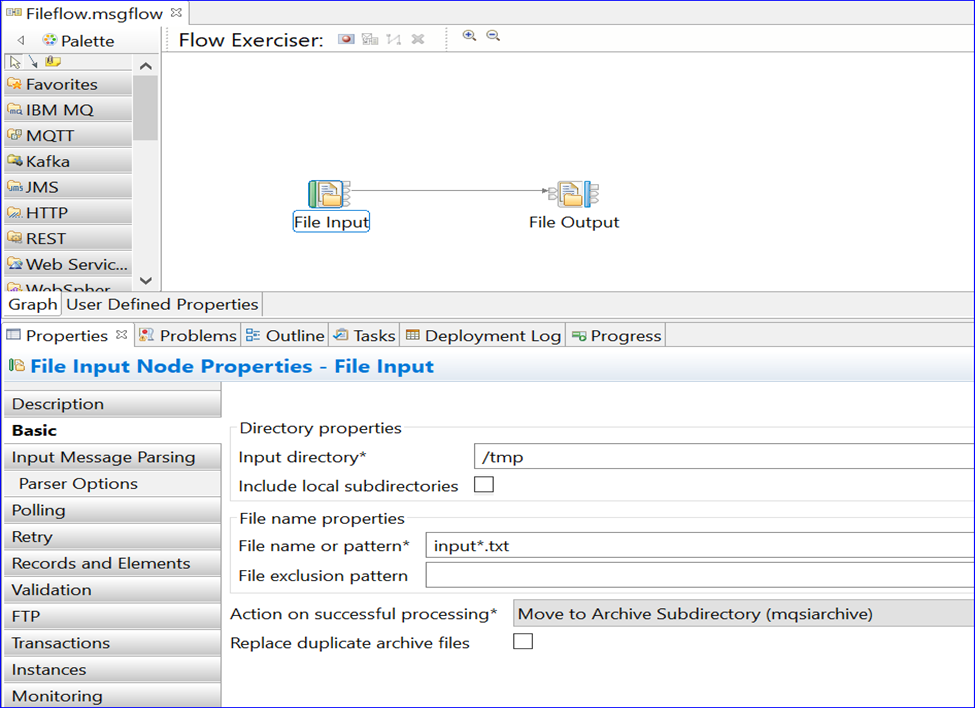
File input node properties :
Add the basic property like file input directory(Eg : /tmp) and the file name pattern (Eg : input*.txt) to be processed as shown in the below screenshot.
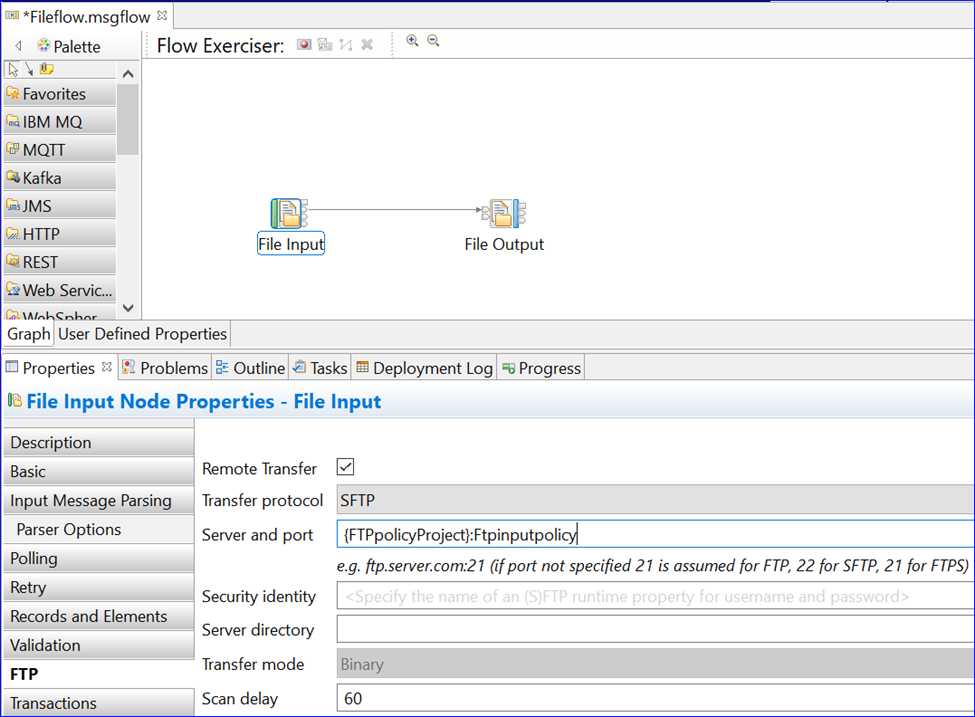
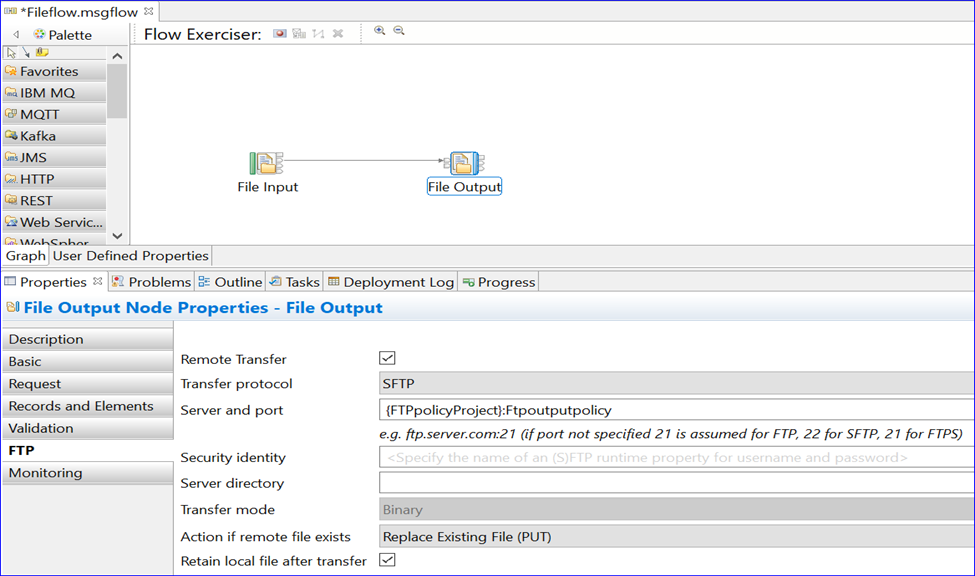
Specify the details of Ftpinputpolicy in FileInput Node as shown in below.
-> Select “Remote Transfer” option.
-> Select “SFTP” transfer protocol.
-> Provide the policy name in the format {policy_project}:policy_name. Example as shown below: {FTPpolicyProject}:Ftpinputpolicy
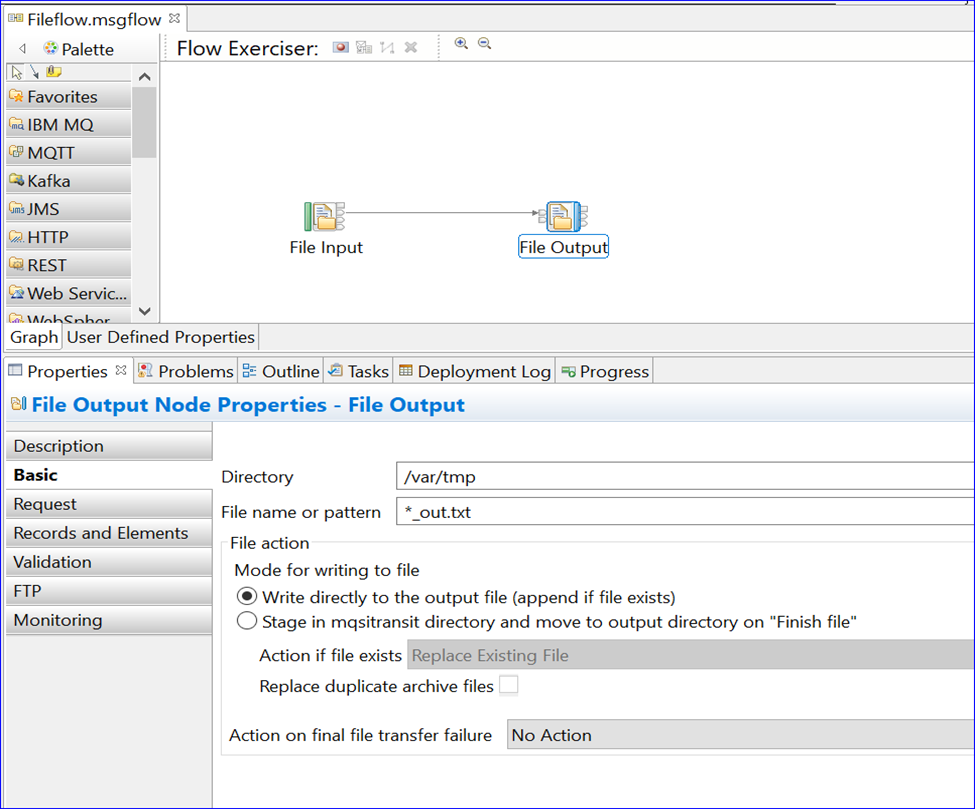
File Output node properties :
Add the basic property like file output directory(Eg : /var/tmp) and the file name pattern (Eg : *_out.txt) to be processed as shown in the below screenshot.
Add the details of Ftpoutputpolicy created as shown in below screenshot.
Now we need to export this policy project to the local directory. This can be done in toolkit by right clicking on FTPpolicyProject.
Then Click on Export -> Select Project Interchange.
Enter the local directory path where it is to be exported and provide the name of the zip file as ftppolicyproject.zip. Now the zip file is created in that local directory.
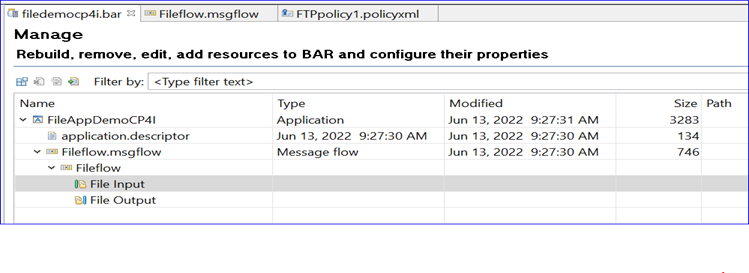
Create the bar file and copy the bar file to local file directory.
- Select File -> New -> Bar file .
- Select the FileNodes application and click on ‘Build and Save’.
- Now the bar file is created, Then copy that bar file to a local directory.
Deploy in CP4I
The bar file has to be deployed to the Integration Server created in CP4I by providing the configuration files. Steps for the same are as provided below.
- Click on Create server.
- Select the bar file to deploy.
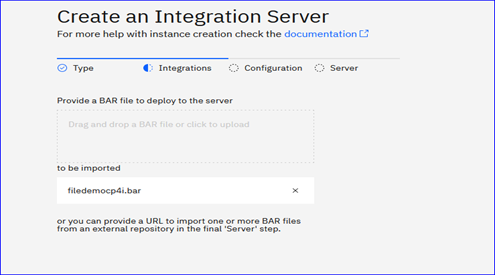
- Click on Next.
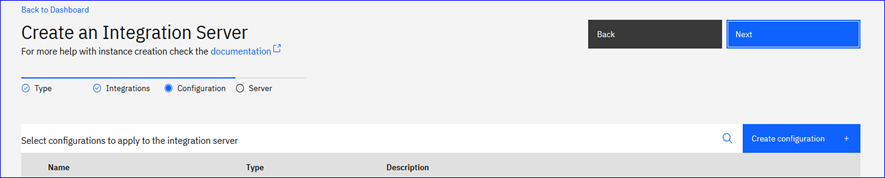
- Now to create configuration. Click on Create configuration.
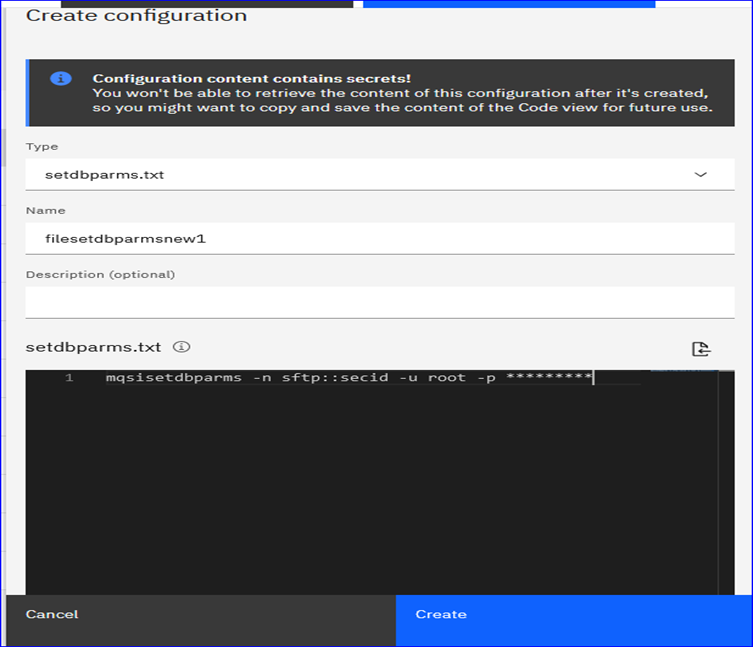
- Select setdbparms in the drop down.
- Give a name say “filesetdbparmsnew1” as shown in the below screenshot.
- Enter the mqsisetdbparms command with the credentials for remote server. We can either use “FTP” or “SFTP” protocol. Here we are using sftp because the remote server used here supports sftp protocol connections.
Command syntax:
mqsisetdbparms -n <protocol>::<security_identity) -u <username> -p <password>
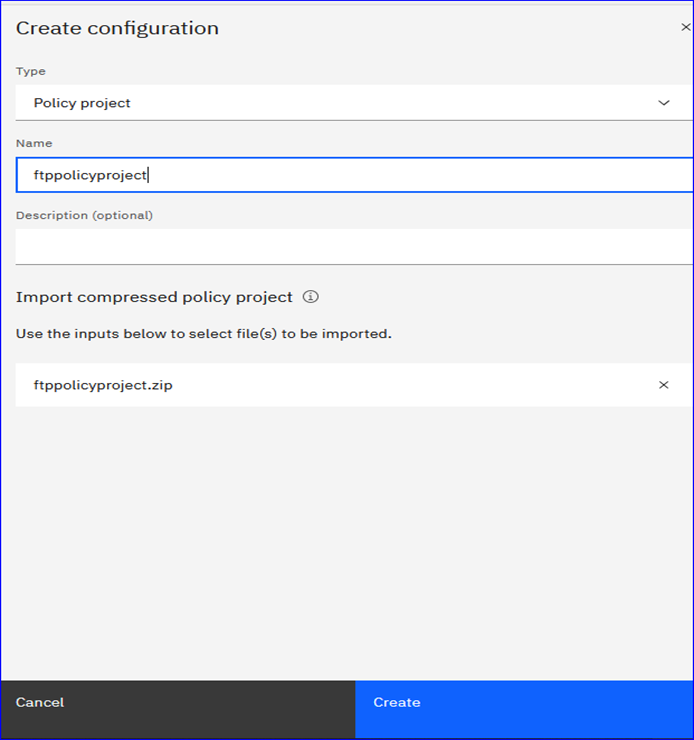
- Click on Create configuration, Select “Policy project” in drop down. Provide the name, then import the zip file as shown below and click on Create.
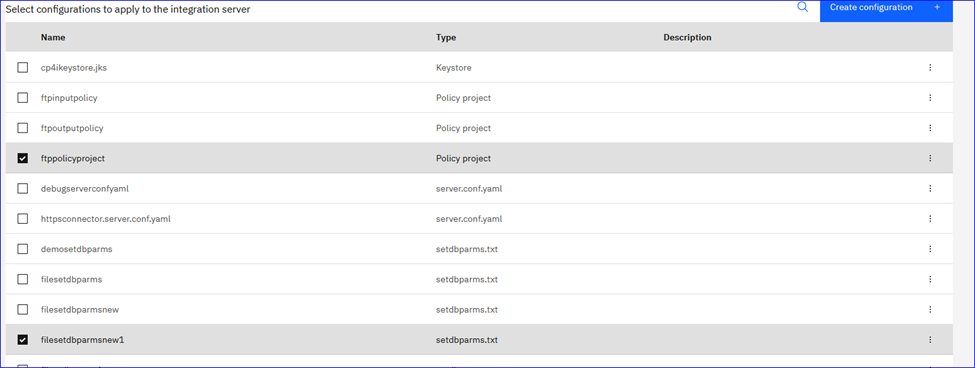
- Select the filesetdbparmsnew1, ftppolicyproject configurations as shown below and click on Next.
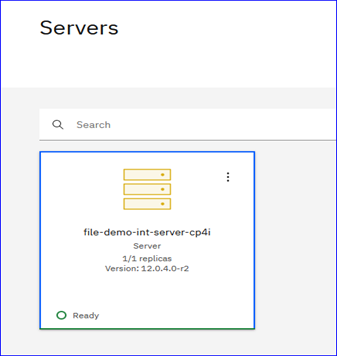
- Enter the integration server name say ‘file-demo-int-server-cp4i’ and rest all remains the same.
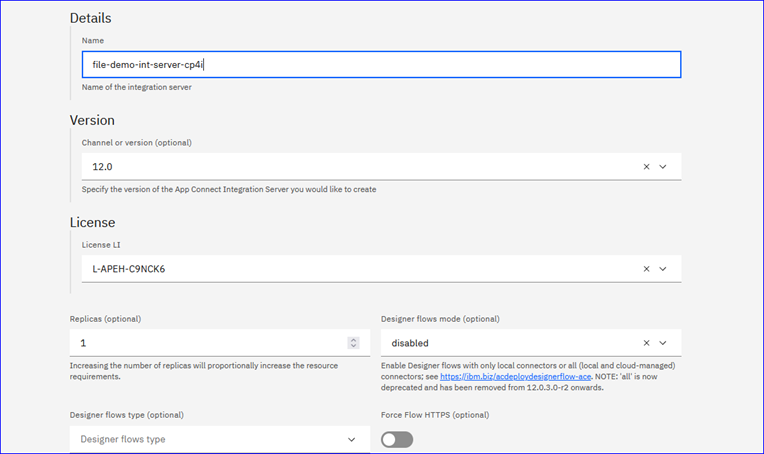
- Click on Create and the integration server is created as shown below.
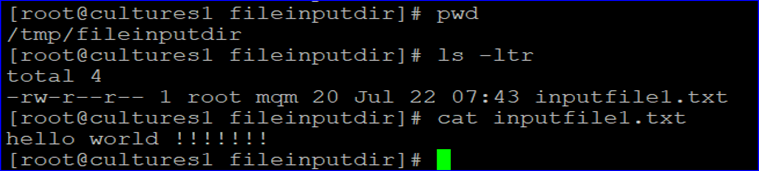
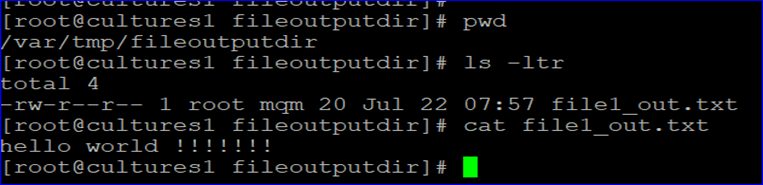
After deployment, Files are moved from /tmp/fileinputdir to /var/tmp/fileoutputdir in remote server cultures1.fyre.ibm.com as shown in below screenshots.
NOTE :
Similarly, we can do the same for different remote servers by changing the FTP server name in Ftpoutputpolicy file created above , then export that to ftppolicyproject.zip file and update the modified zip file in App connect Dashboard. Automatically pod will restart, and the files are saved in different remote server mentioned in policy.