The Advanced Message Queuing Protocol(AMQP) is an open standard application layer protocol for message-oriented middleware.
AMQP specifies how messages are sent between senders and receivers. An application acts as a sender when the application sends a message to message broker, such as IBM® MQ. IBM MQ acts as a sender when it sends a message to an AMQP application.
Some of the benefits of AMQP are as follows:
- An open standardized protocol
- Compatibility with other open source AMQP 1.0 clients
- Many open source client implementations available
The IBM® MQ support for AMQP APIs, allows an IBM MQ administrator to create an AMQP channel. When it is started, this channel defines a port number that accepts connections from AMQP client applications. An AMQP 1.0 client application can connect to queue manager with an AMQP channel.
Developing client applications: https://www.ibm.com/docs/en/ibm-mq/9.3?topic=applications-developing-amqp-client
Start an new free trial and Experience IBM MQ!
This article will demonstrate how third party client libraries can be used to connect and perform operations on IBM MQ using the AMQP 1.0 standard. For this example, I will be using an azure golang client: go-amqp
First, ensure you have MQ installed on your server machine and create a queue manager with an AMQP Channel.
- Create a queue manager
crtmqm DEMO
- Start the queue manager
strmqm DEMO
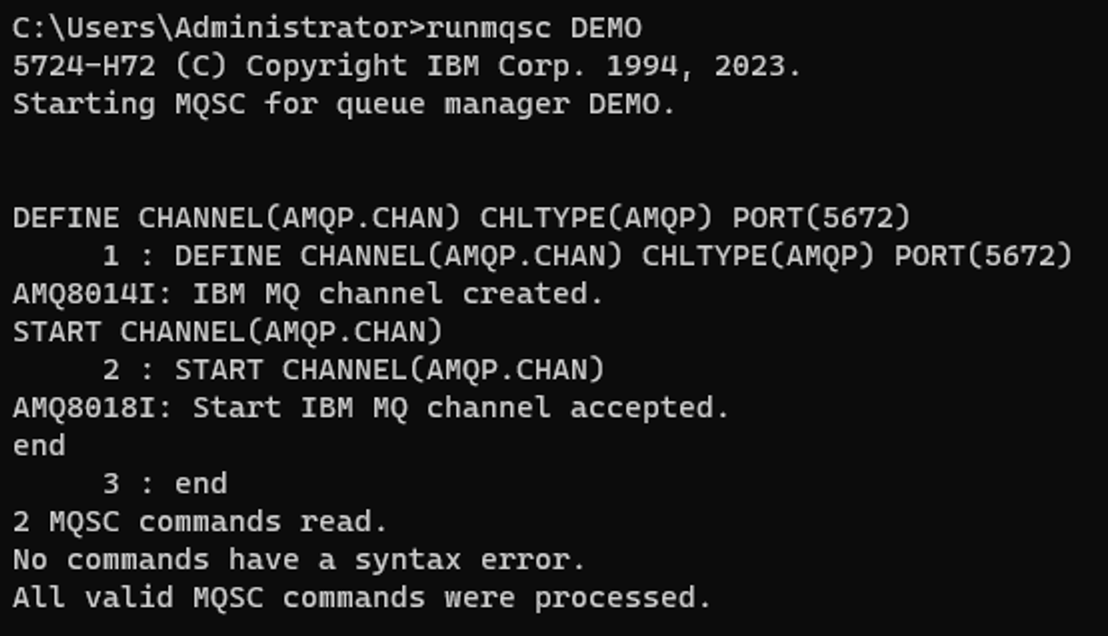
- Create an AMQP channel and start it.
runmqsc DEMO
DEFINE CHANNEL(AMQP.CHAN) CHLTYPE(AMQP) PORT(5672)
START CHANNEL(AMQP.CHAN)
end

- The destination for your messages can be a "queue" or a "topic" in IBM MQ. If you want to use the queue capability of MQ, define a queue. If you want to use topics, this step can be skipped.
runmqsc DEMO
DEFINE QLOCAL(DEMOQUEUE)
end
- Verify that the AMQP service is running.
runmqsc DEMO
DISPLAY SVSTATUS(*)
end
The status should be seen as "Running". If the service is stopped, run:
runmqsc DEMO
START SERVICE(SYSTEM.AMQP.SERVICE)
end
Prerequisites:
Samples have been provided at the end of this blog for plug and play functionality. Additionally, the steps below will give an idea about the key concepts involved and help you to build your own applications.
Steps:
- Create a connection to the messaging broker (IBM MQ).
conn, err := amqp.Dial(context.TODO(), "amqp://<username>:<password>@<host>:<port>", nil)
- Open a new session.
session, err := conn.NewSession(context.TODO(), nil)
- Choose a destination. IBM MQ provides support for both Queues and Topics. Sender options must be declared and the capability should be set to your destination preference. If this step is omitted, MQ defaults the destination to a Topic.
- If the destination is a topic:
SenderOptions := &amqp.SenderOptions{
	TargetCapabilities: []string{"topic"},
}
- If the destination is a queue:
SenderOptions = &amqp.SenderOptions{
	TargetCapabilities: []string{"queue"},
}
- Create a sender, providing the queue/topic name and the sender options defined earlier.
sender, err := session.NewSender(context.TODO(), <destination>, SenderOptions)
- Create a message.
Note: MQ requires the 'Message.properties.to' field to contain the address of the receiver.
addr := "amqp://<username>:<password>@<host>:<port>"

// Create a message
msg := &amqp.Message{
	Data: [][]byte{[]byte("Hello, World!")},
	Properties: &amqp.MessageProperties{
		To: &addr,
	},
}
- Send the message!
err = sender.Send(context.TODO(), msg, nil)
if err != nil {
	fmt.Println("Error in MessageSend")
	log.Fatal(err)
}
- Create a connection and a new session same as step 1 and 2 above.
- Define source capabilities in the receiver options to declare the source as a Queue or a Topic. Once again, MQ defaults to a topic if this is omitted.
- If the source is a Queue:
ReceiverOptions = &amqp.ReceiverOptions{
	SourceCapabilities: []string{"queue"},
}
- If the source is a Topic:
ReceiverOptions := &amqp.ReceiverOptions{
	SourceCapabilities: []string{"topic"},
}
- Create a receiver. Specify the queue/topic name and the receiver options defined earlier.
receiver, err := session.NewReceiver(context.TODO(), <destination>, ReceiverOptions)
- Get the messages!
for{
	msg, err := receiver.Receive(context.TODO(), nil)
	if msg != nil{
		fmt.Println("Received:",string(msg.GetData()))
		receiver.AcceptMessage(context.TODO(), msg)
	}else{
            fmt.Println("No More Messages")
            break
        }
	if err != nil{
		fmt.Println("Error")
	}
}
This snippet ensures that we continue to receive messages asynchronously until the connection times out.
Note:
- Make sure you replace the placeholders in the address like username, password, host, port with your IBM MQ credentials!
- Ensure that the user has sufficient authority to put and get messages. Refer to MQ documentation to access instructions to do so.
- If your destination is a topic, start the consumer application first, so as to subscribe to the topic and then run the publisher application in another terminal.
Samples:
Refer to the ibm-messaging community on GitHub to access samples: IBM MQ Go AMQP 1.0 samples
Two samples have been provided:
- amqpProducer.go:
This Go application is used to put 10 messages from the client to the destination in the broker (IBM MQ). Messages can be put either onto a Queue or a Topic.
- amqpConsumer.go:
This Go application is used to get messages from the destination in the broker (IBM MQ) back to the client. Messages can be received either from a Queue or a Topic.
Sample outputs:
- Sending messages to a queue
- Receiving messages back from a queue