There are many times where the data needed for a Planning Application comes from a database. This could be Organisation hierarchies for a sales planning application or last years actuals to form the basis of this years plan.
This data can, of course, be uploaded to Planning Analytics using flat files however, using a database directly provides several benefits:
- The data can be pulled on demand from the latest data without the latency and automation involved extracting to files, moving and loading.
- Altering a select statement can be quicker when developing vs altering a file extract.
- Using a live database connection also enables the ability to “drill to detail”. Often there is no need to plan at the lowest levels of detail such as sku. Planning at higher levels, such as product category, is often sufficient and creates a smaller and faster database . The “drill to detail” allows a user to select a cell in the planning application and see what it is made up from in the source system i.e. show me all the sku’s that make up this figure.
It is rare that an organization would be happy to completely open up their database to the internet for queries so a secure, encrypted method of accessing the database is required. There are two secure methods for allowing Planning Analytics to run ODBC queries against a database:
- Where the database is a cloud database and provides encrypted ODBC such as DB2onCloud, AzureAD, Amazon Redshift etc.
- Where the database sits behind a firewall (on premise or in a cloud) it requires extra technology to create a secure network path for the ODBC commands to communicate.
For point 1, a support ticket is raised and, if the target database source requested is supported, Support liaises with the client on what is required to be configured. Satellite Connector is not used as a direct connection is created.
For point 2, IBM Planning Analytics comes with Satellite Connector.
The Satellite Connector Agent (SCA) is installed on premise and creates an outgoing connection to Planning Analytics in the cloud. This connection is encrypted and allows for Planning Analytics to send ODBC commands to the Satellite Connector Agent. The Agent then passes on the command to the respective database.
Please Note: Satellite Connector is a full, standalone, IBM Technology that clients can use in their own IBM Cloud Accounts. To simplify its use Planning Analytics on Cloud has embedded the technology into the offering as part of the subscription. As a part of the Planning Analytics on Cloud solution the only documentation relevant to Satellite Connector is the Agent itself, all server components are managed by IBM as part of the service. This can cause some confusion when clients read the Satellite Connector documentation so please ignore any that discusses the server/cloud side of Satellite Connector.
Satellite Connector
Each Planning Analytics on Cloud customer will be entitled to one Satellite Connector (Additional connectors can be purchased as an add on).
Each Satellite Connector can connect to multiple Planning Analytics on Cloud environments (i.e. Dev and Prod).
A Satellite Connector can support up to 6 Satellite agents (for HA) and a Connector supports a maximum of 35 endpoints (Database connections).
The installation of the Satellite Connector Agent is relatively simple however it does require infrastructure and possible firewall changes.
To prepare your infrastructure for the implementation of the Satellite Connector Agent with Planning Analytics on Cloud.
A Satellite Connector agent can runs natively on windows as a service or as a docker agent. Many clients use Windows OR do not have container skills so I have focused on information pertaining to a native Windows agent install.
If docker, for the benefits it provides, is an option, you can find more information on how to run the image on Windows Subsystem for Linux (WSL2) here: https://docs.docker.com/desktop/wsl/
Windows agent hardware requirements:
You will need one (or more) machines (usually virtual) for the Windows Satellite Connector Agent to be installed on.
In a default Planning Analytics subscription, one satellite connector (aka tunnel) is created for all environments eg. Development environment and Production environment.
If you have additional environments ie. UAT (User Acceptance Testing) these are also covered by one satellite connector.
This single connector will support up to 35 endpoints (database connections) so if you wish to use a development database for your PA development environment and a production database for your PA production environment you would have two endpoints using the same satellite connector.
Two Windows agents cannot coexist on the same machine as they run as a service.
* The limitation of two agents coexisting on the same Windows Server has been removed in version 1.2.0. Please note that creating two agents on the same machine for one connector does not really contribute to HA. The use case for this is where a client has purchased additional connectors, eg. to segregate dev and prod, but wish to reuse the same agent machine/s. for more information on how to install please see: Deploying multiple Connector Windows agents on a single machine.
For High Availability (HA), two or more machines with agents installed are required per Connector (connection to Planning Analytics). A recommendation for HA is three agents per Satellite Connector meaning three windows machines.
An alternative is to use Docker containers which would reduce the number of machines required as more than one container can run on the same machine.
Installation requirements for the machines:
The installation requirement for the Windows agent is:
- Connector agent for Windows supports Windows 10 and later or Windows Server 2016 and later.
- The Windows server where you run your Connector agent must have at least 4 cores and 4GB memory.
- For high availability, plan to deploy 1 agent per windows host and 3 to 6 agents in total per Planning Analytics environment.
- The Windows machine must have a network route to the required databases and port 443 outgoing to the internet.
Note on High Availability (HA): HA is seldom required in Planning Analytics on Cloud environments due to the nature of use (batch and low volume) however, this is a decision made based on risk levels of a particular PA application and the data connectivity required from the source databases.
Networking (Firewall rules):
All Satellite Connector Agent machines need a network route that is open to your internal/cloud databases and their respective ports (target data sources)
All Satellite Connector Agent machines need an outgoing internet connection on port 443.
Note on Firewall configuration:
IF your firewall team only open outgoing ports (443) to specific destinations
An FQDN (Fully Qualified Domain Name) should be used if possible as IP addresses can change.
Network requirements and endpoints can be found here: https://ibm.biz/CS_PAoC_SCA_NetReq
When looking at the network requirements link above for the target Satellite Connector data centre it is important to note where your current Planning Analytics on Cloud system operates and select the correct Satellite Connector data center for your 443 outgoing rules. ie, for EMEA use the Frankfurt details.
Planning Analytics to Satellite Connector mappings:
| Current Planning Analytics Customer Datacenter |
Compatible Satellite Connector Datacenter |
Amsterdam, Netherlands
Frankfurt, Germany |
Frankfurt, Germany |
Sydney, Australia
Singapore |
Sydney, Australia |
| Montreal, Canada |
Toronto, Canada |
| Washington DC, USA |
Washington DC, USA |
| San Jose, California, USA |
Dallas, Texas, USA |
Windows Agent Installation and Configuration:
Once the machines that will host the Satellite Connector Agent are provisioned in your network and the firewall is open you can start the agent installation and configuration process.
Step 1, Define the Satellite Connector in Planning Analytics Workspace
In Planning Analytics Workspace select the Administration tile and then the Satellite Connector tile.
| In Planning Analytics Workspace select the Administration tile |
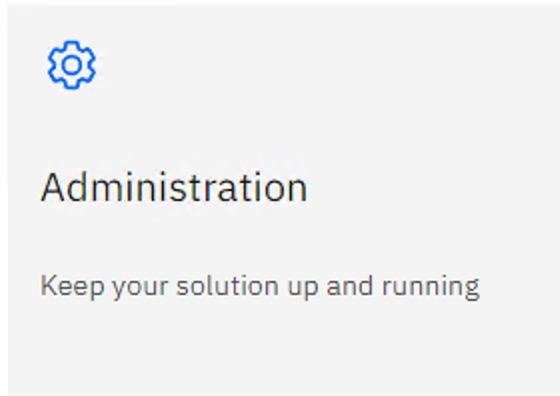 |
| and then the Satellite Connector tile. |
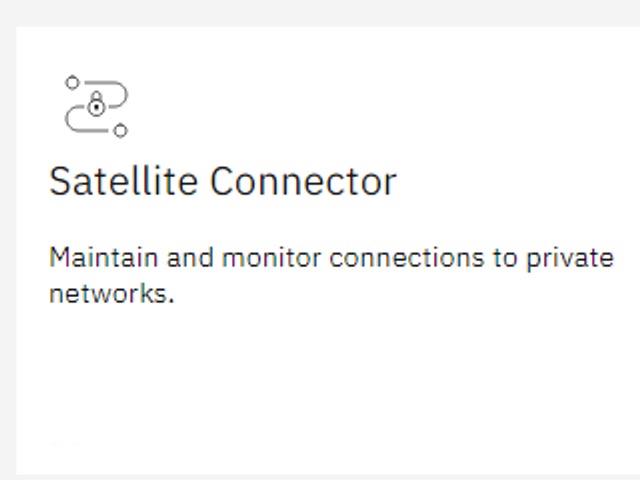 |
| In the Satellite Connector select "Create connector" |
|
| Give the connector a name such as London or Head office (for the location where the Agent will be installed) and hit Create. |
|
You will now see your Connector details such as location the connector is managed from and current status:
Step 2, Download the client, config and access tokens:
Step 3, Run the Satellite connector agent installation and configure using the config file and access token
| Before running the install for the Satellite connector agent you will need to extract the files to an appropriate location. Often, files downloaded are blocked by Windows so it is advised to "right click" on the installer zip file, select properties and check the "Unblock" option. |
 |
| You can now "Extract All" the contents of the installer zip file to a directory where you would like the installer to run. The directory choice is up to you, in this case I have used "C:\sat-win-client". |
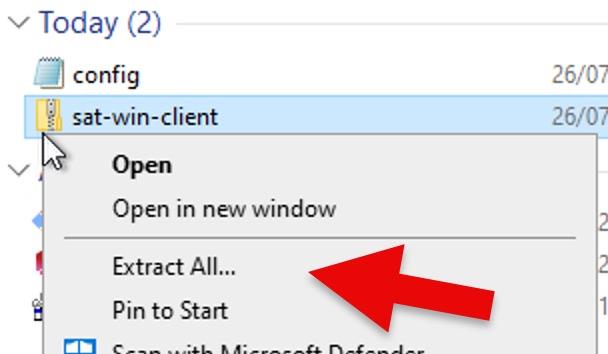 |
| Once extracted, find the config file that you downloaded previously from Planning Analytics Administration. Ensure you have the correct file as there is also one extracted by the installer. |

|
|
Edit the Config file so that the key (SATELLITE_CONNECTOR_IAM_APIKEY) points to the correct directory where your installer files were extracted to.
Note: a backslash is used to "escape" a backslash in the directory path so you should see two "\\" for every one "\" in the path.
Save the config file.
|
|
|
Now copy the Config file and the apikey file to the root of your extracted installer directory. In my case this is "C:\sat-win-client".
You will be prompted to overwrite the existing config file.
|
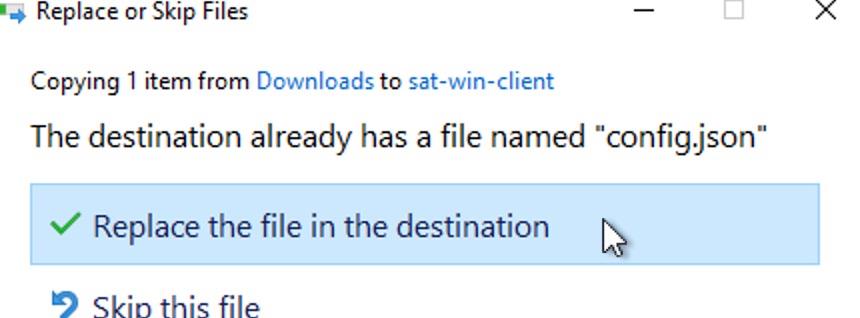 |
| To install the Satellite connector agent, Open a powershell window. |
|
| Change directories to the root of the installer extracted files and run ".\install" to execute the installer. Please also note that for updates there is also an update script and an uninstall script to remove the agent. |
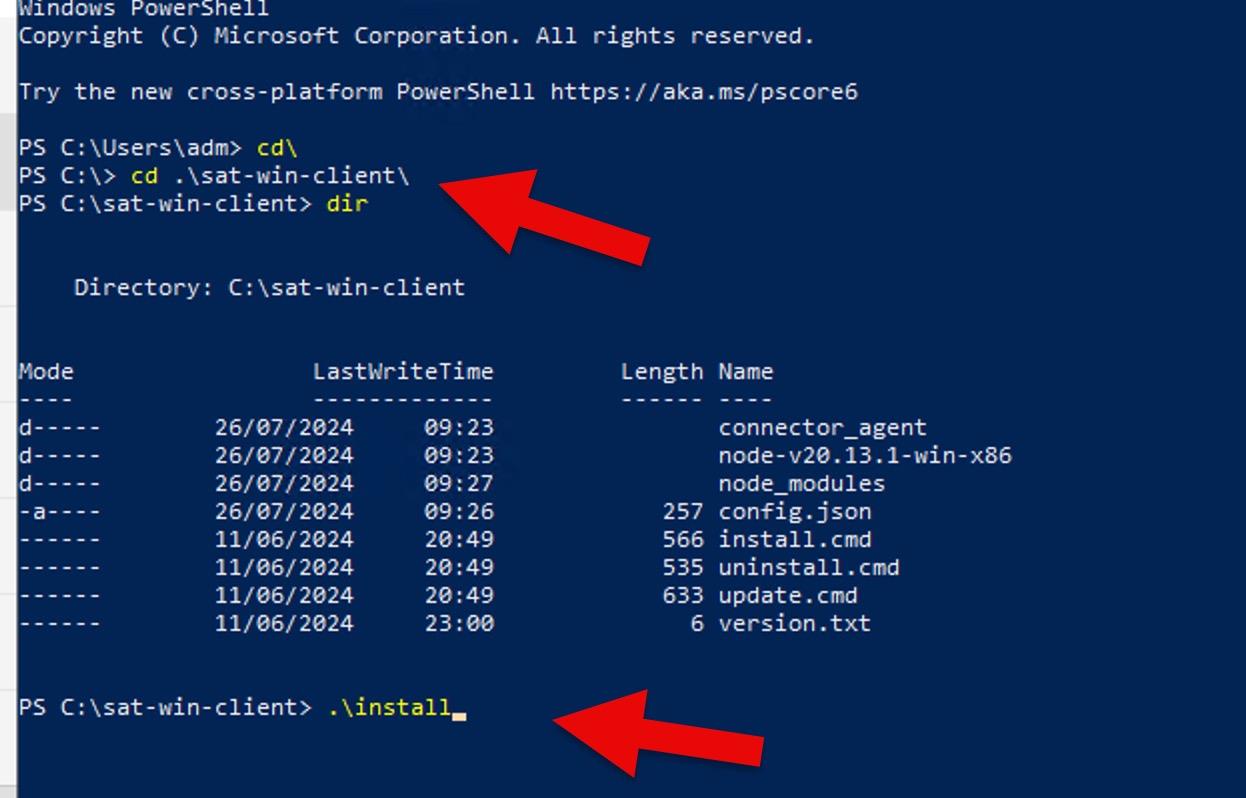 |
| When the installer is running, you will see several popups asking to make changes to the Windows machine (such as registering the service). Answer "Yes" to these. |
|
|
Once the install is complete, you should see a new Satellite Connector service in the Windows services and it should be running.
|

|
|
In Planning Analytics Administration, under the Satellite Connector tile you can now select the Connector and the details page should say "Online". If it does not, first refresh the page.
Other areas to check if the connection is not Online are the logs under the installation directory (in my case: C:\sat-win-client\logs). The log file for connections is "connector-agent-<todays date and log number>.log".
Please also ensure that the firewall has been correctly opened as detailed above.
|
|
Step 4, Create the ODBC definition in Planning Analytics Workspace and test connectivity
|
To create an ODBC connection to your database via the Satellite Connector secure network select the "Endpoints" tab with your Satellite Connector chose on the left side of the screen and hit "create".
Note: An endpoint is created per database connection that you require.
|

|
|
After you hit "Create" you will see a form for you to enter your database connection information.
The name field is the ODBC name that will be used in Planning Analytics processes. Tip: if you are migrating from on premise, use the same name as used by your existing Planning Analytics processes (TI - Turbo integrator) to minimise work.
For the other fields:
- Server host (ip or server name of the database server accessible from the Satellite connector agent machine),
- Server port (port that the databases uses for ODBC access ie. default 50000 for db2),
- ODBC driver (the driver for your database from the dropdown list)
- If the ODBC driver for your database is not listed, Additional ODBC Drivers may be able to be added via support ticket see: Add ODBC Drivers
- Database Name (the name used by your database)
Once all fields are complete, hit "Create".
|
|
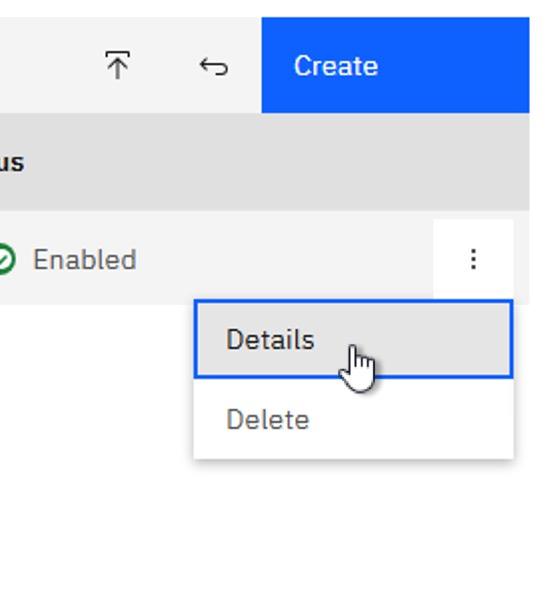
| You can now test the connection to the database via the Satellite Connector secure network by selecting the new endpoint and, from the three dot context menu, select "Details" |
|
| Enter the username and password for the database and hit "submit". |
|
|
If the username and password are correct and there is a route to the database you will see a success message.
|
|
Using Planning Analytics Workbench to test the connection with SQL
|
To test SQL against your database you can use an existing Planning Analytics process (TI - Turbo integrator) or, in this case, create a new one using Planning Analytics Workbench.
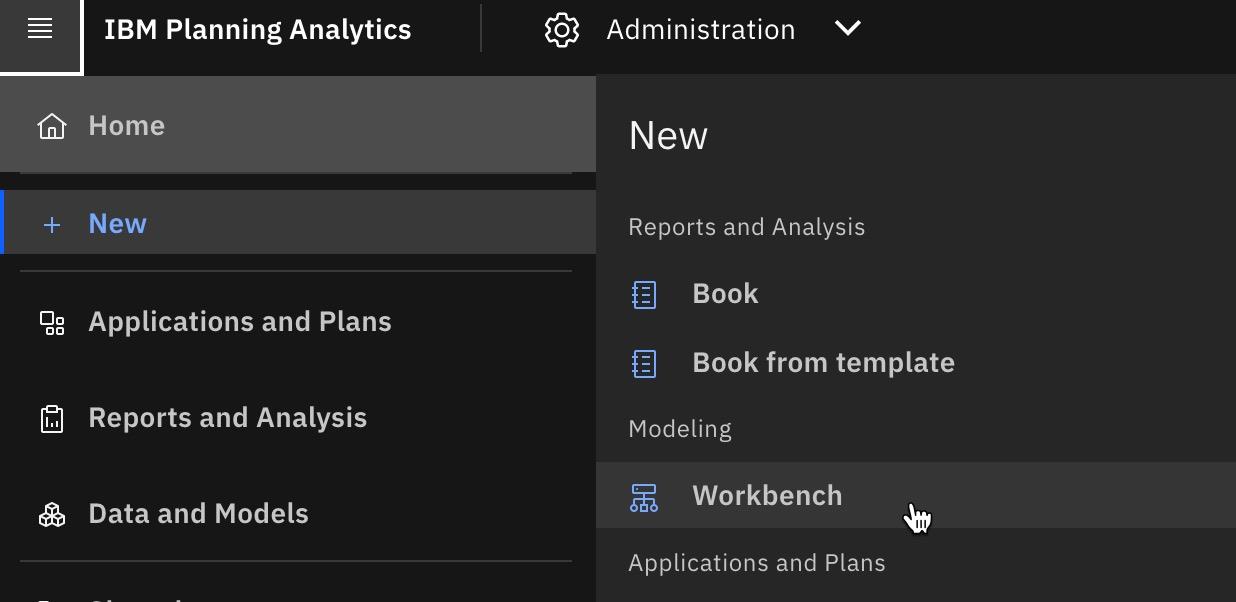
Open a new Workbench from the menu in the top left corner, New and Workbench.
|
 |
| Find the database you wish to test from, expand it and from the processes three dot context menu select "Create Process" |
|
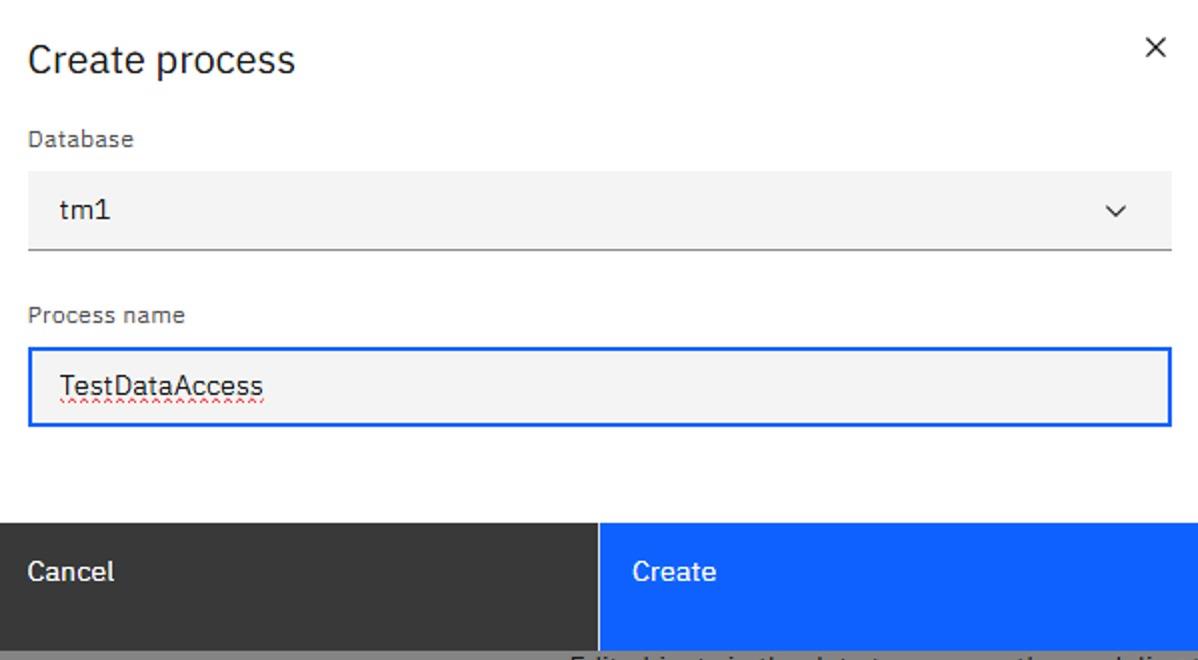
| Give the process a name. |
 |
|
Now you can
1, Select that you would like a database connection,
2, Select the endpoint(ODBC) name that you created before
3, Enter the username and password for the database
4, Enter some valid SQL for the database and its tables
and finally,
5, Hit "Preview"
You will now see the first row of data from your database
Tip: the "View more" link will show many rows from the database.
|
|
Thank you for reading and please do comment on this blog.