With the release of Cognos Analytics 11.1.5 comes with a new feature that provides the Save to Cloud capability for saving report outputs to both IBM Cloud Object Storage and Amazon S3 Buckets. The purpose of this article is to provide a "step-by-step" guide to setting up a Cloud Connection to both IBM Cloud Object Storage as well as Amazon S3.
Lab Environment:
Windows 2016
AWS Subscription
IBM Cloud Lite Subscription
CA 11.1.5
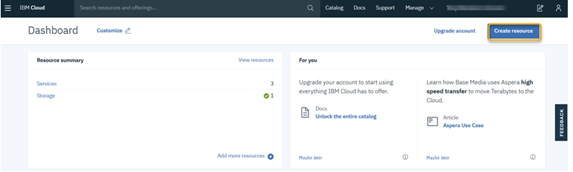
IBM Cloud Object Storage1. Firstly, log into IBM Cloud and create a new “Resource”
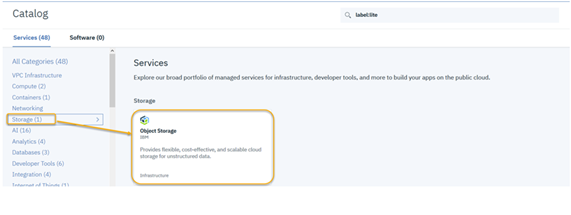
2. Click on “Storage” and then click on “Object Storage tile
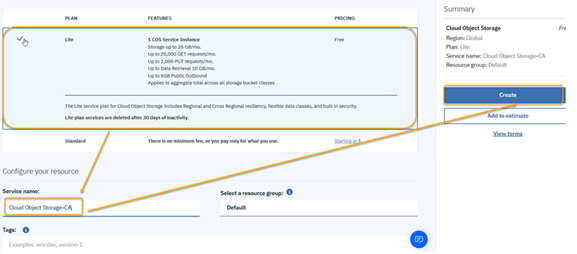
3. Click on the “Lite” plan and then scroll down and provide a Service Name e.g. “Cloud Object Store-CA” and the click “Create”
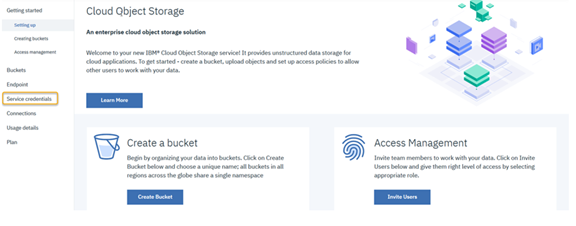
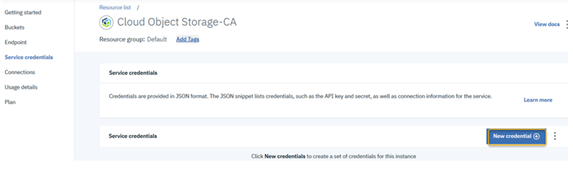
4. Click on Service credentials
5. Click on “New credential”
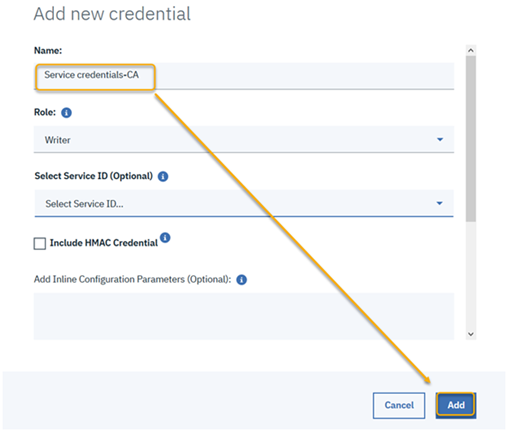
6. Give the credential a name and click “Add”
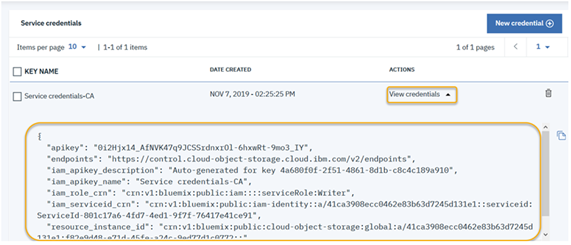
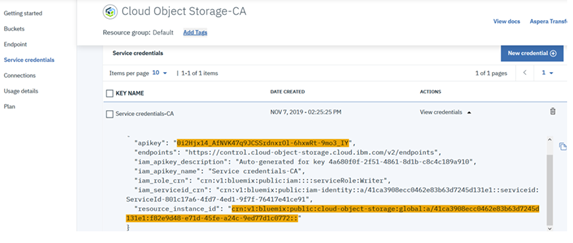
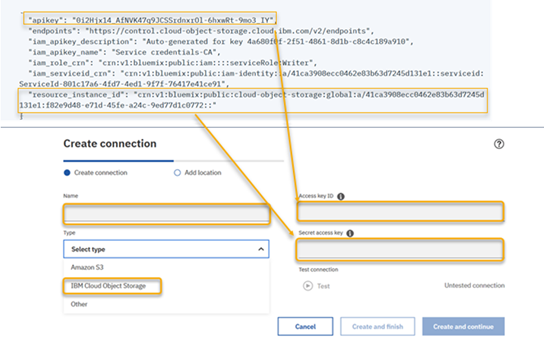
7. Expand the “View Credential” to see the information in json format
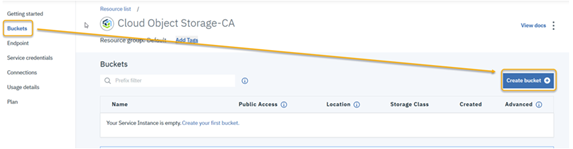
8. Create a bucket
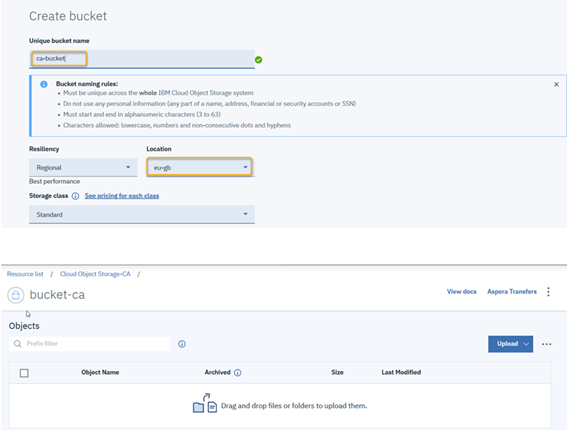
9. Now, in order to create a Cloud Objectstore Connection, you need the following:
10. Log into CA and go to Manage – Storage
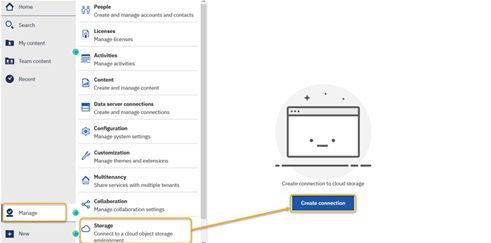
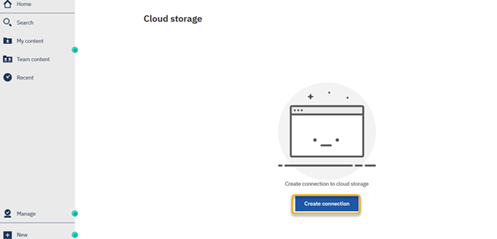
11. Click on “Create connection”
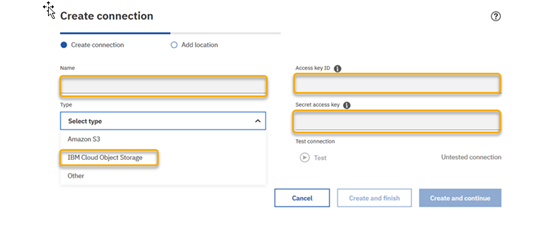
12. The ‘Access key ID’ is the ‘apikey’ value and the ‘Secret access key’ is the ‘resource_instance id’ value
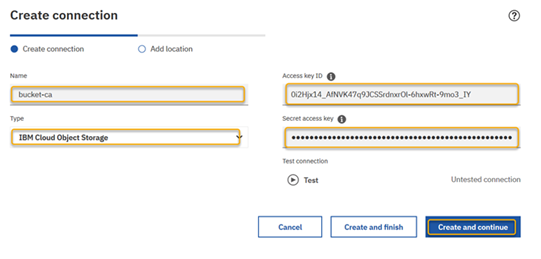
13. Click “Create and continue”
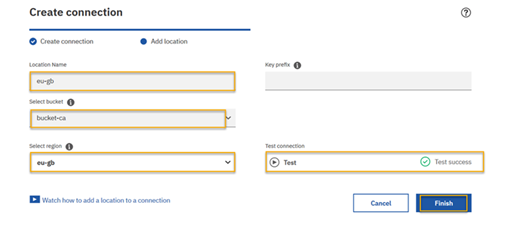
14. Test the connection and click “Finish”
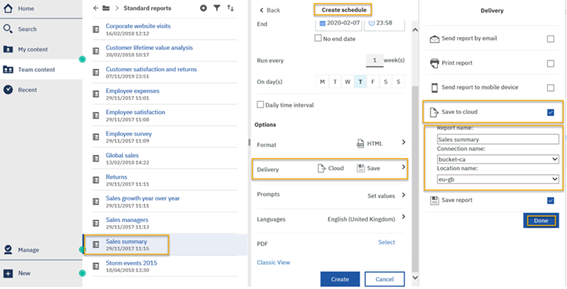
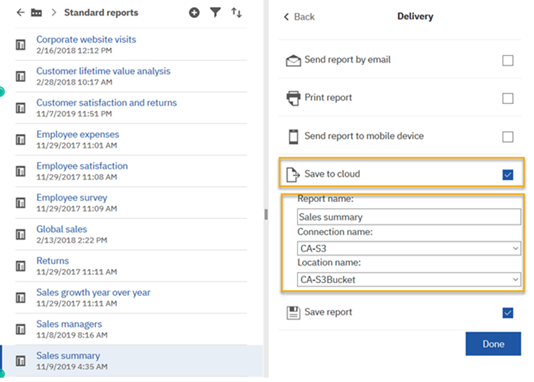
 Setup the Delivery Output to Save to Cloud
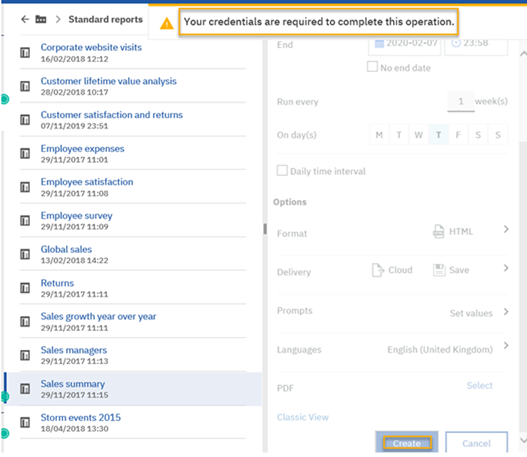
15. Trusted Credentials will be generated so click on "Renew"
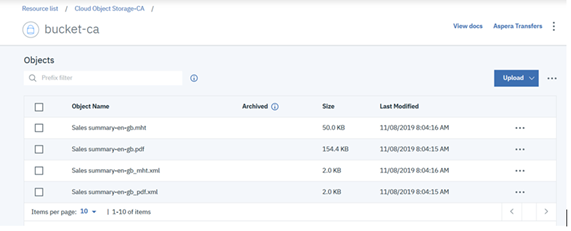
Once Schedule is completed the report outputs are visible
 Amazon S3 Buckets
Steps are as follows:
1. Log into the Amazon Management Console using the root user account
2. From Services/Resources select IAM
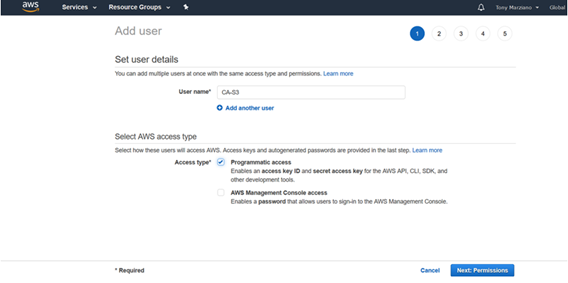
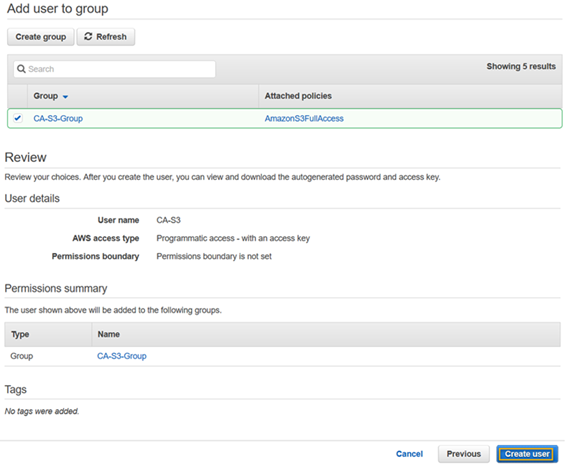
3. Create a new user
4. Create a new Group to add the user to it

5. Select the AmazonS3FullAccess Policy
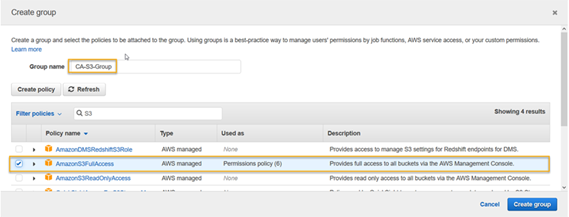
6. Complete and select "Create User"
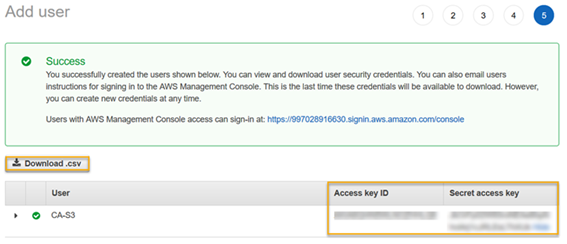
7. Grab the Access Key ID and Secret access key ID which will be used to create the Cloud Storage Connection in CA by downloading the csv file or from the information displayed.
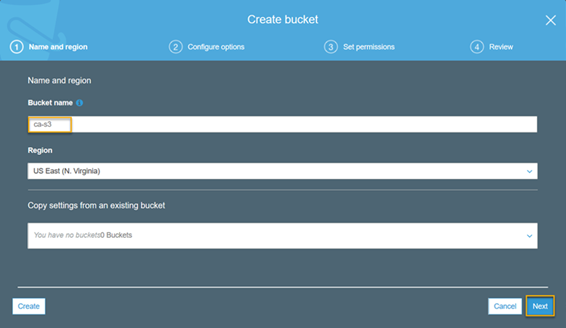
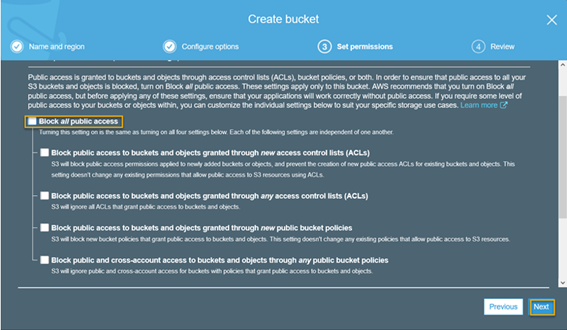
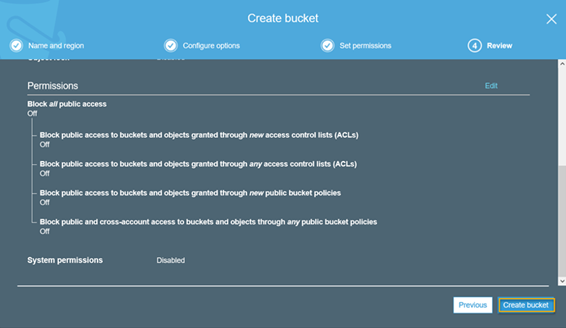
8. Create an S3 Bucket by selecting Resources / Storage / S3

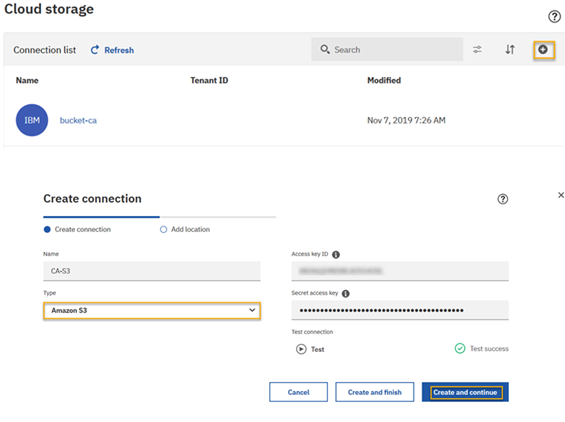
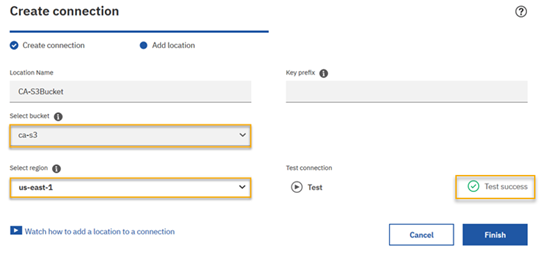
4. Log into CA and Create a Cloud Object Storage Connection, select Type "Amazon" and use the access ID keys from point 7 above to populate the connection information and then test the connection.
5. Set the Delivery Output for a report to "Save to Cloud"
6. Once completed, check the S3 bucket for the saved outputs
 MINIO Object Storage Server
Minio is a very popular open-source object storage server which is compatible with Amazon S3 which can be hosted on a server rather than cloud. This is popular for those that want more control over the storage and also would not require any payment based subscription. Its seen like a "local" storage file system for saving report outputs in a similar way with storing on cloud.
The steps to set this up is as follows:
1. Download Minio from here : https://github.com/minio/minio
2. Extract the package and launch from its current working directory:
chmod +x minio
./minio server /data
3. The following information will be displayed:
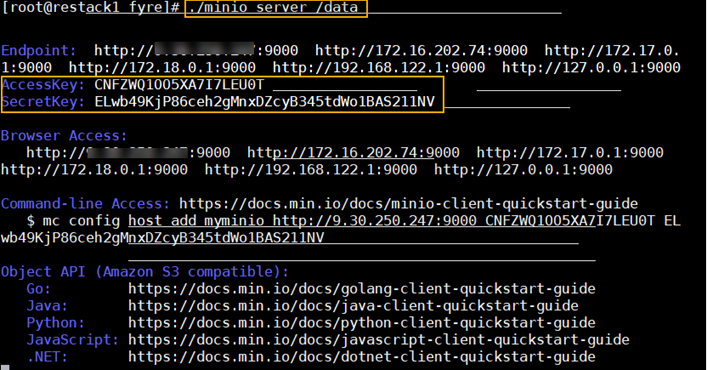
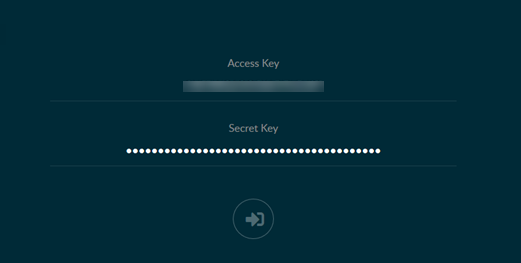
4. Launch the home page using http://x.x.x.x:9000
5. Grab the Access Key/Secret from the output above 'AccessKey' and 'SecretKey'
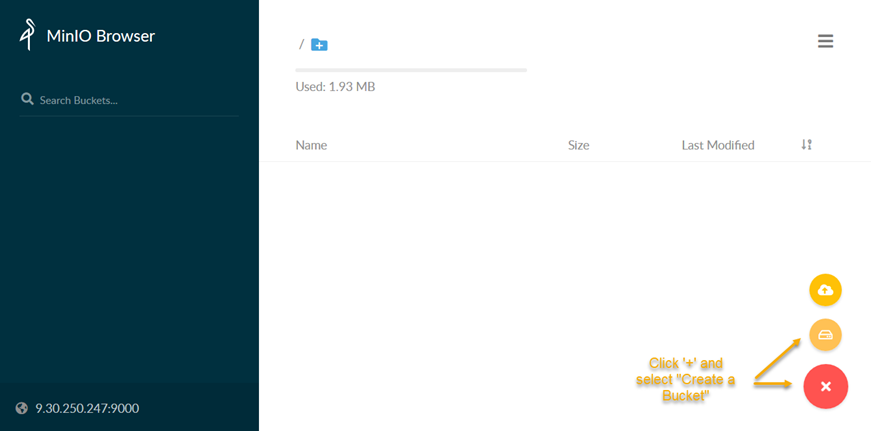
6. This is the home page:
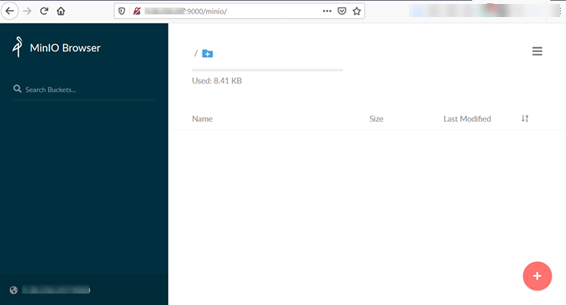
7. Create a storage bucket by clicking on the red circle on the bottom right and then select create bucket e.g. cabucket:
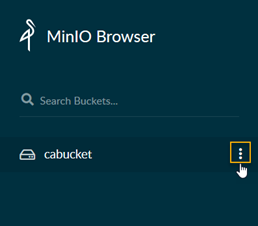
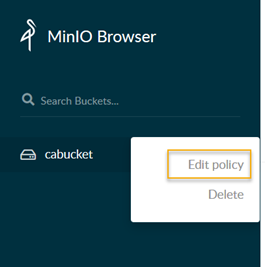
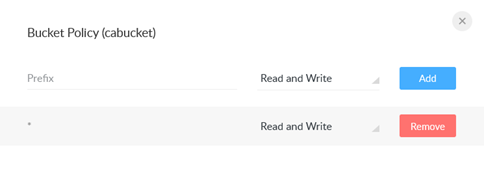
8. Enable Read/Write access to the bucket by clicking on the properties (3 vertical dots):
Select "Edit policy"
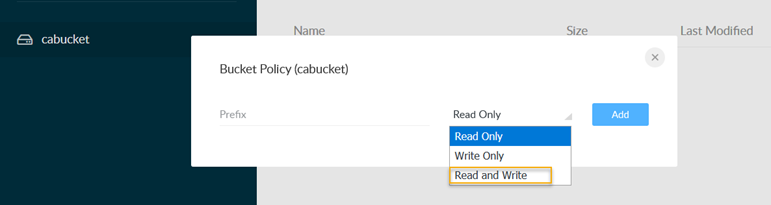
Select "Read and Write" and click on "Add"

8. Now, log into CA and create a new Cloud Storage Connection (see steps above from S3/IBM Cloud Object Storage) by selecting "Other":
Details required are:
Access Keys
Server Endpoint (found in screen output from step 3 above)

9. Click "Create and continue" and then follow the same steps as above to configure the task properties to save the report to the storage connection above.
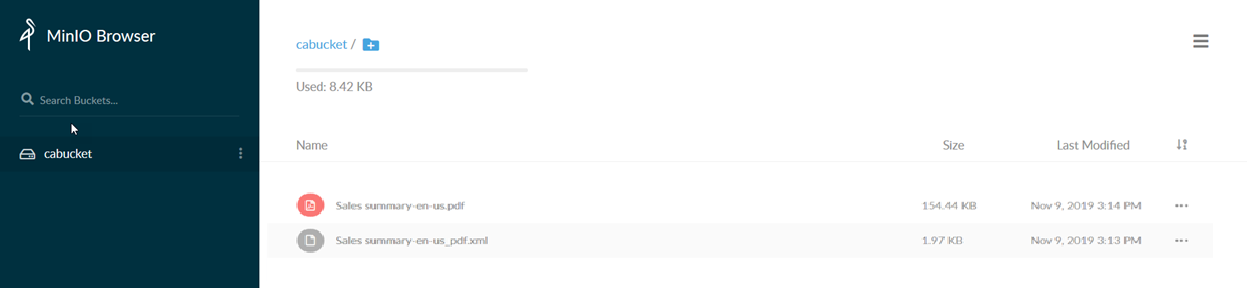
On completion, check the storage page below and you will see the report output(s).
This is a good option is you want to leverage the new feature but store the report outputs on a storage server rather than on a cloud storage.
Additional Information:
Release 11.1.5:
https://www.ibm.com/support/knowledgecenter/SSEP7J_11.1.0/com.ibm.swg.ba.cognos.ca_new.doc/c_ca_nf_11_1_5_container.html
Cognos Analytics Community Blog:
https://community.ibm.com/community/user/businessanalytics/communities/community-home/recent-community-blogs?communitykey=6b10df83-0b3c-4f92-8b1f-1fd80d0e7e58&tab=recentcommunityblogsdashboard
Amazon AWS:
https://aws.amazon.com/
IBM Cloud:
https://cloud.ibm.com
Minio ObjectStorage
https://github.com/minio/minio
#Administration#CognosAnalyticswithWatson#home#LearnCognosAnalytics