The purpose of this article is to provide a "step-by-step" example of setting up a standalone KeyCloak OpenID instance used for authenticating with Cognos Analytics. The KeyCloak federation repository will be Active Directory and the KeyCloak instance will be running on the CA installation (or if its in a distributed environment, it will be running on the Content Manager (Data Tier) component).
Download and Install KeyCloak from here : https://www.keycloak.org/downloads.html
Download at least JDK 8 from here : https://www.oracle.com/technetwork/java/javase/downloads/jdk8-downloads-2133151.html
Steps are as follows:
1. Set the JAVA_HOME variable to point to the newly installed JDK/JRE location by editing the KeyCloak-x-x/bin/standalone.bat file and then add the line:
set JAVA_HOME=<path to jre>
Example:
set JAVA_HOME=C:\Program Files\Java\jdk1.8.0_191
or set the JAVA_HOME to the CA JRE.
Example:
set JAVA_HOME=C:\Program Files\ibm\cognos\analytics11.1\jre
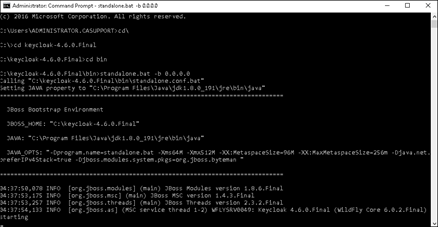
2. Launch the KeyCloack Administration by starting the service via command line using this syntax:
standalone.bat -b 0.0.0.0

3. Log into KeyCloak via default URL
http://localhost:8080/auth
4. Create an admin account and log in.
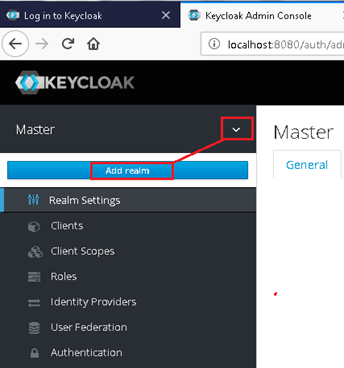
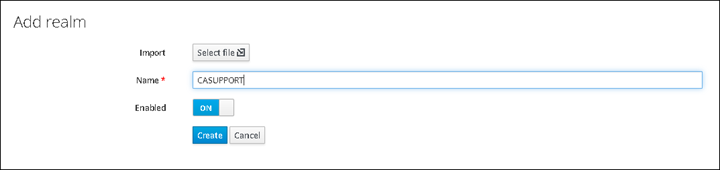
5. Create a new Realm called "CASUPPORT" (example)

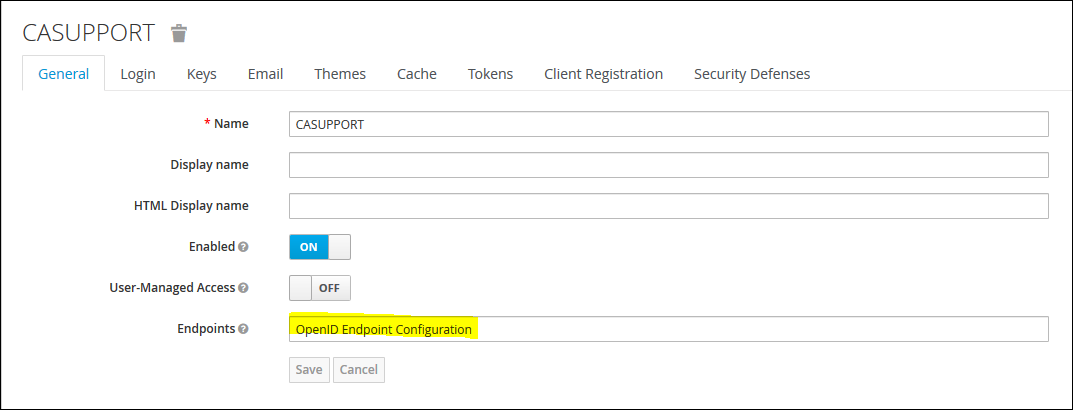
6. Click on "OpenID Endpoint Configuration" to see the list of all the endpoints from the Discovery Endpoint
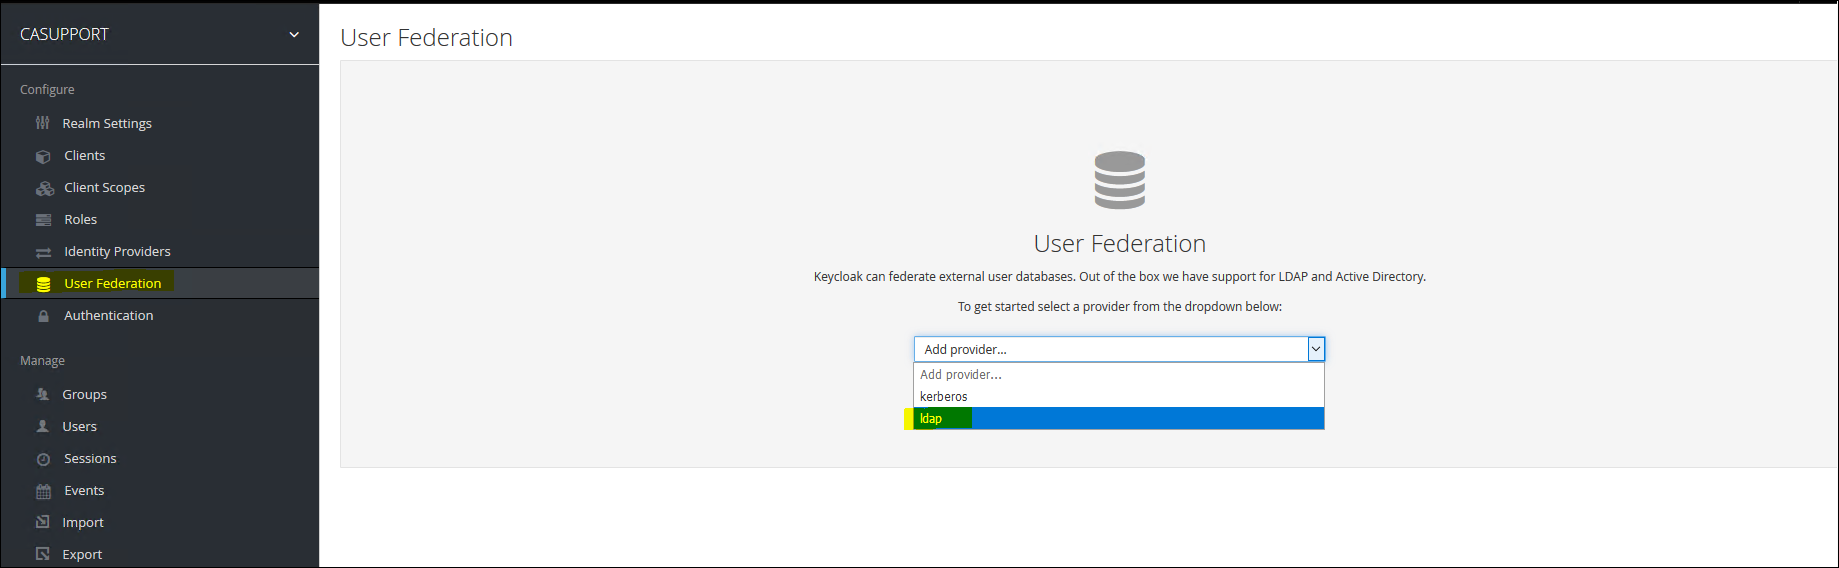
7. Create a Federation User Repository
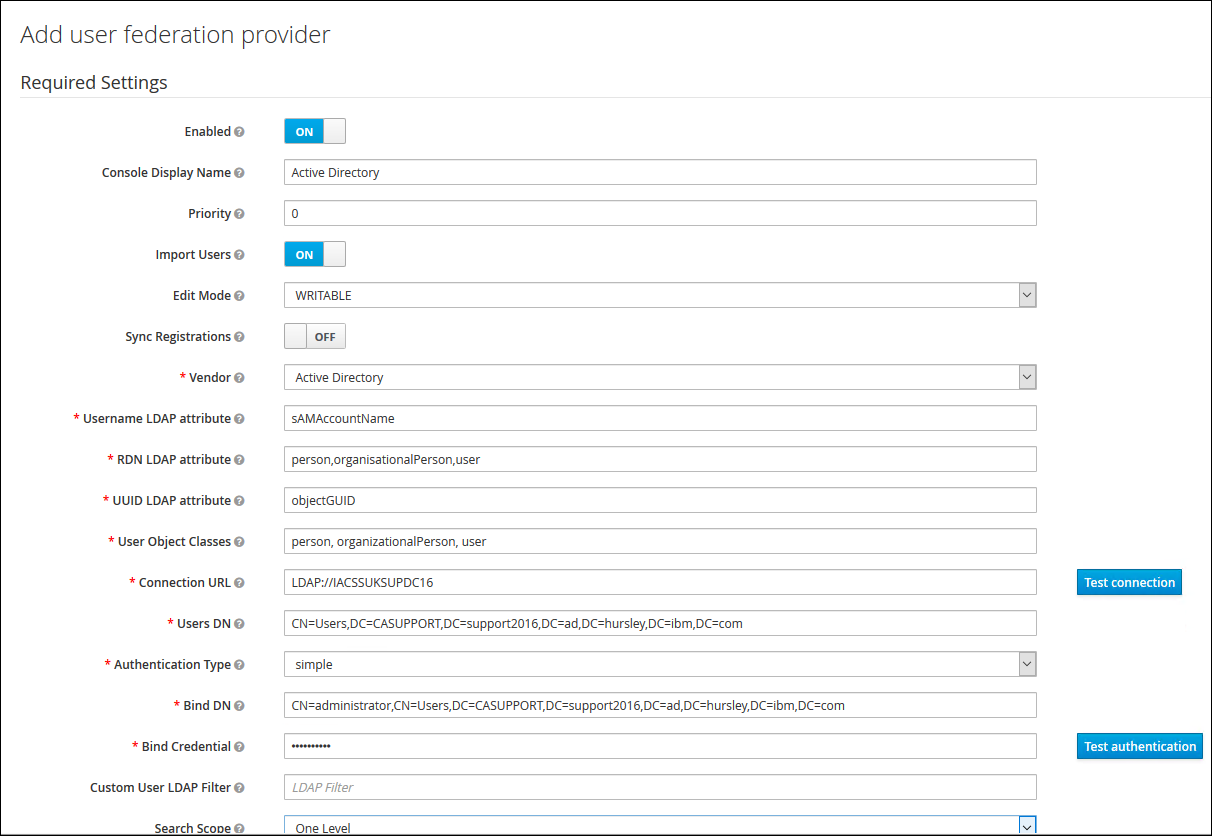
8. Fill in the connection details for the Active Directory Repository
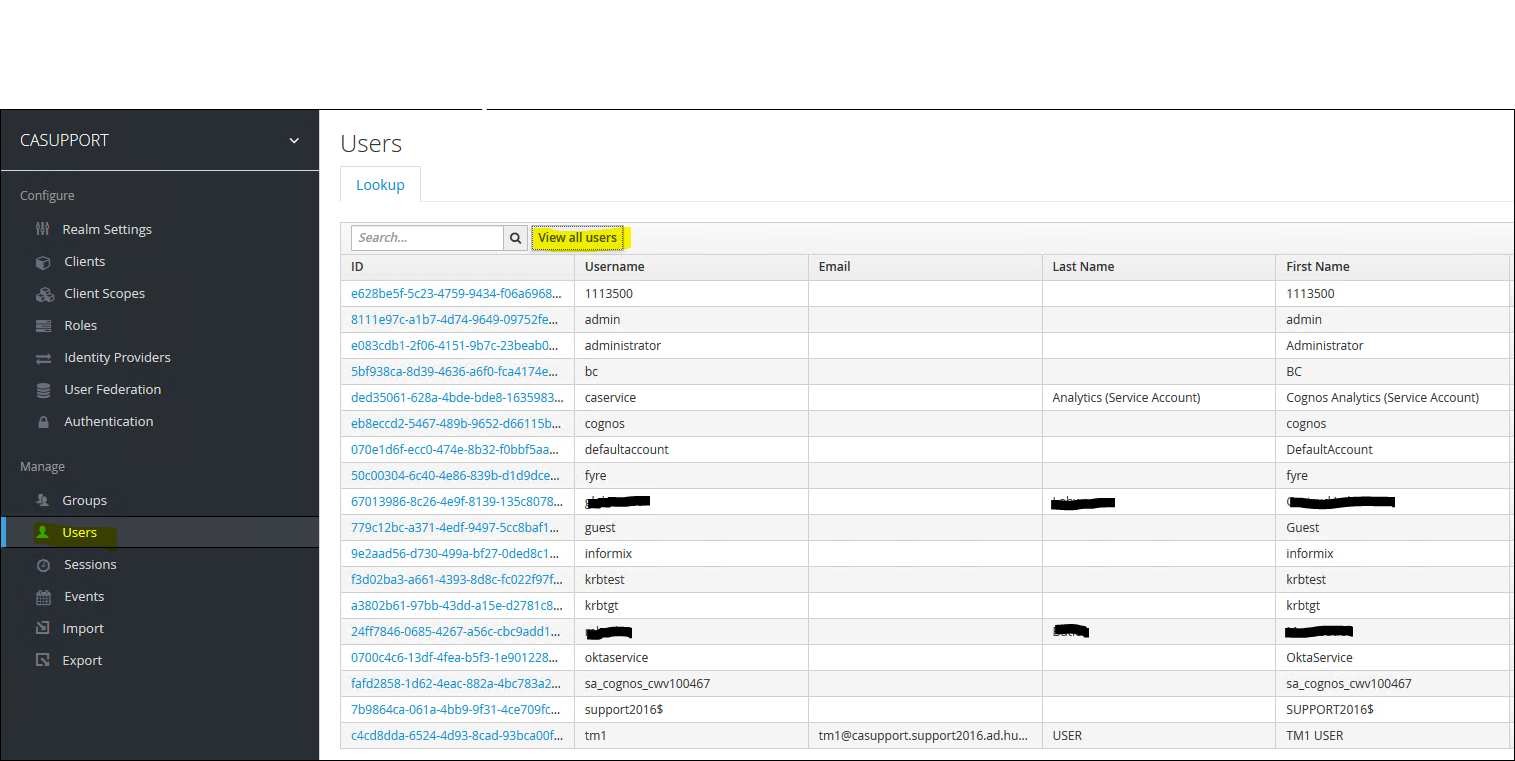
9. Click on "Save" and then "Synchronise all users" button

10. Check the list of users have been populated
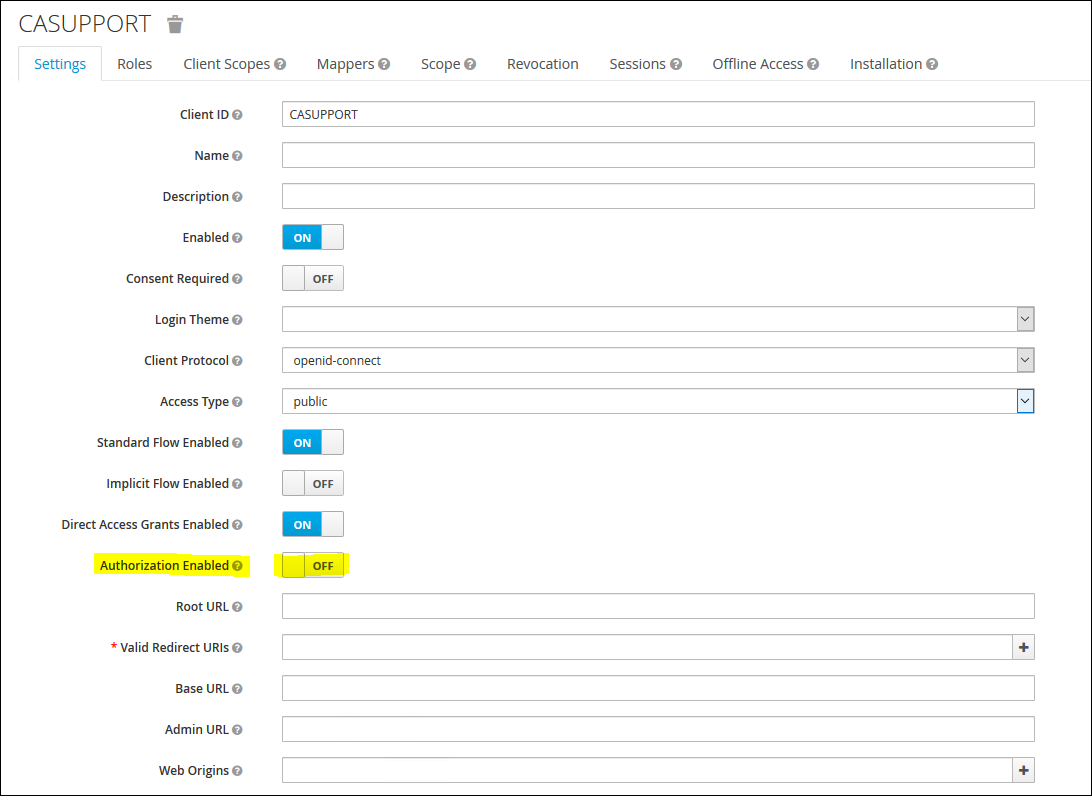
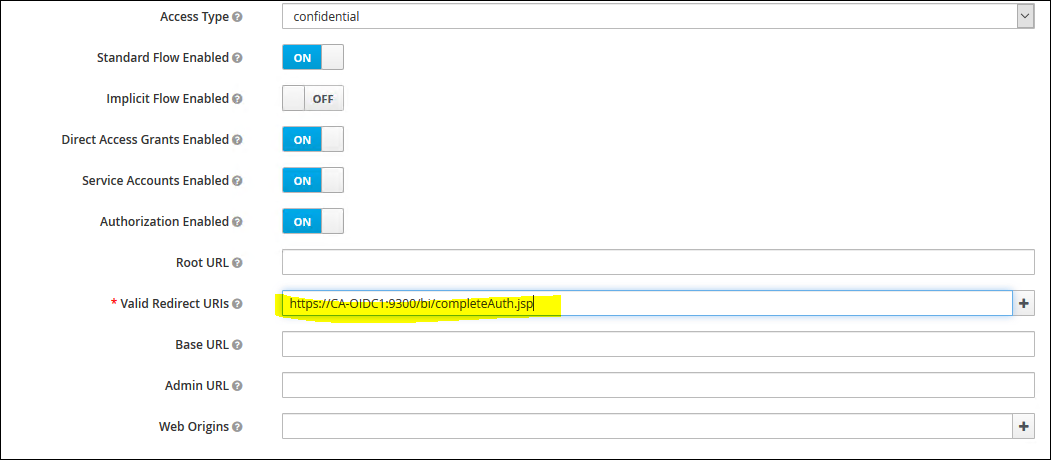
11. Now, create a new Client

12. Enable "Authorisation Enabled" to "ON" and add the Redirect URL back to CA
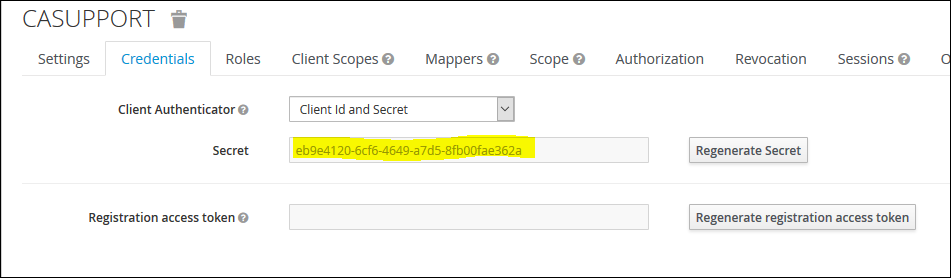
13. Click on the "Credentials" tab and capture the Client Secret
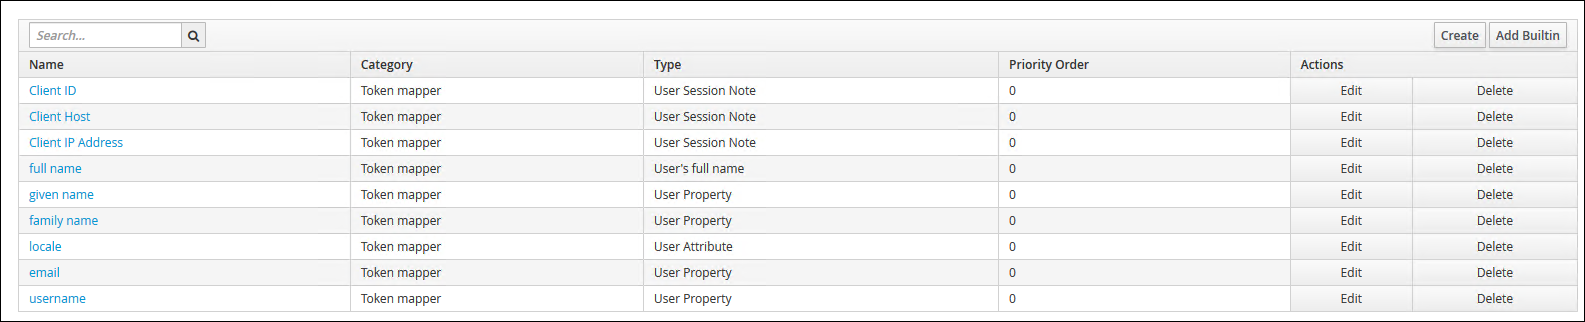
14. Next click on the 'Mappers' tab and then "Add Builtin'

15. Select "full name", "given name", "family name", "email", "locale" and "username"
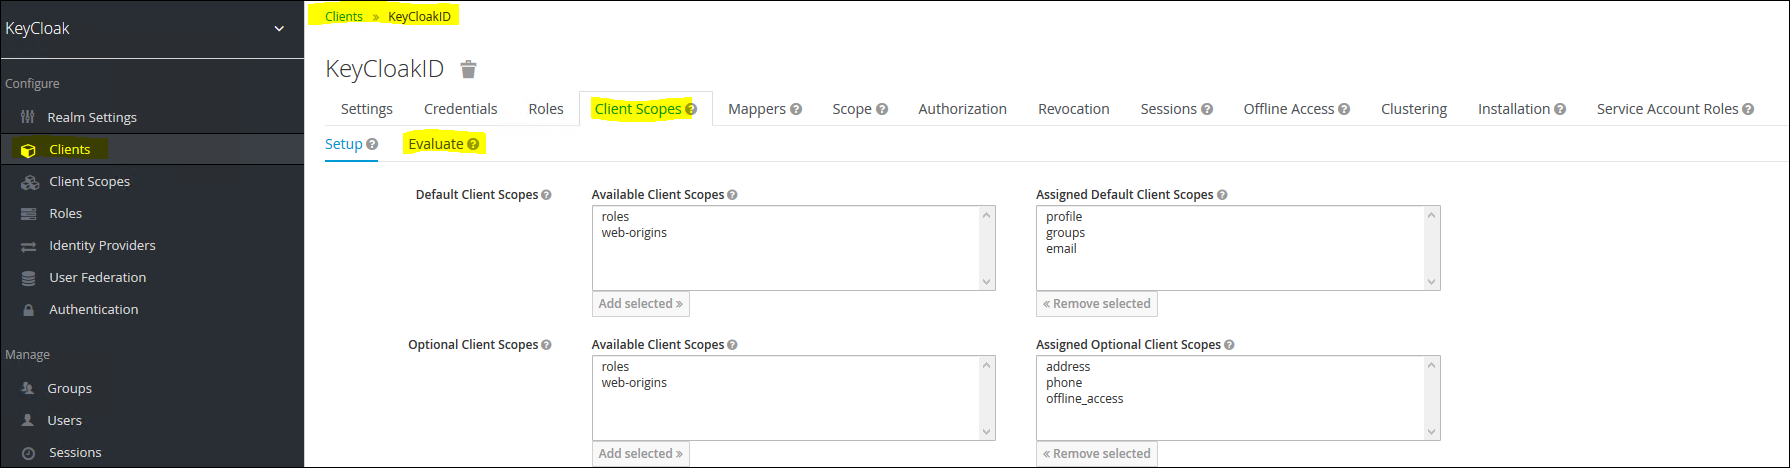
16. Next Click on "Client Scopes" from the left menu and click into "email"
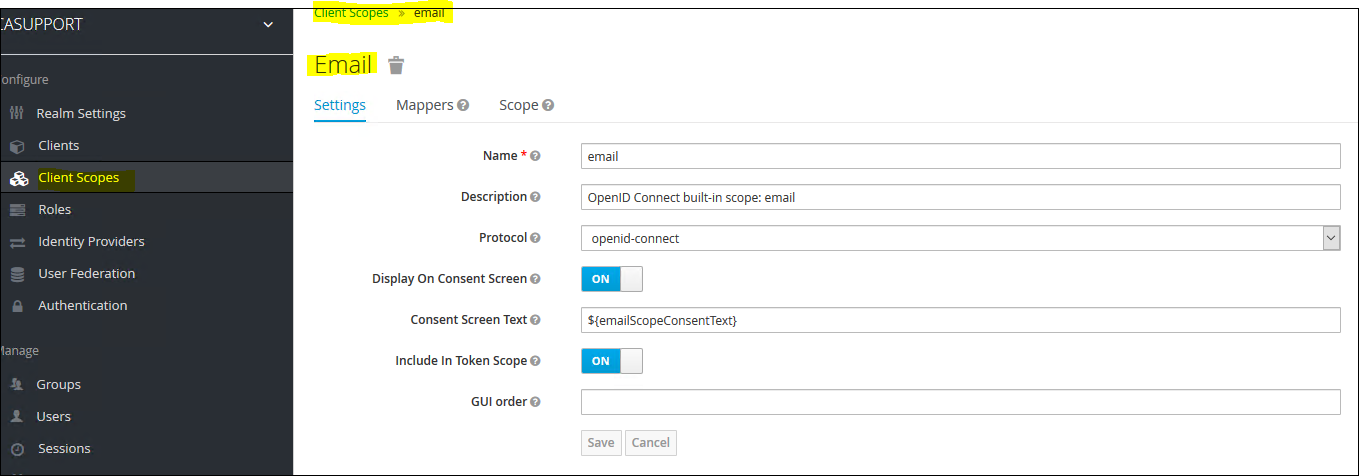
17. Click on "Mappers" and then "Add Builtin" and then select "email", "family name", "given name", "locale", "username"

18. Next, save the Certificate by accessing the issuer URL
https://localhost:8443/auth/realms/CASUPPORT
Next save the *.crt (or *.cer) to the CA installation /bin64 directory and execute the following command line:

19. Launch Cognos Configuration and Create a new Generic OpenID Namespace. Here is the example Namespace Settings for this Blog:
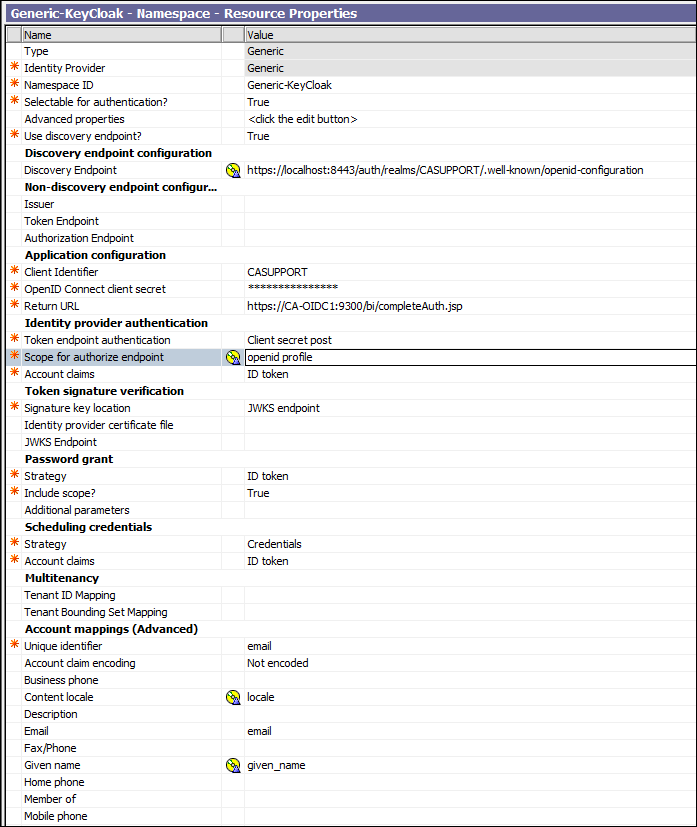

20. Save and restart. Then log in


Adding Group Claims
Set the Search Scope to "subtree"

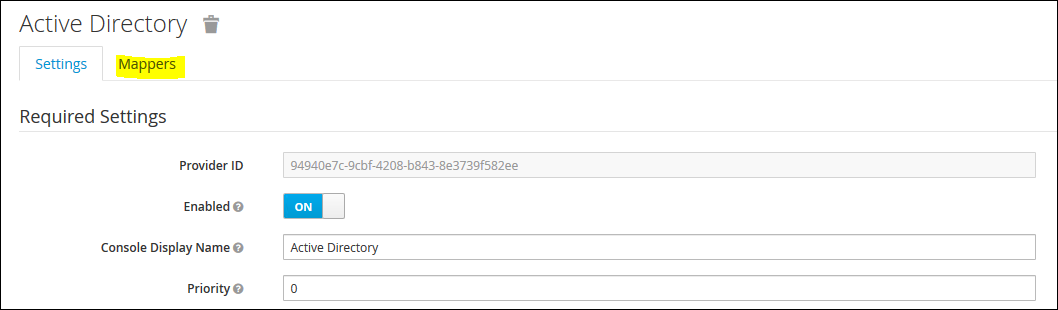
Click on the "Mappers" tab
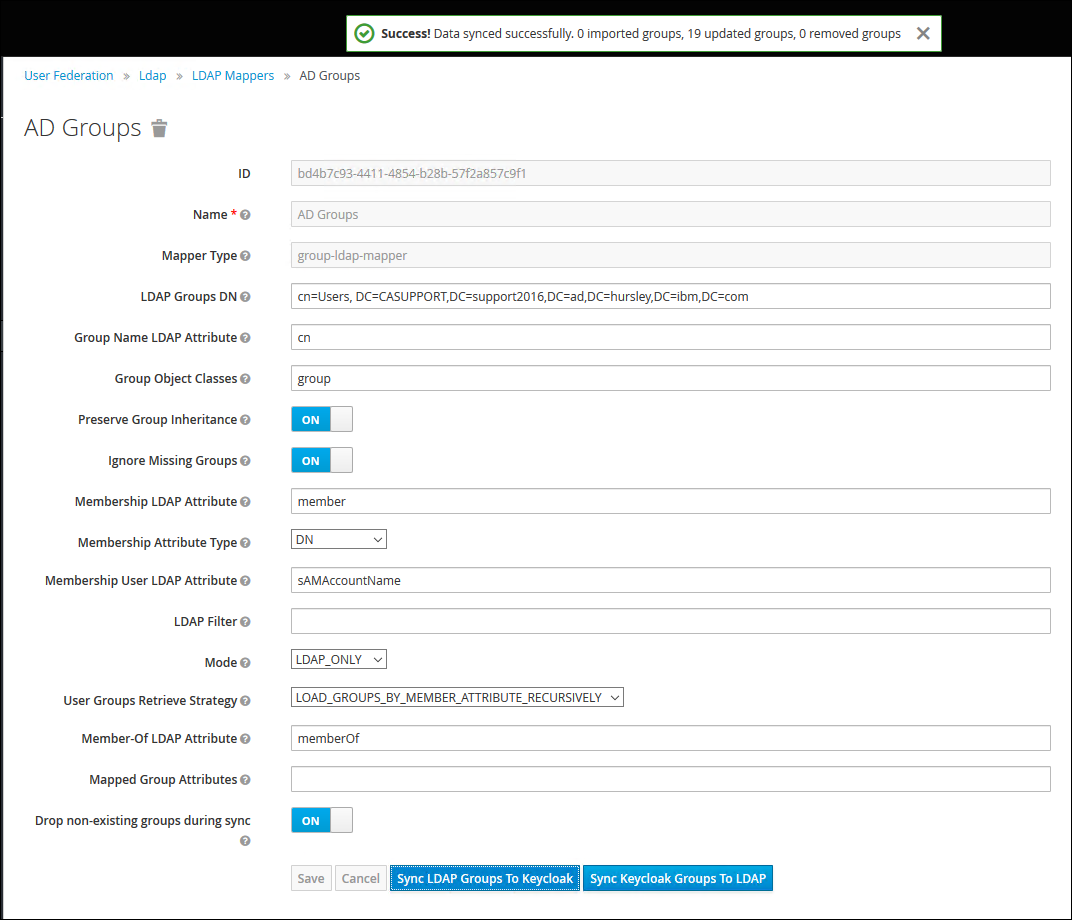
Create a new Mapper as follows and click on "Save" and then the "Sync LDAP Groups to KeyCloak":
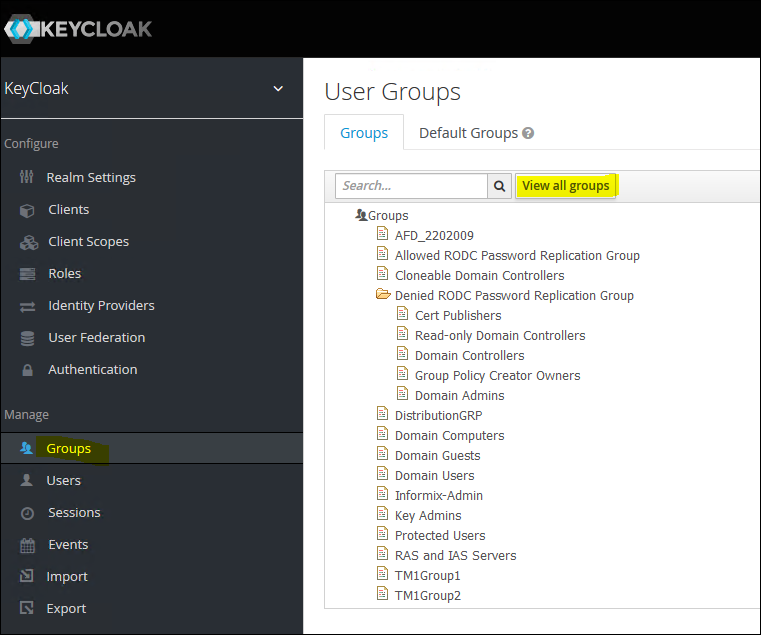
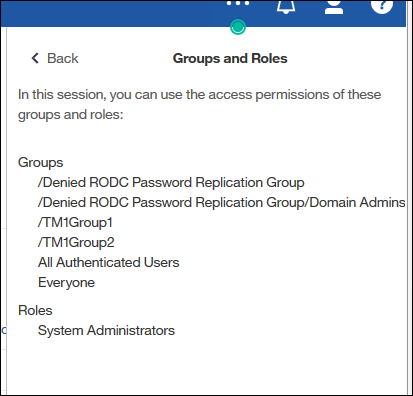
View the Groups
To evaluate the id_token containing group claims:
Log into CA and navigate to "My Preferences" - "Personal" - " Advanced" - " Groups and Roles" - "View Details"
#Administration#CognosAnalyticswithWatson#home#LearnCognosAnalytics