Hey, everyone!
Last week, I worked on integrating IBM Cloud ICR with Azure DevOps, and I wanted to share a step-by-step walkthrough of the process.
I hope this guide is helpful for anyone looking to set up a similar integration. Let me know if you have any questions or feedback!
Introduction
IBM Cloud is a comprehensive cloud platform that includes many services, such as the IBM Cloud Container Registry (ICR), which provides a secure and scalable Docker container image registry, including CVE scanning.
One of the best features about ICR is its free tier which allows 500MB of storage and 5GB of image pulls per month, which is very helpful for small projects and testing environments.
This article is meant to show how to create a CI/CD pipeline in Azure DevOps to build, push, and deploy Docker images with IBM Cloud Container Registry. For every commit/change in main branch, we're going to deploy the application into k8s.
PreRequisites
Ensure you have the following:
- An IBM Cloud account (you can sign up at IBM Cloud)
- An Azure DevOps account with a project set up
- A Kubernetes cluster (MicroK8s or any other) to deploy the application
- Dockerfile located on your repo.
- Deployment Manifest on your repo.
Step 1 — Creating ICR Namespace
1 — Log in to the IBM Cloud console.
2 — Navigate to Container Registry.

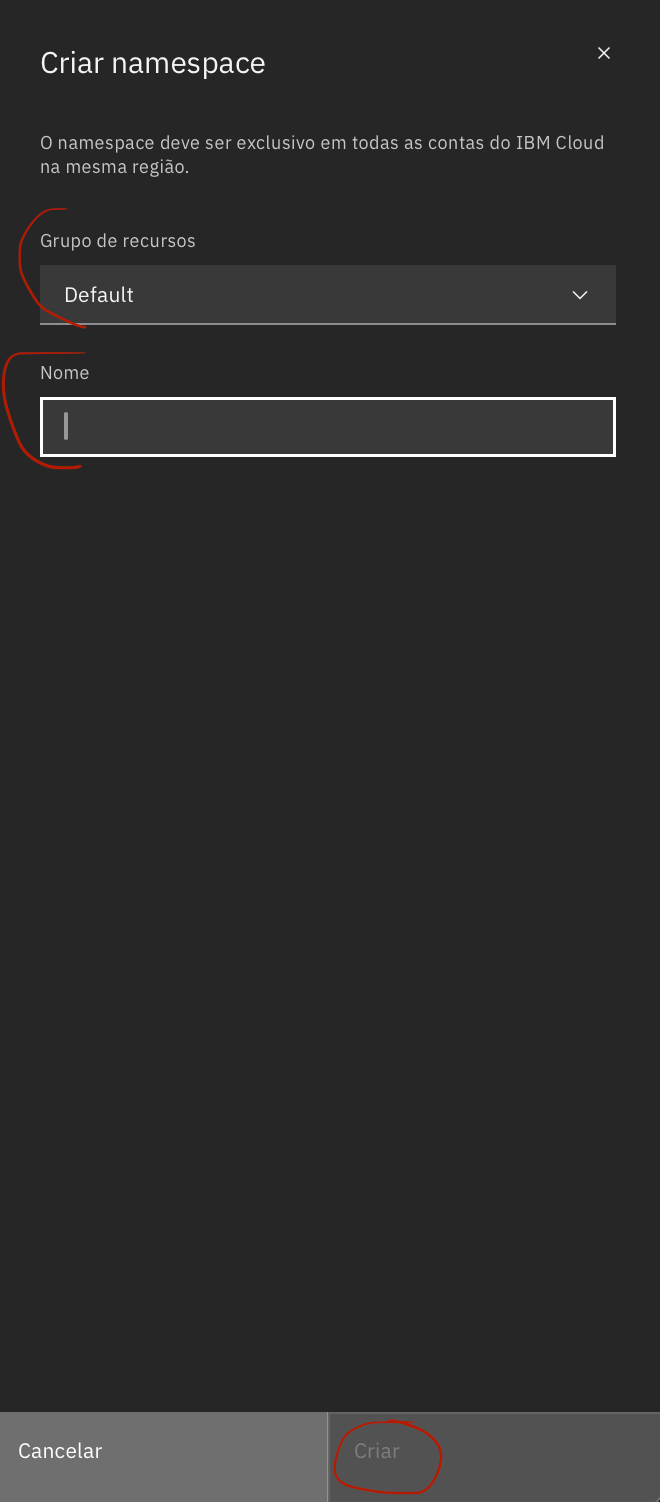
3 — Choose a region (e.g., br-sao, us-south, global) and create a new namespace.

Step 2— Generating API Key
1 — Navigate to IAM Console.

2 — Select API Keys and create a new one.

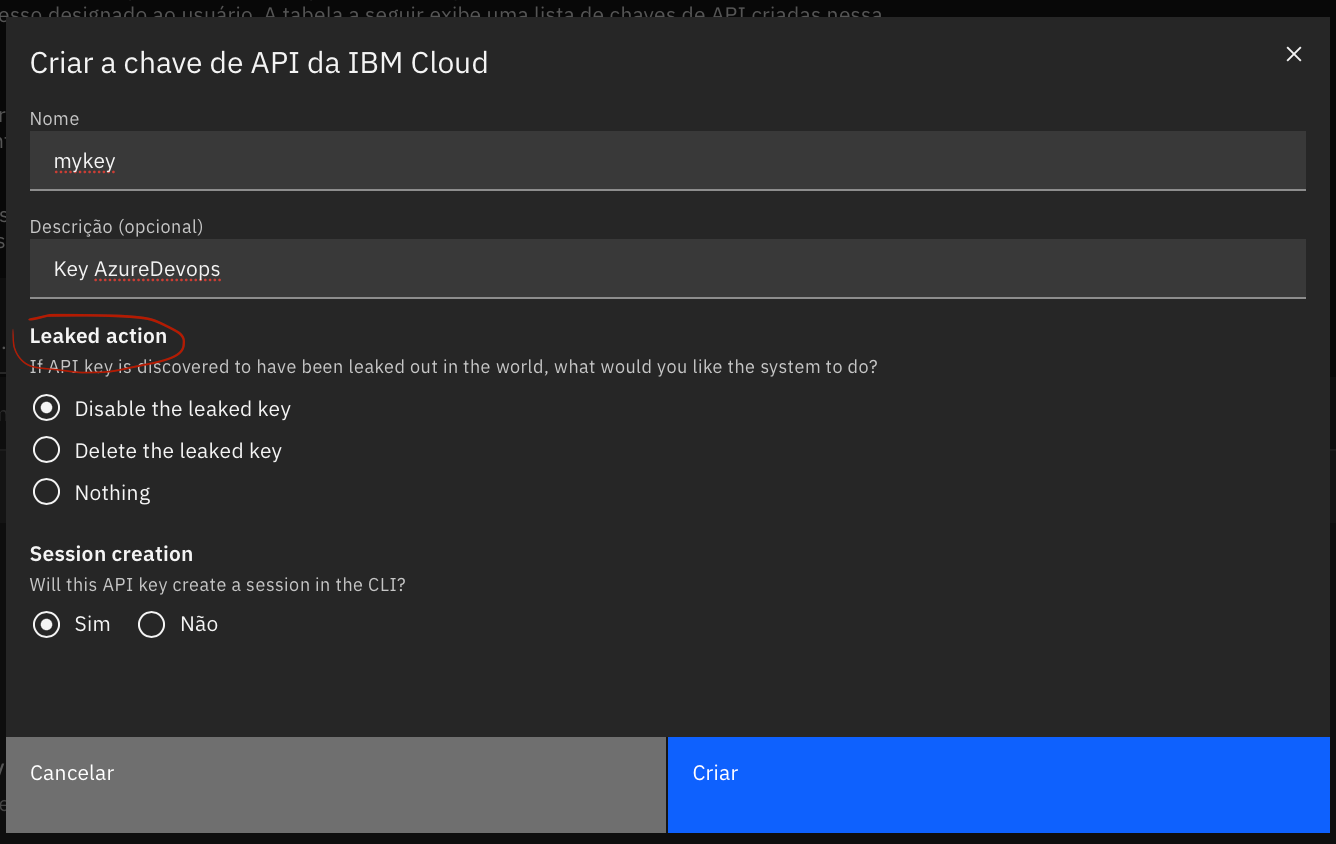
3— Define a name, description and Leaked Action.
Explanation: If IBM Cloud detects your API Key was leaked, it will be automatically deleted or disabled.
Now we finished setting up IBM Cloud, let's move on to AzureDevops!
Step 3— Setting up Pull Secret on your K8S
1— Create a pull secret on your cluster and namespace where you're going to deploy your application. The docker server depends on the location you've selected while creating the namespace.
kubectlc create secret docker-registry ibm-cr-secret \
-n my-amazing-namespace
Step 4— Creating AzureDevops Pipeline
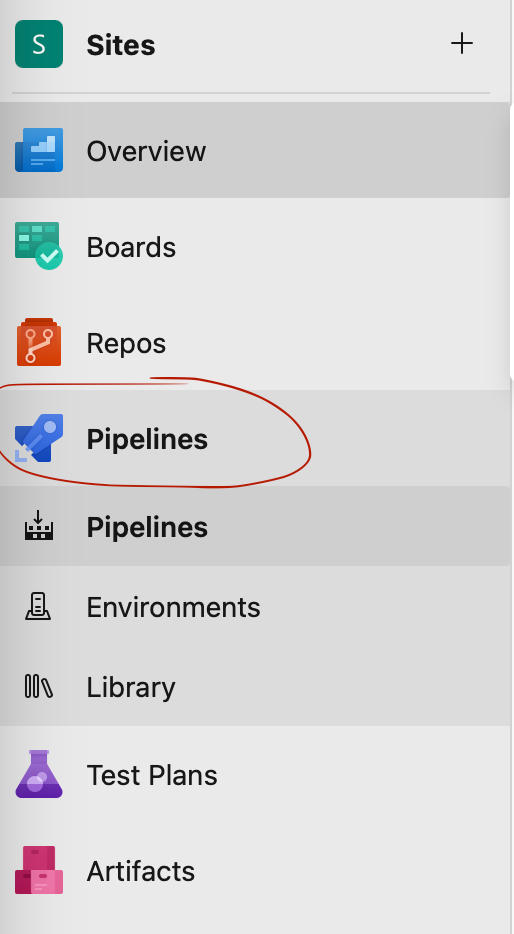
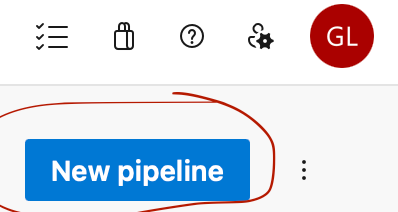
1 — On your repository, select Pipelines and click on new pipeline on the top:
2 — Select where your code is located:

3 — Select starter pipeline:

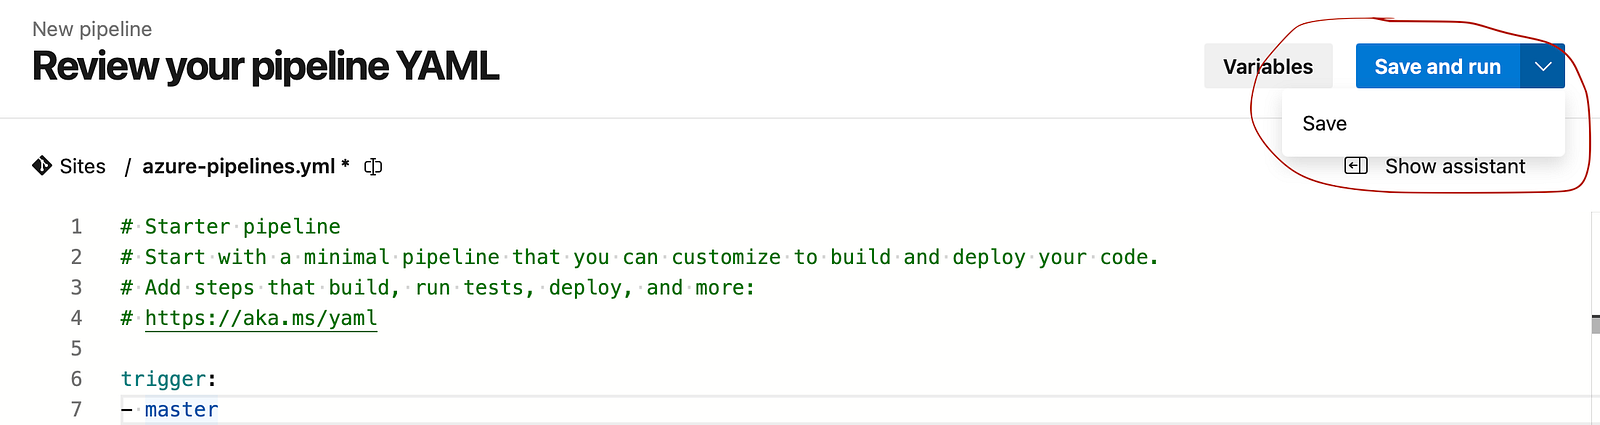
4 — Now a file named azure-pipelines.yml will be created on your repository, we're going to change this file later, just click on save.
Step 5— Setting up Service Connections
One of the main advantages of Azure DevOps is the numerous available connectors, which make easier to integrate with external apps.
We securely manage these integrations through Service Connections, making it possible to connect to Kubernetes (K8s) using kubeconfig, container registries, cloud providers, and many more.
1 — Click on "Project Settings":

2 — Click on "Service Connections":

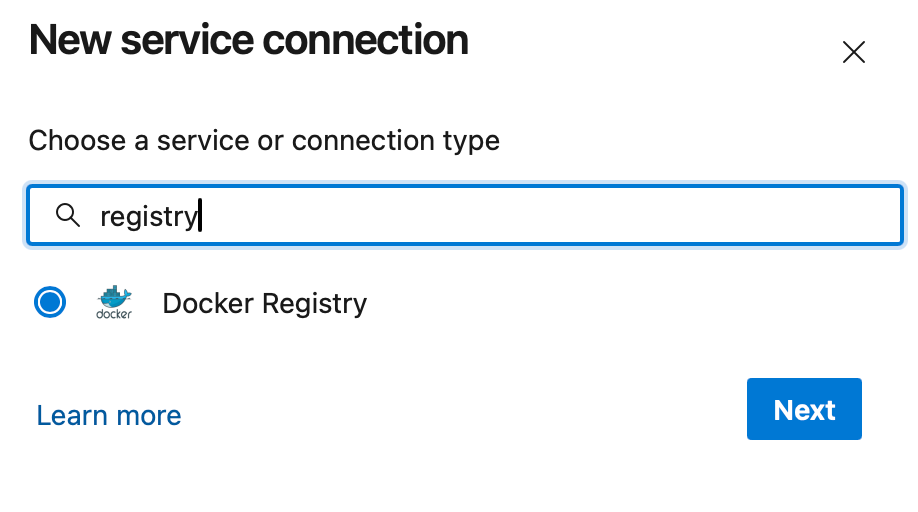
3 — On top of your screen, click on "New service connection":

4 — Setup a Kubernetes connection:

5 — Setup a Docker Registry connection using the same info we used to create the secret on your cluster:
Step 6— Setting up azure-pipelines.yml:
The azure-pipelines yml file is the core component of an Azure DevOps pipeline. It's where you define the workflow to deploy your application.
Update your azure-pipelines.yml and feel free to modify it as needed to better fit your business requirements.
trigger:
- master
pool:
vmImage: ubuntu-latest
variables:
ICR_REGION: "icr.io"
ICR_NAMESPACE: "my-amazing-ns"
IMAGE_NAME: "myapp"
IMAGE_TAG: "$(Build.BuildId)"
DOCKER_SERVICE_CONNECTION: "svc-registry"
K8S_SERVICE_CONNECTION: "svc-k8s"
steps:
- task: Docker@2
displayName: "🔨 Docker build image"
inputs:
command: "build"
containerRegistry: "$(DOCKER_SERVICE_CONNECTION)"
repository: "$(ICR_NAMESPACE)/$(IMAGE_NAME)"
buildContext: "."
tags: "$(IMAGE_TAG)"
- task: Docker@2
displayName: "📤 Push docker image to ICR"
inputs:
command: "push"
containerRegistry: "$(DOCKER_SERVICE_CONNECTION)"
repository: "$(ICR_NAMESPACE)/$(IMAGE_NAME)"
tags: "$(IMAGE_TAG)"
- task: Kubernetes@1
displayName: "🚀 Apply manifest to K8S"
inputs:
connectionType: "Kubernetes Service Connection"
kubernetesServiceEndpoint: "$(K8S_SERVICE_CONNECTION)"
namespace: "my-amazing-ns"
command: "apply"
arguments: "-f ./manifests/prd-deployment.yaml"
Step 7: Running the Pipeline
- Commit and push the
.azure-pipelines.yml file to your repository and the branch you've defined as a trigger.
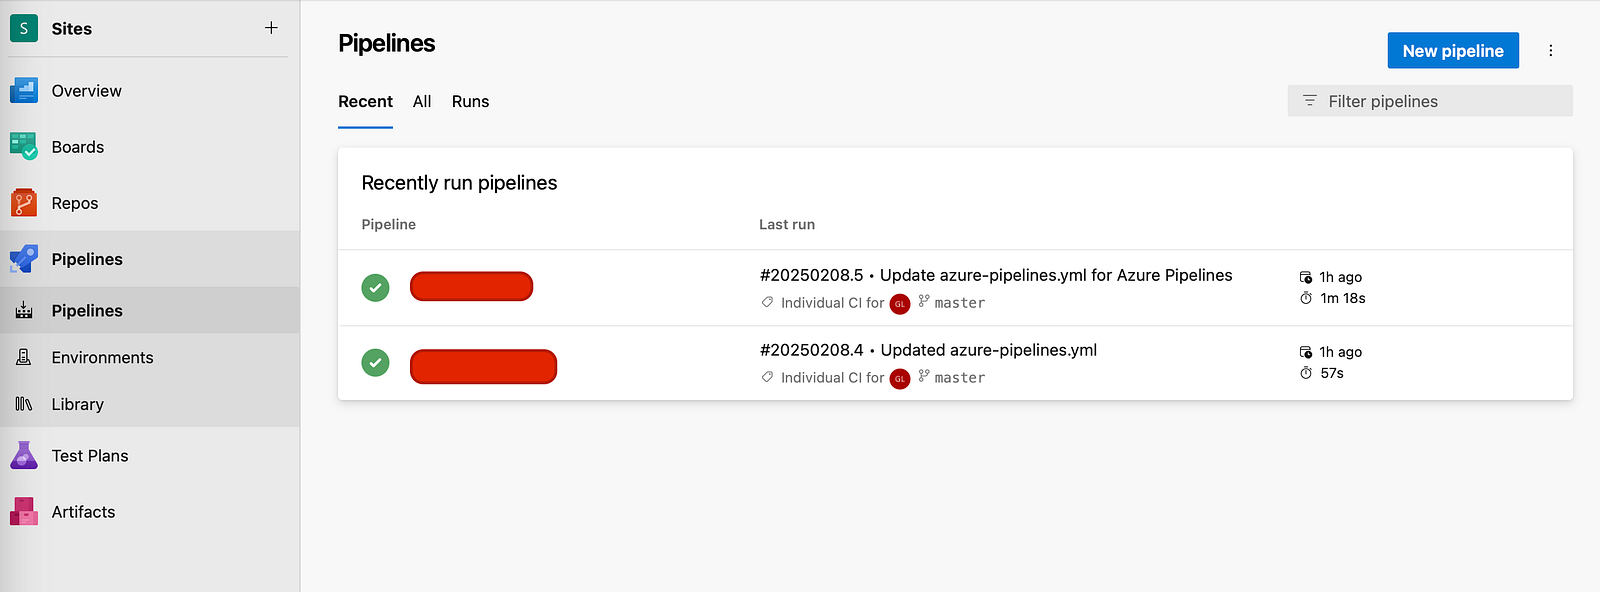
- Go to Azure DevOps > Pipelines to see your running pipes.
Conclusion
In this tutorial, we successfully:
✅ Set up IBM Cloud Container Registry
✅ Configured Azure DevOps to integrate with IBM Cloud
✅ Created a Docker build and push pipeline
✅ Automated deployment to Kubernetes
Feel free to get in touch!
https://www.linkedin.com/in/gabriel-leme-71325b150/
#IBMChampion