IBM Storage Ceph Dashboard MFA with IBM Security Verify.
Introduction
IBM Storage Ceph offers an open, scalable, and software-defined multi-protocol storage solution for consolidating data anywhere. This global data platform is designed to consolidate data everywhere and is engineered to be self-healing and self-managing with no single point of failure. IBM Storage Ceph is optimized for enterprise with object storage, unified for simplicity, and software-defined for flexibility.
To ensure the security of sensitive data, access to the IBM Ceph Storage Dashboard must be protected using second-factor authentication with a zero-trust approach.
IBM Security Verify (ISV) protects users and applications inside and outside the enterprise while enabling technical agility and operational efficiency as a cloud-native solution. Beyond single-sign-on and multi-factor authentication, Verify is a modernized, modular IDaaS that provides deep AI-powered context for risk-based authentication and adaptive access decisions, guided experiences for developer time-to-value, and comprehensive cloud Identity and Access Management (IAM) capabilities. From privacy and consent management to holistic risk detection and identity analytics, Verify centralizes workforce and consumer IAM for any hybrid cloud deployment.
IBM Security and IBM Storage have worked together to introduce secure multi-factor authentication (MFA) for IBM Storage products. Products such as IBM Storage Ceph can now effortlessly incorporate MFA to safeguard their dashboard and other storage resources. This greatly enhances security by utilizing IBM Security Verify MFA capabilities to protect storage assets.
New IBM Storage Ceph Dashboard Pre-Built Connector
IBM Secure Verify has added a new pre-built connector for the IBM Storage Ceph Dashboard, making it incredibly easy to set up multi-factor authentication (MFA) for the dashboard. With just a few clicks, you can secure your IBM Storage Ceph Dashboard with MFA using the IBM Security Verify SaaS offering.
IBM Storage Ceph customers can try IBM Security Verify SaaS with a 90-day free trial to test and explore how easily you can add MFA to the IBM Storage Ceph Dashboard.
IBM Security Verify MFA Capabilities include:
IBM Storage Ceph MFA with ISV Setup.
IBM Security Verify Connector Configuration.
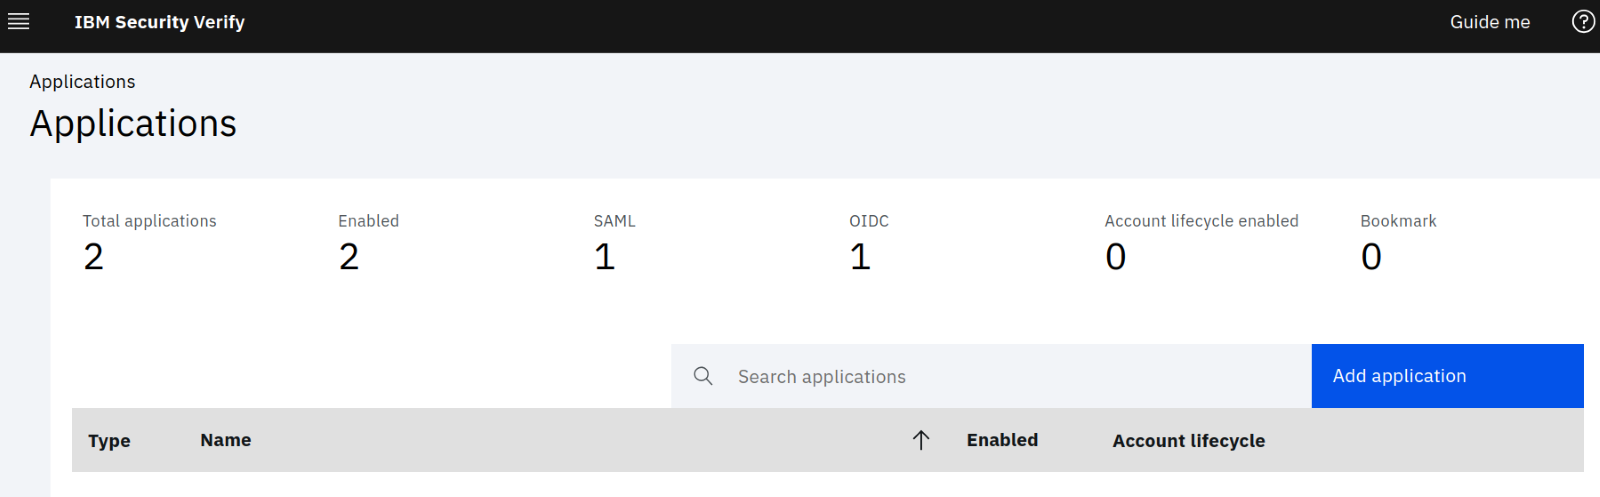
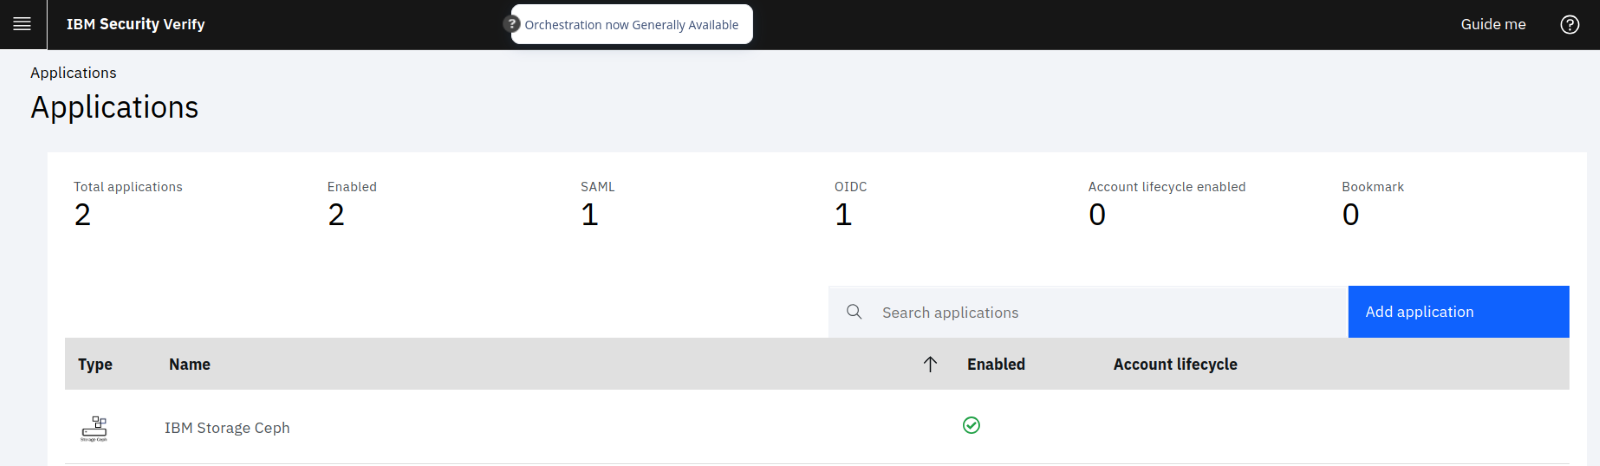
We first need to go to the applications section from the IBM Security Verify Left Panel and select “Add application.”
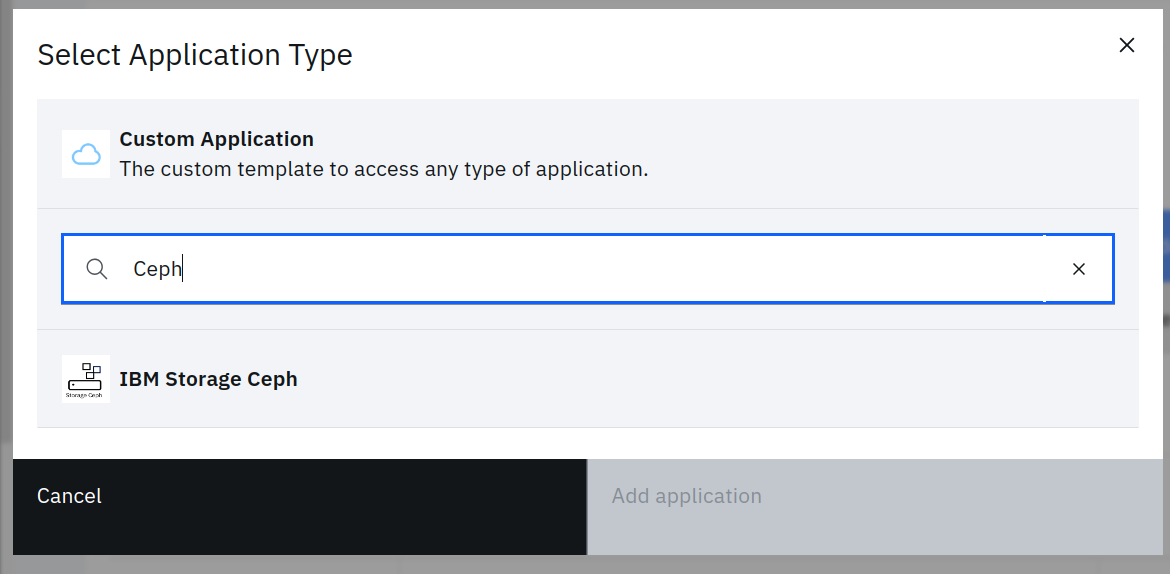
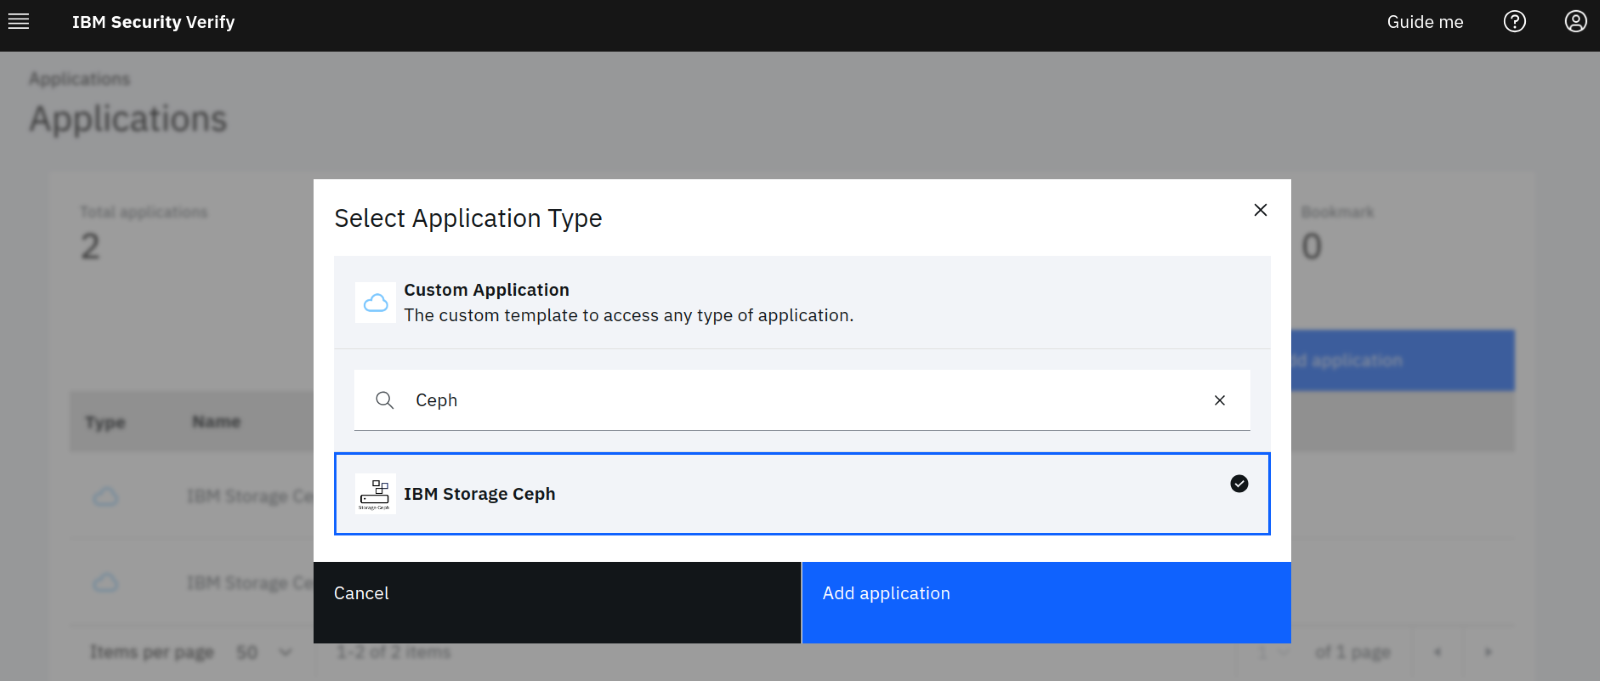
The “add application” button will open a pop-up screen with a search bar. To find connectors/applications, we can type Ceph in the search bar, which will return a match for IBM Storage Ceph. We can then click on “Add Application.”
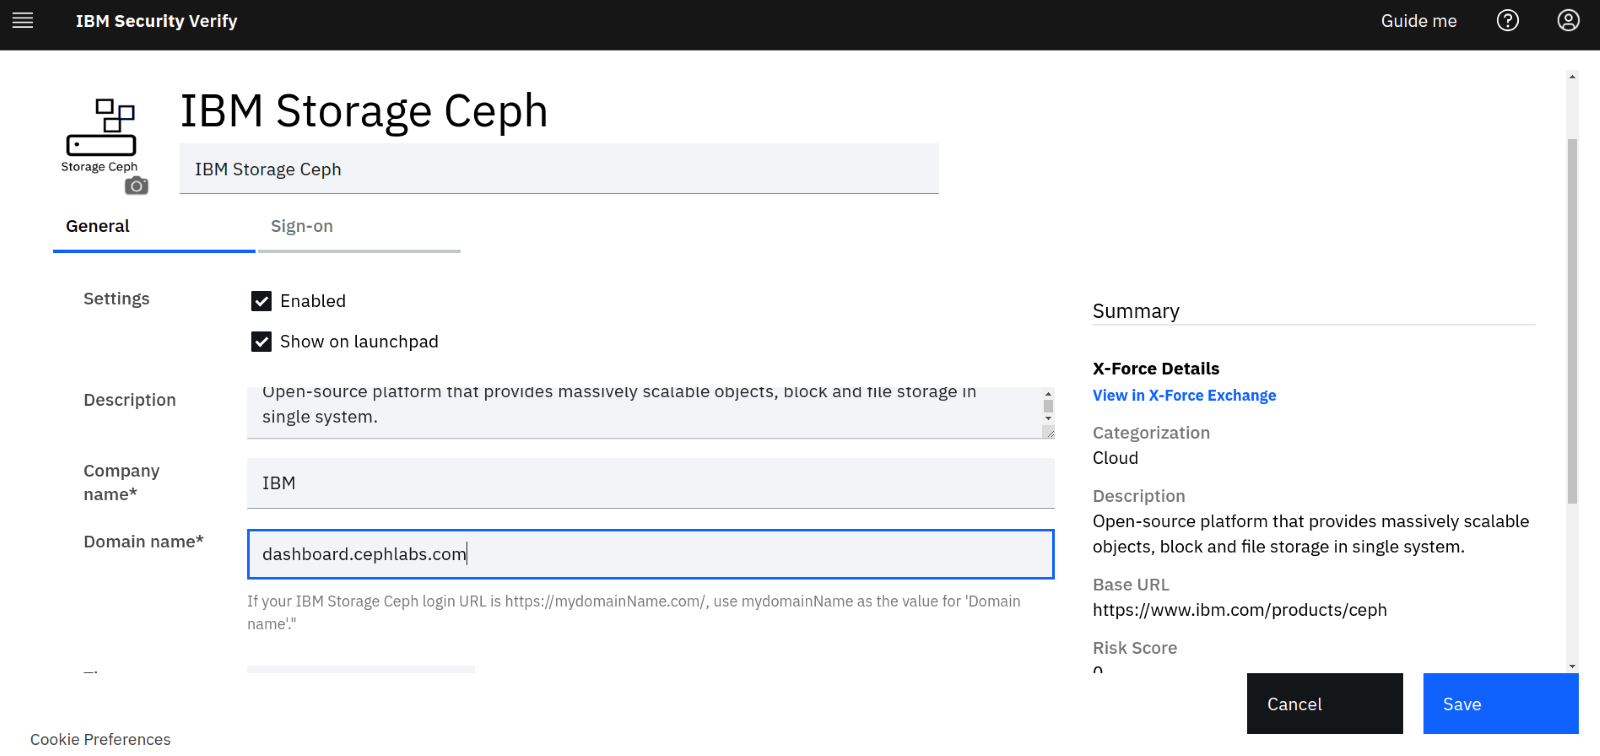
On the IBM Storage Ceph Application form, we have the general tab, where we need to specify our dashboard URL; for example, in this example, our IBM Storage Ceph Dashboard URL is https://dashboard.cephlabs.com:8443 , so we will be using the domain name in the form: “dashboard.cephlabs.com”
We can then move into the following configuration tab called “sign-on”. in this tab, most of the fields are pre-filled with the domain name for us; in our case, we just must add the port number to the URL as we are using a non-standard 8443 port for our dashboard.
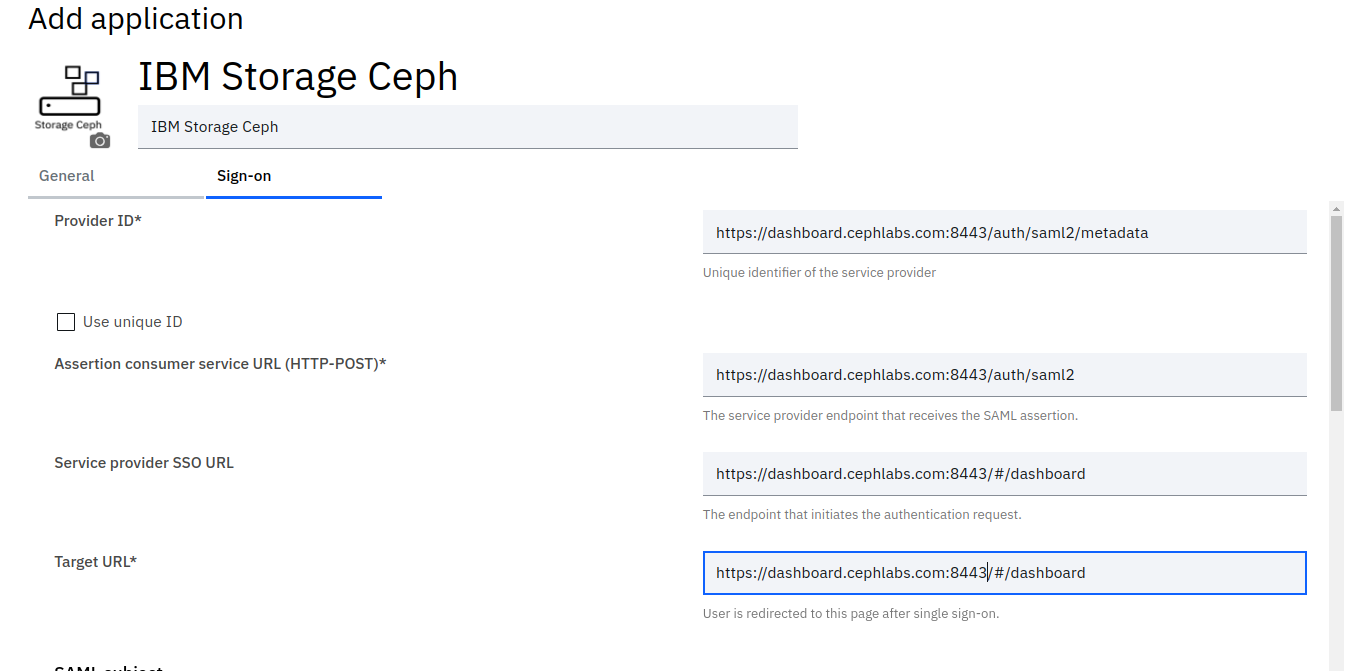
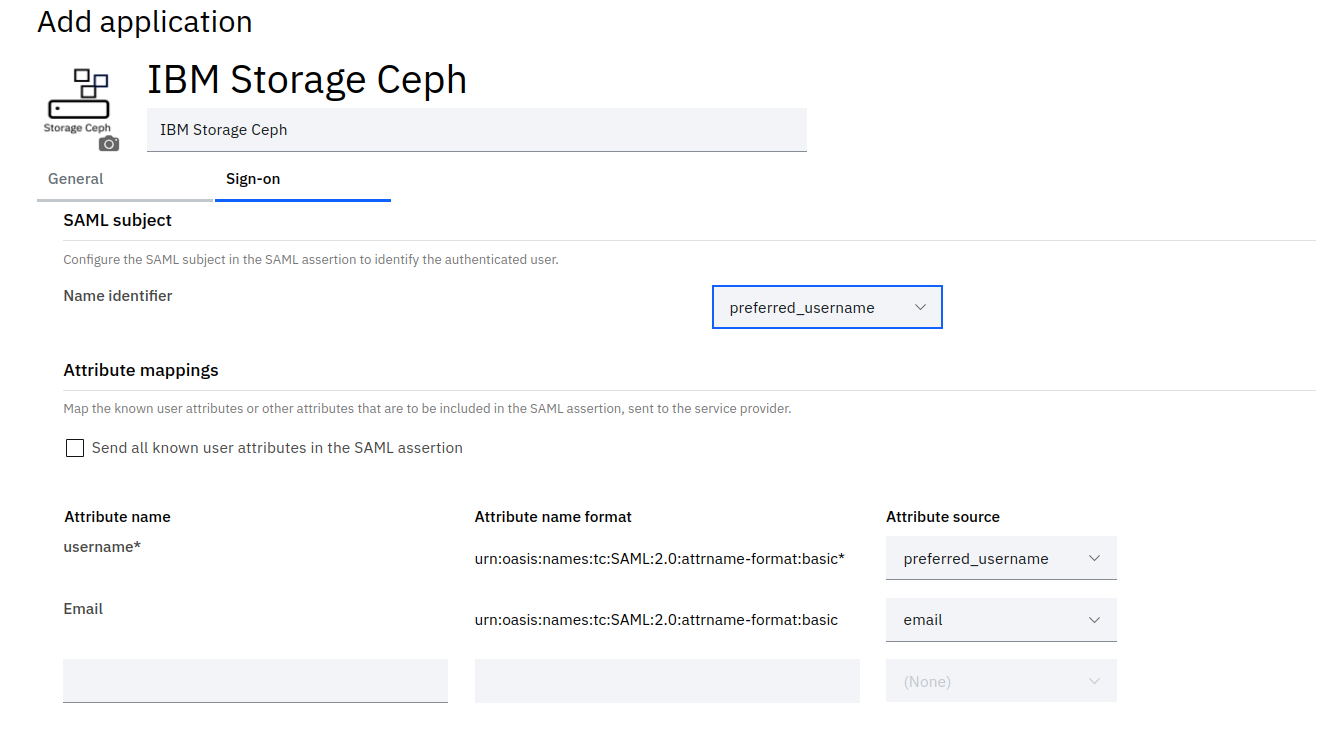
In the SAML Subject section, no changes are required.
IBM Storage Ceph Dashboard expects the following attributes in the SAML assertion: “username”
In the attribute mappings section, configure the identity provider to pass the username attributes in the SAML assertion to achieve this.
We only need to configure the attribute source for the pre-filled attributes, as shown in the following image:
We can now click the “Save application” Blue button; this last step configures and prepares our ISV application.
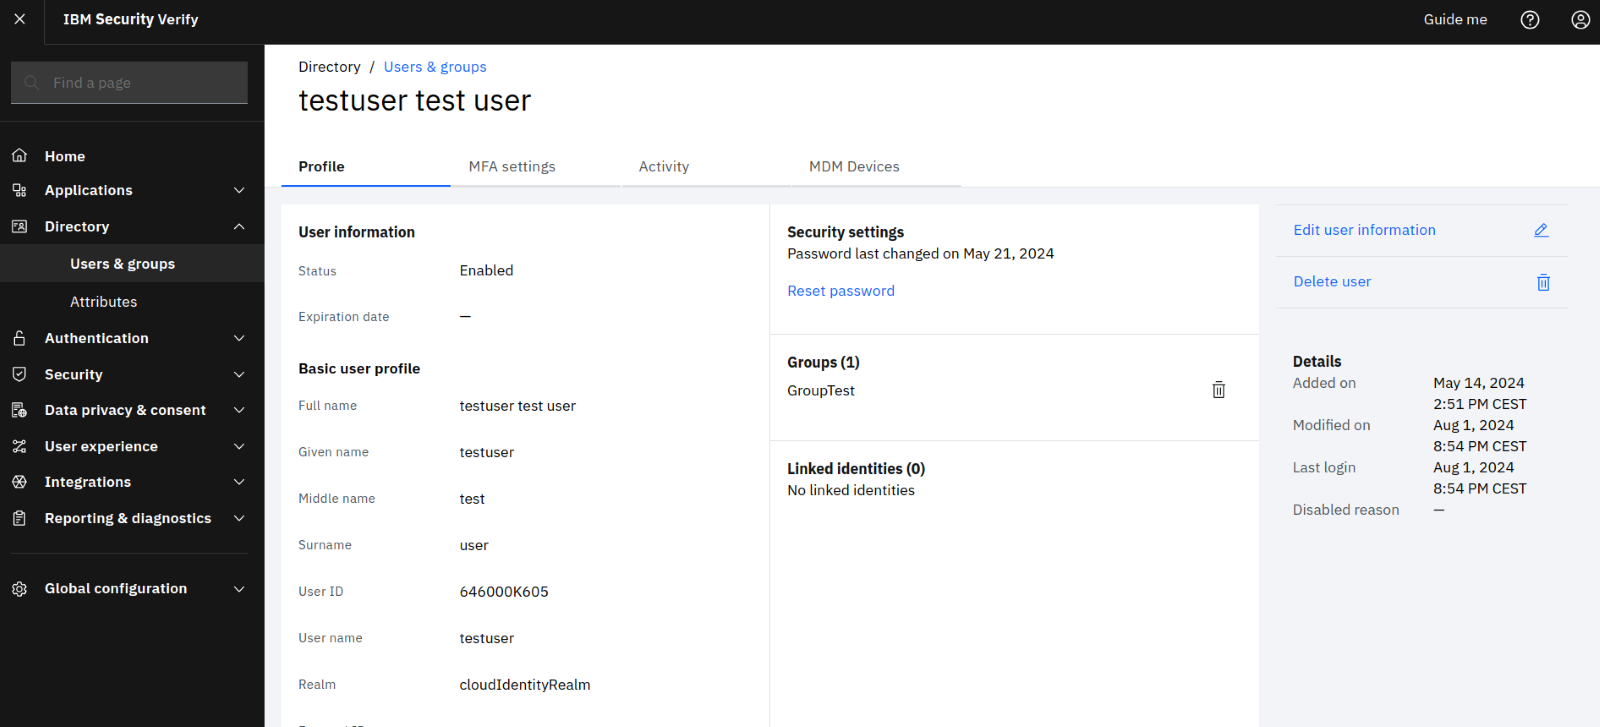
As the next step, in our example, we need to create an identity provider user that matches the IBM Storage Ceph Login ID. For this example, we will use the user “testuser” to login into the IBM Storage Ceph dashboard, so we go ahead and create the “testuser” on the IBM Security Verify directory:
We must also create the user “testuser” in IBM Storage Ceph. In this example, we want this user to have admin privileges on the IBM Storage Ceph dashboard, but you can use the granular RBAC privileges available in the dashboard as required.
Here is an example of creating the dashboard user with the admin role/privileges.
Create a Password file with a prefilled user password using the command:
# echo -n "yourpassword" > pass.txt
Create new users with administrator Roles using command:
# ceph dashboard ac-user-create testuser -i pass.txt administrator
IBM Storage Ceph Dashboard Single Sing On and MFA configuration.
Login to the Ceph bootstrap node as a root user and execute the command :
# sudo cephadm shell
To Configure SAML Single On, we have this example, we need to fill in the gaps with our ceph dashbpard domain and the ISV host domain
# ceph dashboard sso setup saml2 https://<ceph_domain>:<port> https://<ISV_host>/v1.0/saml/federations/saml20ip/metadata username https://<ISV_host>/saml/sps/saml20ip/saml20
In our specific example, we have run the following command:
# ceph dashboard sso setup saml2 https://dashboard.cephlabs.com:8443 https://cephlabs.verify.ibm.com/v1.0/saml/federations/saml20ip/metadata username https://cephlabs.verify.ibm.com/saml/sps/saml20ip/saml20
Finally, we can check that the SSO is now enabled for the IBM Storage Ceph Dashboard
# ceph dashboard sso status
SSO is "enabled" with "SAML2" protocol.
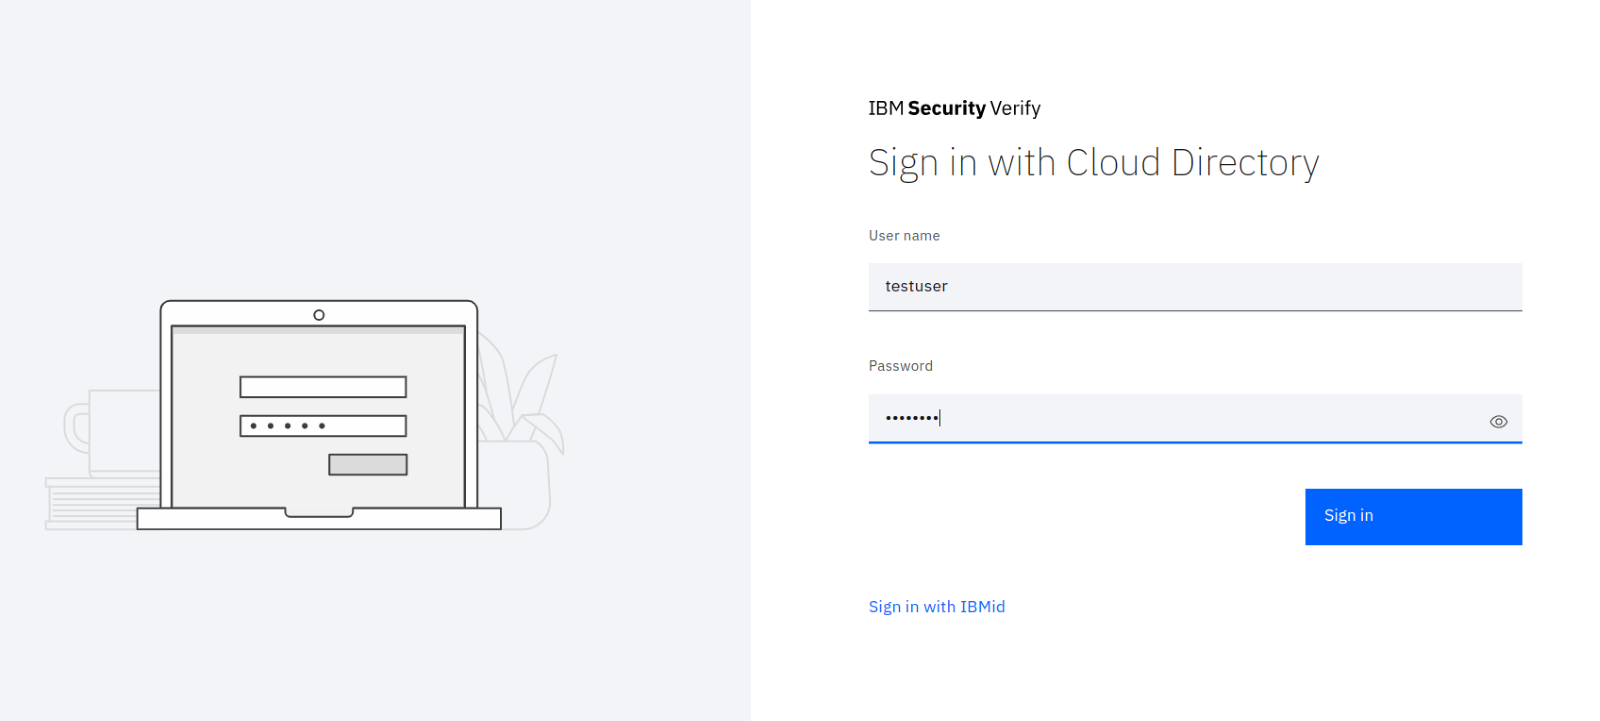
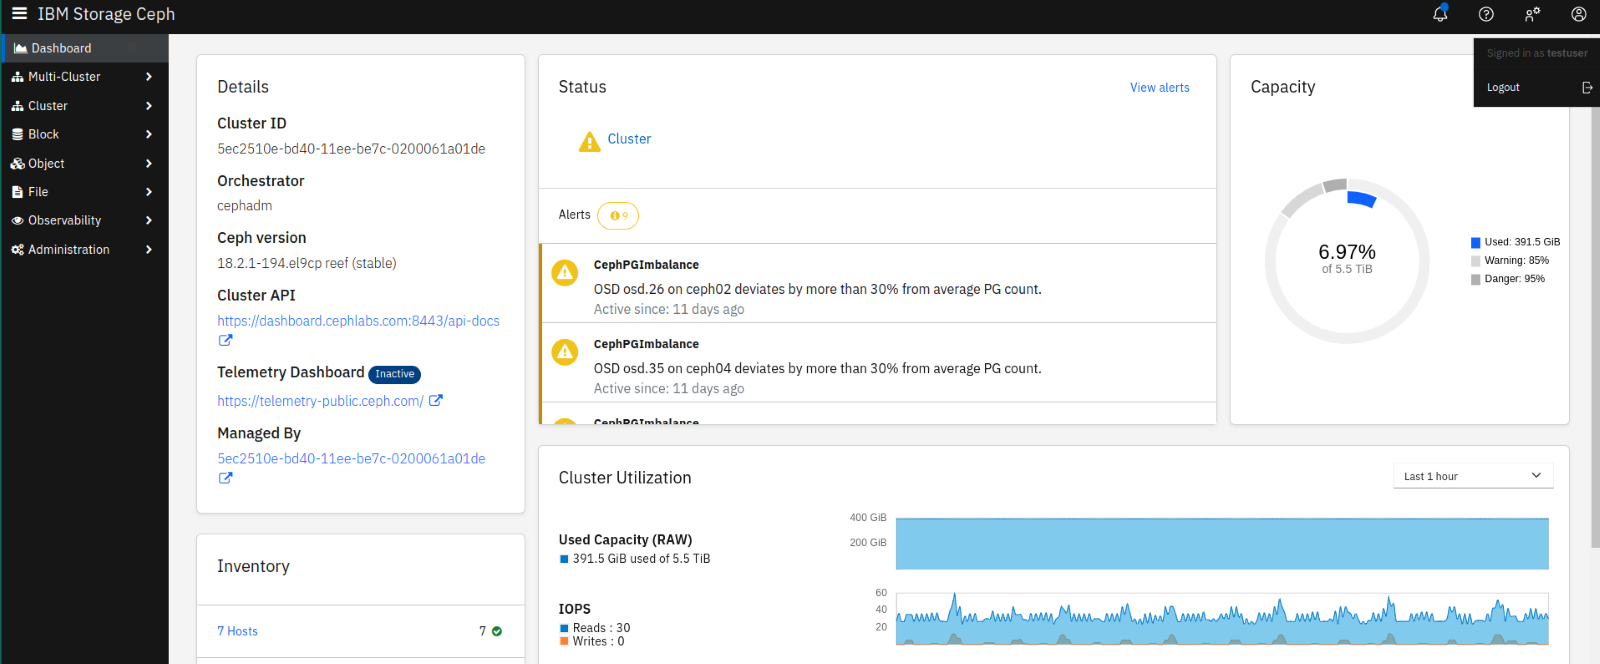
We are ready to log in to the dashboard using MFA. We enter our dashboard URL in the browser.

We will get re-directed to the ISV application, where we need to authenticate with our “testuser” and the Multi-Factor Authentication method selected:
Conclusion:
We've demonstrated how simple it is to configure Multi-Factor Authentication and Single Sign-on on the IBM Storage Ceph Dashboard using the new IBM Security Verify Connector.
#ibmtechxchange-ai
#Highlights#Highlights-home