Originally posted by: sco1
 You can automate your IBM Spectrum Conductor with Spark installation by creating a Git repository and creating an environment with IBM Bluemix Schematics. Before you follow these instructions, take note of the following prerequisites that are required to complete this task:
- The Bluemix API key
- The IBM Spectrum Conductor with Spark installation binary. In the following example, the installation binary is cws-2.2.0.0_x86_64.bin
- The IBM Spectrum Conductor with Spark entitlement key file. In the following example, the entitlement key file is cws_entitlement.dat
- A SoftLayer account with permissions to create virtual devices and image templates
- A SoftLayer user name and API key
SoftLayer preparations
- Create a virtual device with specifications similar to Redhat EL7.0-64 LAMP for VSI, 4G of RAM, 2 cores, public IP, network speed 100 Mbps. We will use the variable vm_ip in place of the public IP of this virtual device. It is strongly recommended that you use the OS version as specified in the example above.
- Log on to the virtual device as root and download the file SpectrumConductor.sh file at https://git.ng.bluemix.net/ibmcws/conductor-bluemix-schematics.
- Place the file under /var/www/html. Use a browser to ensure that you can access https://vm_ip/SpectrumConductor.sh.
- Edit this file and review and change some of the hard-coded variables as needed (for example, CWS_BIN, ENTITLEMENT).
- On the virtual device:
a. Add a user named egoadmin by using the following command:
useradd egoadmin
b. Edit the /etc/SSH/SSH_config file and set the StrictHostKeyChecking parameter as follows:
StrictHostKeyChecking=no
c. Install net-tools by using the following command:
yum install –y net-tools
d. Install jq by using the following commands:
#wget -O jg https://github.com/stedolan/jq/releases/download/jq-1.5/jq-linux64
#chmod +x ./jq
#cp jq /root
e. Create the SSH keys and add the pubic key to the authorized_keys. As such, once you have made this virtual device a template, subsequent virtual devices that are created from this template are able to SSH to each other without requiring a password.
f. Copy the IBM Spectrum Conductor with Spark installation bin and entitlement files to the /root directory.
- Create a template from the virtual device by selecting Create Image Template under the Actions menu. This action powers off the device.
- Get the template ID by navigating to Devices > Manage >Images. When you select the image, the image ID is in the URL field of the browser.
- Power on the device once the template is created.
Bluemix Schematics preparation
- Create a Git repository, for example from https://github.com.
- Download the main.tf and terraform.tfvars files from https://git.ng.bluemix.net/ibmcws/conductor-bluemix-schematics and push them to the new Git repository.
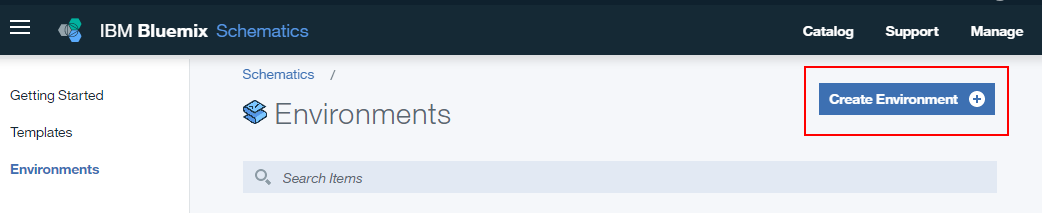
- Log onto Bluemix and select the Schematics dashboard.
- Click Create Environment.
- Under Source Control URL, enter location of the new Git repository.
- Under Variables, enter the following variable names and values:
|
Variable Name
|
Description
|
Sample Value
|
|
bxapikey
|
The Bluemix API key
|
|
|
slusername
|
The SoftLayer user name
|
joesmith
|
|
slapikey
|
|
|
|
datacenter
|
The SoftLayer data center
|
tor01
|
|
master_hostname
|
The IBM Spectrum Conductor with Spark master host name of your choice
|
cwsmaster
|
|
num_compute
|
The number of IBM Spectrum Conductor with Spark compute nodes
|
2
|
|
compute_prefix
|
The prefix of compute nodes
|
cwscompute
|
|
post_install_script_uri
|
The location of post install script above
|
https://vm_ip/SpectrumConductor.sh
|
|
master_cores
|
The number of cores for master node
|
2
|
|
compute_cores
|
The number of cores for compute nodes
|
2
|
|
image_id
|
The ID of the image template created above
|
|
Creating an IBM Spectrum Conductor with Spark cluster
- Click Plan, and monitor the log to ensure that there were no errors before proceeding to the next step.
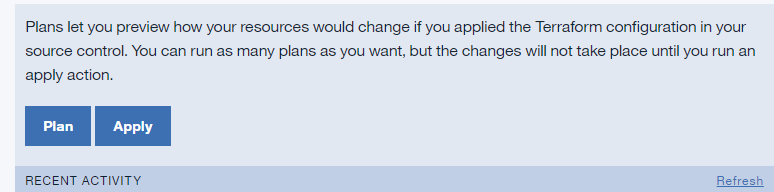

- Click Apply to start the process of creating the IBM Spectrum Conductor with Spark cluster on SoftLayer. Progress can be viewed by clicking View Log, as well as from the SoftLayer UI, which shows new virtual devices such as cwsmaster.domain.com, cwscompute0.domain.com, and cwscompute1.domain.com.
- Once all devices are created in SoftLayer, log on to the IBM Spectrum Conductor with Spark master node by using the public IP.
- Verify the IBM Spectrum Conductor with Spark installation by logging on as root on the master node:
a. Check the installation by viewing /tmp/install.log.
b. Issue the following commands:
# source /opt/ibm/spectrumcomuting/profile.platform
# egosh ego info
# egosh service list
# egosh resource list
Note: If EGO does not start, start EGO by issuing egosh ego start. You might also need to do this on all compute nodes.
- Verify the IBM Spectrum Conductor with Spark installation by logging on to the GUI at https://cwsmaster_public_ip:8443. You should see the login page for IBM Spectrum Conductor with Spark.
You can delete the cluster by going to the Bluemix Schematics GUI and selecting Destroy Resources under the Actions menu on the Environments listing page.
If you have not yet tried IBM Spectrum Conductor with Spark version 2.2.0, you can download an evaluation version here. If you have any questions about our product or about using IBM Bluemix Schematics, let us know using our Slack channel!
#SpectrumComputingGroup