Authored by: @Jeff Goodhue and @Genevieve van den Boer
This lab introduces some advanced features with the Glossary in IBM Blueworks Live.
Before you start:
This tutorial is meant to be used with IBM Blueworks Live. If you do not already have a running instance, please follow the link to get started: Sign up for a trial
Contents
Introduction:
This lab introduces some advanced features with the Glossary in IBM Blueworks Live. The Glossary is a place to define and store all the important terms used in the artifacts in your Blueworks Live account. Defining a set of preferred terms and associated descriptions can help achieve consistency and encourage best practices in documenting your business processes, policies, and decisions.
In this lab, you will explore the following advanced features of the Glossary in IBM Blueworks Live:
-
-
- How to create simple types in the Glossary
- How to create complex types as Glossary entries for Inputs and Outputs
- How to use complex types in process blueprints
- How to import a process from the Templates library
Pre-requisites:
This lab requires the following:
-
-
An IBM Blueworks Live Account (trial or permanent with Glossary Manager access)
-
“Hiring – General” process blueprint from the Templates library
Task 1: Open the Glossary
In this task, you will open the Glossary in your account. The Glossary contains all the values that are used in the properties of the Process Blueprints and Decision Models (accessed through the Details pane) in your account.
-
- To access the Glossary in your account, click on the Library link and open the Glossary

The Glossary view defaults to the Values tab showing the Glossary contents. The Glossary contains items discovered during process and decision documentation organized into categories based on the type of information they represent.
Your new custom property, Benefit Level, now has its own section in the Glossary. There are currently no values defined. In the next task, you will create some values for other users to select in their Process Blueprints.
2. Scroll down to the Inputs | Outputs section to view the Inputs and Outputs category of Glossary entries.
Task 2: Create simple types
In this task, you will create the simple types: Street Address, City, Country, Postal Code, Job Applicant ID, Job Applicant Name, Job Application Date, Email Address, and External Hire, to use in constructing your complex types in a later task. If you already have similar simple types in your glossary, you can reuse them to create the complex types in your account.
| Simple Types |
| Name |
Type |
Description |
|
Street Address
|
Text
|
The street address record capturing the street name, building and unit numbers.
|
|
City
|
Text
|
The full name of a city used as part of a location or address.
|
|
Country
|
Text
|
The full name of a country used as part of a location or address.
|
|
Postal Code
|
Text
|
The full postal code used as part of a mailing address.
|
| Phone Number |
Text
|
The full phone number including country and area codes.
|
|
Job Applicant ID
|
Text
|
The identifier for a job applicant.
|
|
Job Applicant Name
|
Text
|
The full name of a job applicant.
|
|
Job Application Date
|
Date
|
The date a job application was received.
|
|
Email Address
|
Text
|
The complete email address in standard format.
|
|
External Applicant
|
Yes/No
|
The indicator for external status of a job applicant. Yes - is for an external applicant. No - is for an internal applicant.
|
- Click New Input/ Output.

- A new row appears for the new Input / Output value. The visibility for an Input / Output value will be set to Always visible by default. Click under Name and enter the name of the new type “Street Address”.
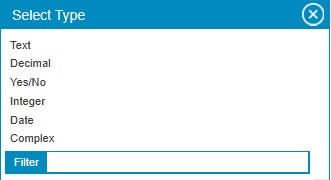
- Click under Type to open the Select Type window and click Text (default type)
- Under Description, click “add Description” and enter the following text “The street address record capturing the street name, building and unit numbers.”

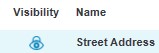
- The new Input / Output has been created and should look as shown below.

- Follow steps 1-4 to create the rest of the simple types in the table above.
-
Your simple types are now complete and ready to be used to create the complex types in the next task.

Task 3:Create a complex type (more than one)
In this task, you will create complex types, Address and Job Application Summary, to use as values in both your Inputs and your Outputs in Process Blueprints in IBM Blueworks Live. Each complex type is made up of other terms which are simple or complex types. These complex types will use the simple types you created in the previous task.
| Complex Types |
|
Name
|
Type
|
Contents
|
Description
|
|
Mailing Address
|
Complex
|
Street Address, City, Country, Postal Code
|
The full mailing address including street, city, country, and postal code.
|
|
Job Application File
|
Complex
|
Job Applicant ID, Job Applicant Name, Job Application Date, Mailing Address, Email Address, Phone Number External Applicant
|
The summary file for the job application including relevant details, the applicant’s id, name, date, mailing address, and email address, phone number, and external status.
|
- Click New Input/ Output.
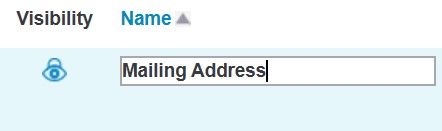
- A new row appears for the new Input or Output value. The visibility will be set to Always visible by default. Click under Name and enter the name of the new type “Mailing Address”.
- Click under Type to open the Types selection and click Complex
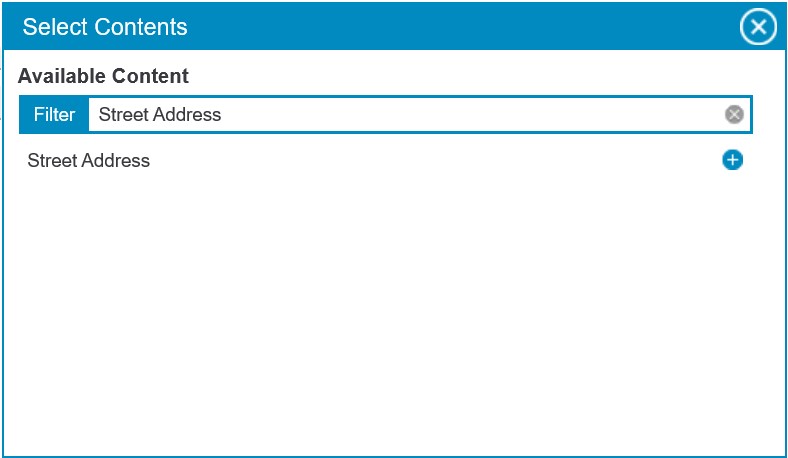
In the Select Contents window that opens, in the Filter field, enter “Street Address” and click the + symbol next to the Street Address simple type that you created earlier.
 Continue to look up and add the rest of the simple types to complete the definition of the Mailing Address complex type as indicated in the table above.

Click the X in the top right of the Select Contents window to close the window when you have completed adding all the required simple types. Your Contents will now look as follows:
- Under Description, click “add Description” and enter the following text “The full mailing address including street, city, country, and postal code.”
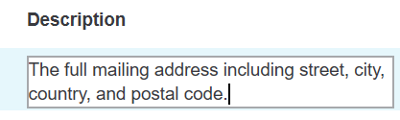
- The new complex Input / Output has been created and should appear as shown below.

- Create the next complex type, Job Application Summary, by following steps 1-4 above using the information in the table above.
- The new complex Input / Output has been created and should appear as shown below.

Task 4: Prepare the environment
In this task, you will select and import a process blueprint from the library of Templates available in IBM Blueworks Live.
- Navigate to Library > Templates to open the repository of template process blueprints.

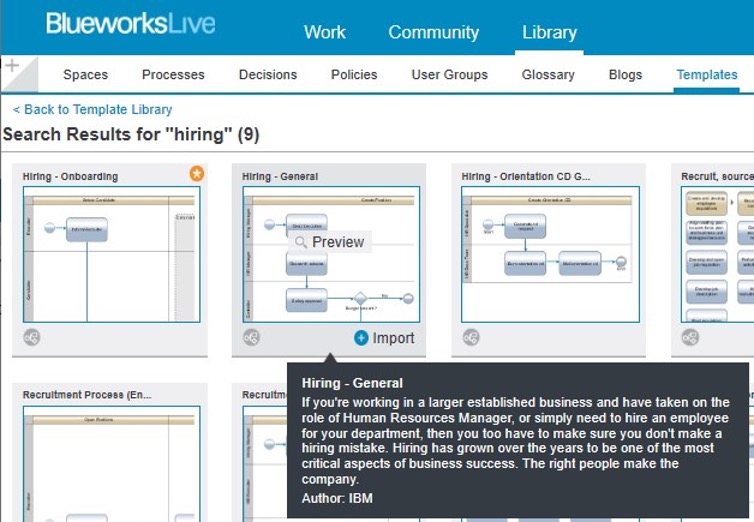
- Enter Hiring into the Search dialog to find the related process blueprints.
- You will now see 9 process blueprints to choose from.
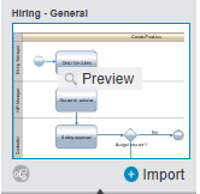
- If you hover over the second artifact, “Hiring - General”, you will see the description of this template artifact indicating that it comes from IBM.
- OPTIONAL: you can click on Preview to view the Discovery Map for this process blueprint. Note: you can preview both the Discovery Map and the Process Diagram views.
- Click on Import to import this template.
 Or from Preview View:
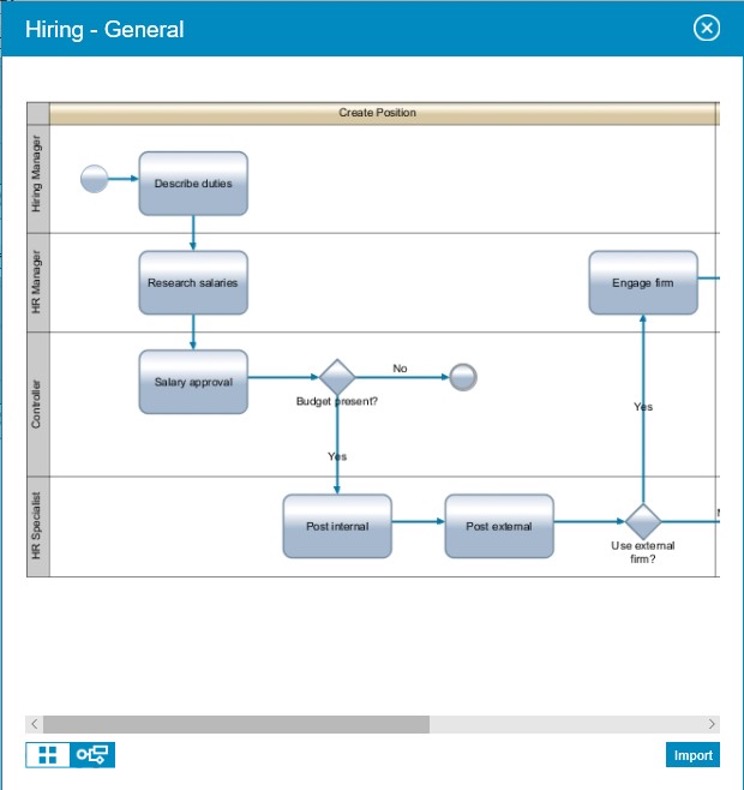
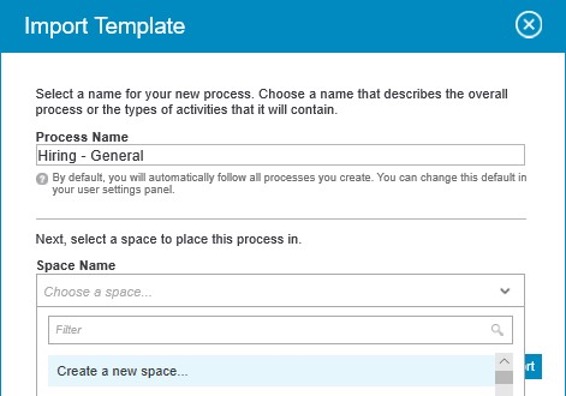
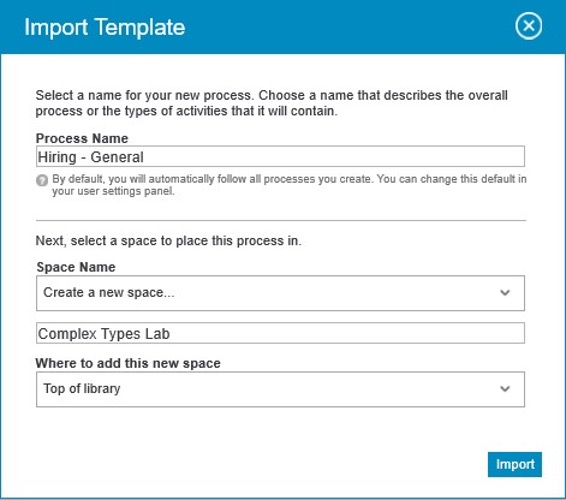
- In the dialog that opens, accept the default Process name and select the space where you would like to place these process artifacts, or optionally create a new space e.g. “Complex Types Lab” and choose the location for it (Note: you will want to change the default location ‘Top of library’ to a location in one of your own spaces). Click Import to import this template into your existing or newly created Space.
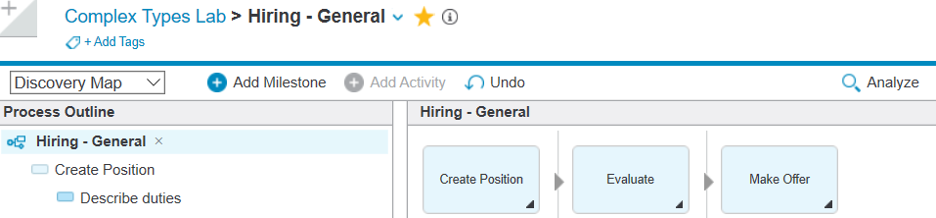
- The process blueprint now opens in your chosen, e.g. “Complex Types Lab”, Space.
END TASK
Task 5: Update a process blueprintd
In this task, you will update a process blueprint from the template process blueprint you imported in the previous task in IBM Blueworks Live, by associating values for the complex types you created in earlier tasks with activities in the process blueprint.
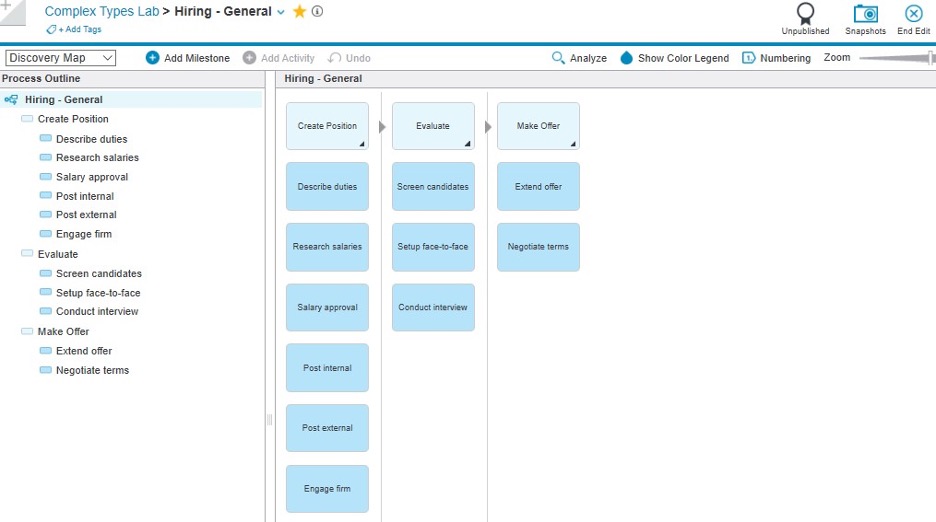
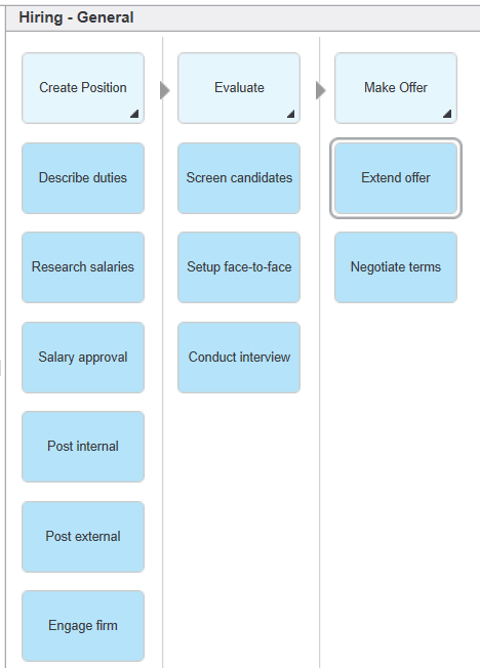
- In the “Complex Types Lab” Space, if it isn’t already open, click on the Process Blueprint “Hiring - General” to open it. It should open in the “Discovery Map” view as shown.
If it does not, click on the view menu to switch to Discovery Map.
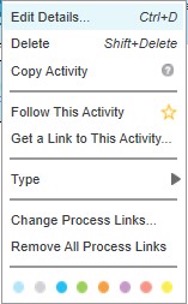
- Right click on the “Screen candidates” activity and select Edit Details… from the menu.
- In the Details pane that opens, scroll down until you see the properties: Inputs and Outputs
- Click in the Inputs field and start typing “job application file”.
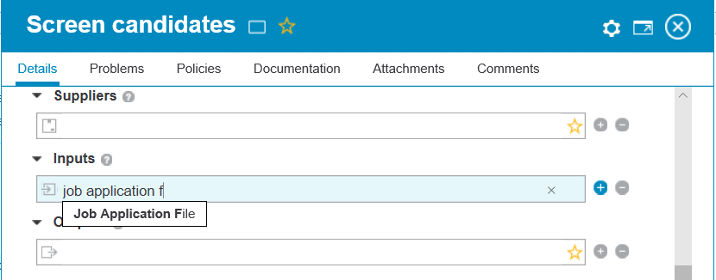
- Select the complex type, Job Application File, you created in an earlier task from the dropdown that appears.
- Close the “Screen candidates” details window.
- Right click on the “Extend offer” activity and select Edit Details… from the menu.
- Click in the Outputs field and start typing “mailing address”.
- Select Mailing Address from the dropdown.
- If you hover over the Mailing Address entry in the Outputs, you will see the description you entered for the complex type.
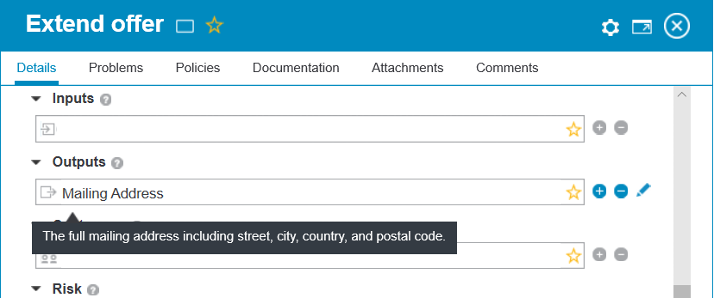
- Close the “Extend offer” details window.
- Your process blueprint is now ready for some initial validation and analysis.
- Click on the Analyze button to open the Analyze mode.
- Click in the left-hand menu where it says “Participants”. De-select “Participants” and select “Inputs” and “Outputs”.
-
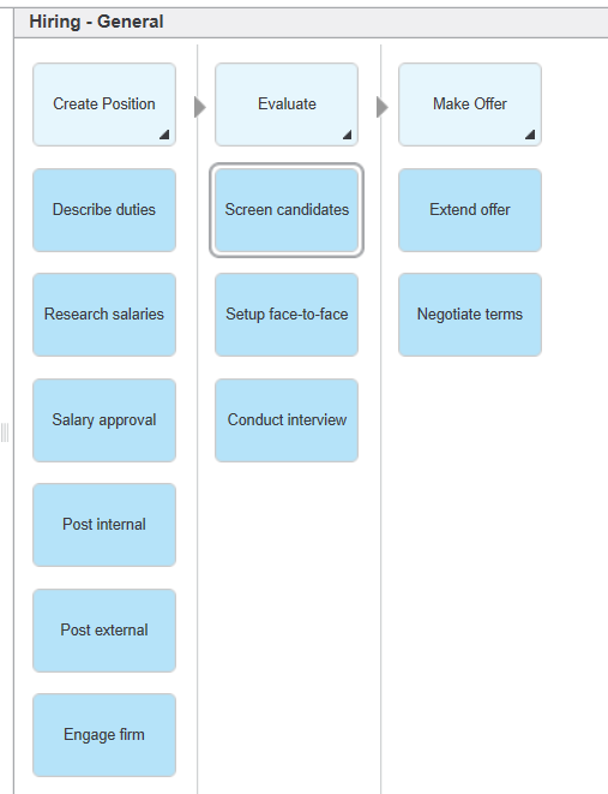
You will see the two Inputs and Outputs that you just entered are now highlighted in the Discovery Map as shown below.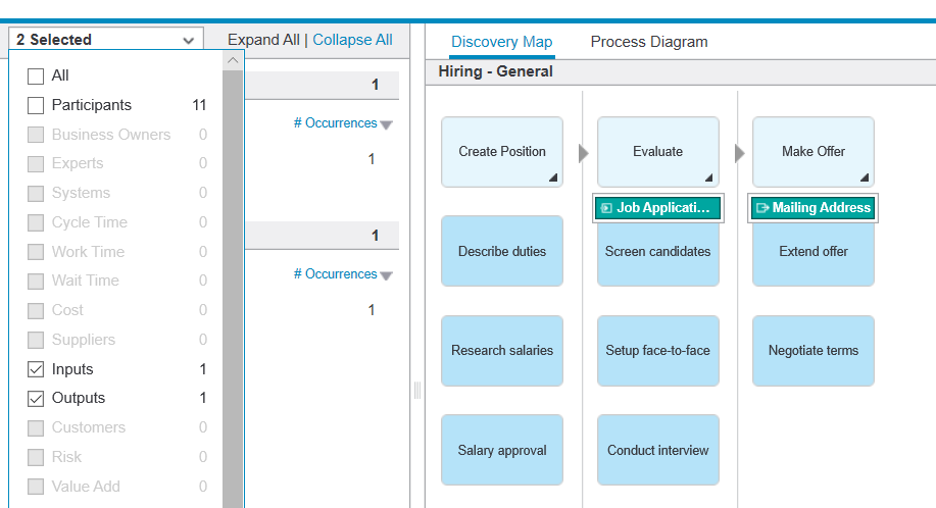
END TASK
In this lab, you explored the following advanced features of the Glossary in IBM Blueworks Live:
-
- how to create simple types in the Glossary
- complex types in the Glossary
- how to import a process blueprint from the Templates library
- how to develop a process blueprint using the newly created complex types.
This completes the lab for advanced Glossary management with complex types.
NOTE: To DO in BWL
Change these back to visible when used:
City
Phone Number
Email Address
Remove