Authored by: @Jeff Goodhue and @Genevieve van den Boer
Learn about the advanced glossary management features in IBM Blueworks Live that allow you to define, store and set preferred terms, merge duplicate entries and encourage best practices across your organization
Note: Safari web browser is not officially supported by Blueworks Live. If you experience problems using this site, switch to Microsoft Edge, Mozilla Firefox, or Google Chrome
This tutorial is meant to be used with IBM Blueworks Live. If you do not already have a running instance, please follow the link to get started: Sign up for a trial
Contents
Introduction
This lab introduces the Glossary in IBM Blueworks Live. The Glossary is a place to define and store all of the important terms used in the artifacts in your Blueworks Live account. Defining a set of preferred terms and associated descriptions can help achieve consistency and encourage good practices in documenting your business processes, policies, and decisions.
In this tutorial, you will explore the following key capabilities:
- How to import Glossary entries
- How to see where Glossary entries are used
- How to merge Glossary entries
- How to manage Glossary entry visibility
- How to add a Glossary reference
- How to delete a Glossary value How to export Glossary entries
Prerequisites
This lab requires the following:
- An IBM Blueworks Live Account (trial or permanent, use the link at the top to sign up)
- Complete the Blueworks Live Training Space tutorials. Blueworks Live creates a training space with integrated video tutorials. If you don't see a training space, contact your admin.
- Download the Process Import file: Claims Payment.zip
- Download the Glossary Import file: Glossary Import for Lab.csv
Task 0: Prepare the environment
To prepare your environment, you will first need to import some processes that use the glossary terms you will work with in this lab.
Optionally, you can create a new space in your account for the processes, or you can simply use your existing training space, <Your Name> Training Space, to import the processes for the lab.
Make sure you have the Process Import file downloaded: Claims Payment.zip
- Click Import to import the processes from the provided zip file.
- Select the Business Process Model and Notation (BPMN 2.0) format for the import. Click Next.
- Click Browse, and go to the location where you saved the processes import file (Claims Payment.zip<) to select the file.
- Click Import.
- The import file contains three processes: Prepare Payment, Claims Payment, and Prepare Payment. You will see a warning message that the processes were exported from Blueworks Live and the import is not the preferred method to copy processes across accounts. Accept the warning message and import the processes by clicking Import.
- Wait for the import to complete.
- You will now see 3 new process blueprints in your space:
- Claims Payment
- Prepare Payment
- Prepare Payment Details
Optionally, view the processes to see their details. Your environment is now ready for the Glossary exercise.
Task 1: Open the Glossary
In this task, you will now open the Glossary in your account. The Glossary contains all the values that are used in the properties of the Process Blueprints and Decision Models (accessed through the Details pane) in your account.
-
To access the Glossary in your account, click Library at the top and open the Glossary tab.
The Glossary view defaults to the Values tab showing the Glossary contents. The Glossary contains items discovered during process and decision documentation organized into categories based on the type of information they represent.
For example: Participants | Business Owners | Experts contains all the role names that are used as Participants, or Business Owners, or Experts in process blueprints.
Each glossary item has a value (its name), an optional description, and a visibility status (an icon that shows if the item is only visible when used, always visible, or always visible and preferred).
Screenshot: visibility options
-
Expand the sections of the Glossary, e.g. Participants | Business Owners | Experts, by. clicking on the side arrow next to the section name to see the values that are already populated in your account.
Task 2: Import Glossary items
The Glossary is automatically populated by the process blueprints and decisions in your account, but it can also be populated from an import file. In addition, the Blueworks Live API can be used for Glossary imports. Use of the API is not covered in this lab; for more information about using the API, please refer to the Blueworks Live API IBM Knowledge Center documentation (https://www.ibm.com/docs/blueworks-live?topic=live-blueworks-api).
In this task, you will import prepared values into your Glossary from the provided csv file (Glossary Import for Lab.csv).
-
In the Participants | Business Owners | Experts section that you previously expanded, click Import.
-
Make sure you have the Glossary Import file downloaded: Glossary Import for Lab.csv
-
Click Browse, and go to the location where you saved the provided csv import file (Glossary Import for Lab.csv).
Click Import.
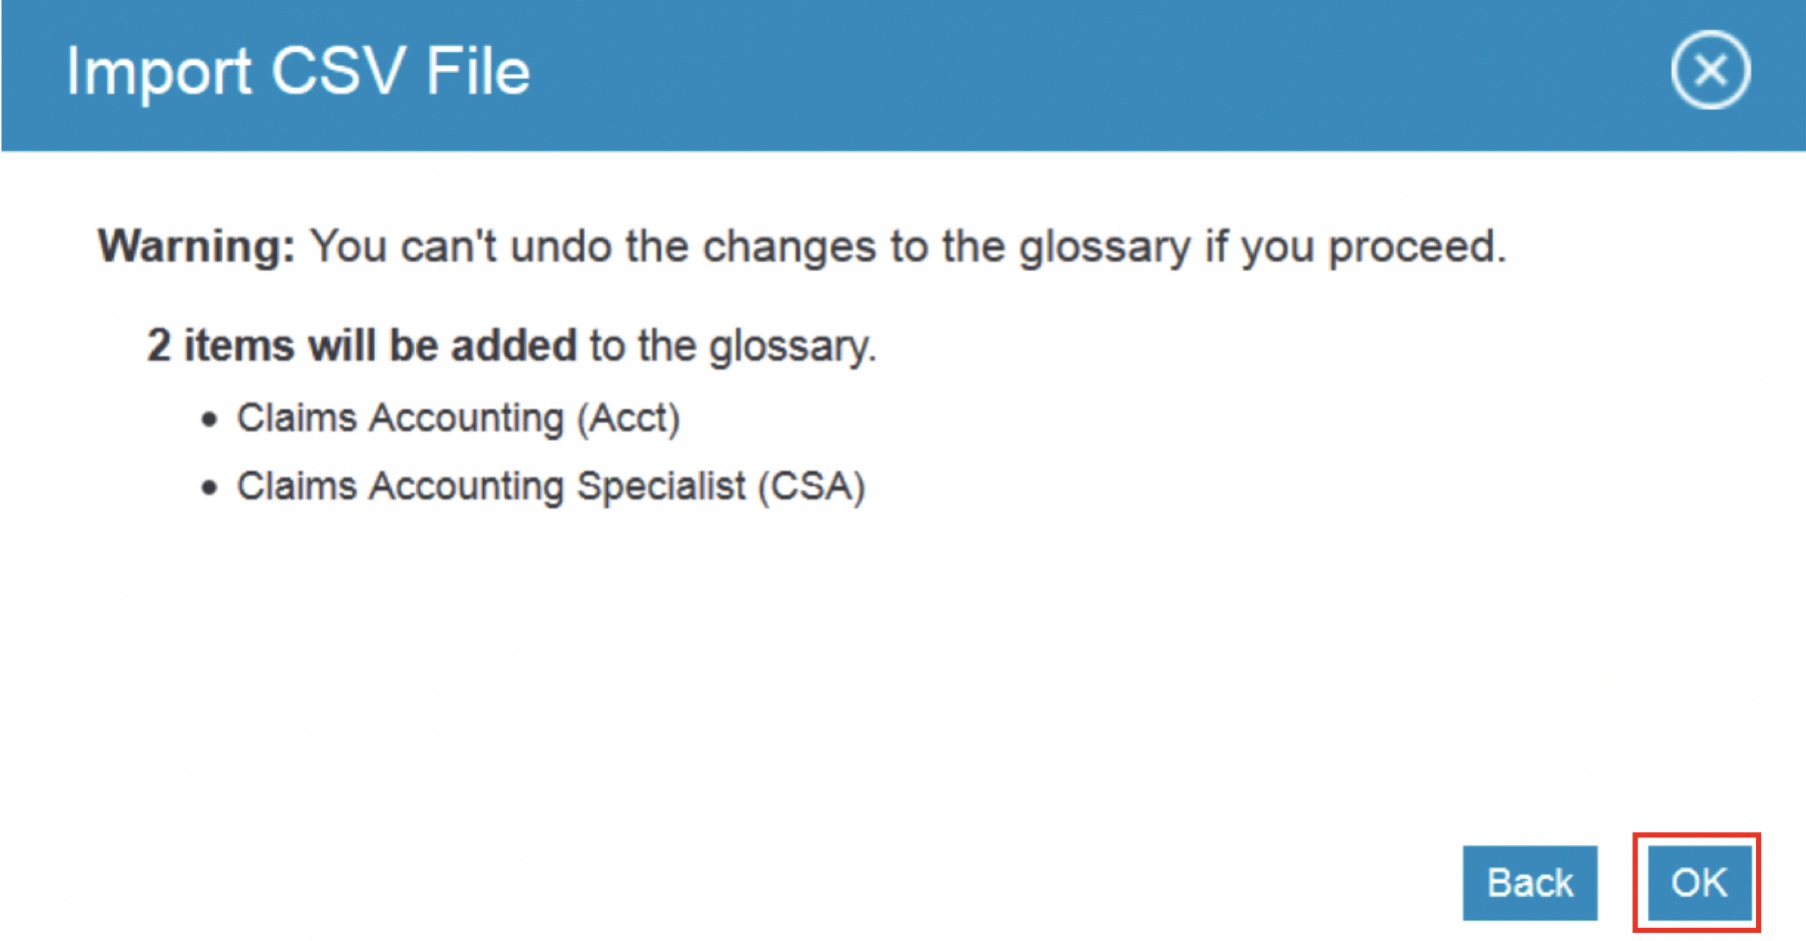
The import file contains two entries: Claims Accounting (Acct) and Claims Accounting Specialist (CSA). You will see a warning message that the changes to the glossary can not be undone. Accept the warning message and import the new entries by clicking OK.
The entries are now imported. You will see the two new entries added to the section for Participants | Business Owners | Experts.
Task 3: Merge and Where Used
As a Glossary manager, you will need to review the Glossary contents regularly for consistency. If you notice some items with similar names, you may want to merge them. First, you should check to see where they are used so you can contact their owners to ensure they approve merging the terms.
In this task, you will find and merge the old Glossary terms used in the imported processes with the new terms imported from the Glossary import. The old terms have spelling errors and follow inconsistent naming conventions.
- If not already expanded from the previous Task, expand the Participants | Business Owners | Experts section of the Glossary by clicking on the side arrow next to the section name.
In the glossary items for Participants, you will see there are 5 entries related to Claims Accounting
   Claims Accountin
   Claims Accounting
   Claims Accounting (Acct)
   Claims Accounting Dept
   Claims Accounting Specialist (CSA)

- To see where the different values are used, move your mouse over the value and click the Where Used icon that appears to the right of each item value. Start by clicking the Where Used icon next to the Claims Accountin item.
- In the dialog that opens, you can see that the Claims Accountin item is used in one process, Prepare Payment, which was imported from the Claims Payment.zip file. Optionally, click the Prepare Payment link to open the process and see where the Claims Accountin value is used as a Participant.
- Click the Where Used icon next to the Claims Accounting item.
In the dialog that opens, you can see that the Claims Accounting item is used in one process, Claims Payment, which was imported from the Claims Payment.zip file. Optionally, click the Claims Payment link to open the process and see where the Claims Accounting value is used as a Participant.
Follow similar steps to verify where the following items are used:
Claims Accounting (Acct) – not used, it was imported from Glossary Import for Lab.csv
Claims Accounting Dept – used in Prepare Payment Details
Claims Accounting Specialist (CSA) – not used, it was imported from Glossary Import for Lab.csv
If all the usages match those above and are valid for the new name, you can now merge the entries. In this case, you will merge the entries to use the new term, Claims Accounting (Acct).
- To merge the items, click the Merge checkbox next to each of the following duplicate items, plus the new term you want to merge them with. Note, you are not merging the last value: Claims Accounting Specialist (CSA).
Claims Accountin
Claims Accounting
Claims Accounting Dept
Claims Accounting (Acct) - new term from glossary import
- The selected items will be highlighted and you will see a dialog indicating how many values will be merged. In this case, there will be 4 values to Merge.
When you are ready to merge, click Merge 4 Values. You will be presented with a screen which prompts you to choose the value to merge into. NOTE: Merge changes cannot be undone.
- In the Merge Values dialog that appears, select Claims Accounting (Acct) as the one to use as the new value. From the dialog, you can see the change will affect 3 processes in your account. Click Merge.
- After merging, you can see the duplicate terms are removed from the glossary. Optionally, view the processes: Prepare Payment, Claims Payment, and Prepare Payment Details, to see how they use the new term Claims Accounting (Acct) as a Participant.
- To see where the new value is used, click the Where Used icon to the right of Claims Accounting (Acct).
Task 4: Manage visibility
Now that you have a single term that is used consistently across your processes, you will want to make it a preferred term. Items set to Always visible and preferred show up in the Glossary and are listed as suggestions in field drop-down menus before the user has typed any characters. Preferred visibility will ensure these terms are more likely to be selected in order to keep a consistent business vocabulary across your account and minimize glossary management time for merging and similar tasks.
In this task, you will change the visibility rules for a value in the Glossary.
- The Claims Accounting (Acct) participant item is now the definition that is preferred for all processes. Set the visibility to Always visible and preferred by clicking the visibility icon next to Claims Accounting (Acct).
As you can see, the Claims Accounting (Acct) value is now preferred and will always be visible to process editors when they edit the Participants, Business Owners, or Experts attributes.
Task 5: Add Glossary reference
Glossary entries can contain references to define relationships with other glossary values or additional information through attached files or hyperlinks to external materials. This can be useful to provide business context and specific usage examples for a term to users.
In this task, you will add a reference to link two values in the Glossary. In the imported list of Glossary values, there are two values that are related to each other:
   Claims Accounting Specialist (CAS)
   Claims Accounting (Acct)
You will add a reference from the Claims Accounting Specialist (CAS) value to the Claims Accounting (Acct) value.
- Click in the References column of the Claims Accounting Specialist (CAS) value.
- In the dialog that opens, click Add and then Link Glossary Value to add a reference to another glossary value.
-
In the Select Glossary Reference window, type (acct in the Filter text box to find the Claims Accounting (Acct) value. Click the Claims Accounting (Acct) value.
You will now see the reference you added in the Edit Details window. Click Done to save the changes.
You will now see a reference icon next to the Claims Accounting Specialist (CSA) value, indicating a reference exists for this value.
Task 6: Delete Glossary entry
Glossary entries can be individually deleted so that users do not see them in a drop-down option or to otherwise discourage usage. In this task, you will add and then delete a value from the Glossary.
-
I the Inputs | Outputs section, click New Input/Output.
-
Enter benefit level in the Name field.
-
You created a new input / output value called benefit level that defaulted to type Text.
-
Hover over the new benefit level value to show the action icons next to the Name.
-
Click the delete icon next to the Name field to delete it.
-
To confirm the deletion of the benefit level value, click Continue.
The new glossary value is no longer available in the glossary.
Task 7: Export Glossary
The Glossary can be exported to a Microsoft® Excel formatted file. This can make it easier to manage the glossary values offline, or to import them into other tools.
You can export the entire glossary or a single glossary section. In this task, you will export a single section of the glossary.
-
To export the contents of the Participants | Business Owners | Experts section, expand it and click Export.
-
You will see a confirmation that the document is being exported.
-
The glossary export is shortly available as a file. You will see a dialog that prompts you to open or save the glossary export file. You can open it if you wish to view the contents. Each entry contains the following attributes:
• Value - the name of the item
• Description – the description of the item
• Visibility – the visibility of the item, such as Always visible and preferred
• Item Type – the section of the glossary where the item belongs, e.g. Participants | Business Owners | Experts
• Usage Type – the types of attribute(s) where the value is used, e.g. Participants.
• Added By – the name of user who added the value
• Added Date – the date the value was created
• URL – a link to the value in IBM Blueworks Live
In addition, there are extra worksheets that contain the references associated with any of the Glossary entries.

- Click the Linked Glossary References worksheet to see the reference that you added to the Claim Accounting Specialist (CSA) value.
Summary
Congratulations, you completed the Glossary management in Blueworks Live tutorial!
You experienced many ways to manage a glossary including importing, exporting, adding, deleting, merging, reference management and more. A structured approach to glossary management through the tools and techniques you learned will help your organization increase the value received from Blueworks Live by providing guidance and clarity to your users.
We look forward to hearing your feedback and hope you keep modeling your business with Blueworks Live!