Hello Community!
We all know the importance of data retention as well as the importance of doing this on a separate server, and ideally on a remote system or a cloud-based storage provider. Although QRadar does provide a quick and easy way to configure both data and configuration backups, it suffers from default storage location being on the active device. Often times, organizations struggle with spinning up a dedicated storage environment for on-premise longer term retention due to operational and capital costs associated with this, not to mention the maintenance related overhead!
The cloud-based pay-as-you-go or measured/metered pricing model can help with this and even better, cloud providers often have tiered pricing based on their own short- or long-term storage models. This is where IBM Cloud Storage services, under the Object Storage model, can provide a great deal of help. Not only does this model not require a mount point on your QRadar instance, but it also provides the vault model for storage buckets from which data doesn’t necessitate a lot of interaction. I figured it was about time I tried this out for myself, with help from Charlie Price on the Cloud team who provided some guidance on the API use and a second set of eyes from Matt Milza, a peer of mine.
Please note that this method applies to the 'traditional on-premise' model of deployment for QRadar instances and that this script will need to be scheduled on all consoles and processors as that is typically where the relevant backup files are stored. This is true of both physical and virtual appliances, including cloud hosted virtual appliances (eg: AWS/Azure/GCP/IBM Cloud/etc). This does NOT apply to QRadar on Cloud, the QRadar SaaS offering.
For this use case, I created an account with IBM Cloud and stuck to only cost-free services. If I were to have this set up in a production environment, I would quickly run out of the cost-free tier capabilities and would fall into the realm of low-cost long-term cold storage.
Access Cloud Storage Services:
- Access the Cloud Storage Services site: https://www.ibm.com/cloud/storage
- Create an account, if you don’t already have an IBM ID or log in with your ID if you already have one.
Set up a Storage Bucket:
- From the dashboard, at the top right corner, click on the ‘Create resource’ button.
- From there you’ll be taken to the Catalog view. Select the option for “Object Storage
- This is where you’ll identify and select your pricing model.
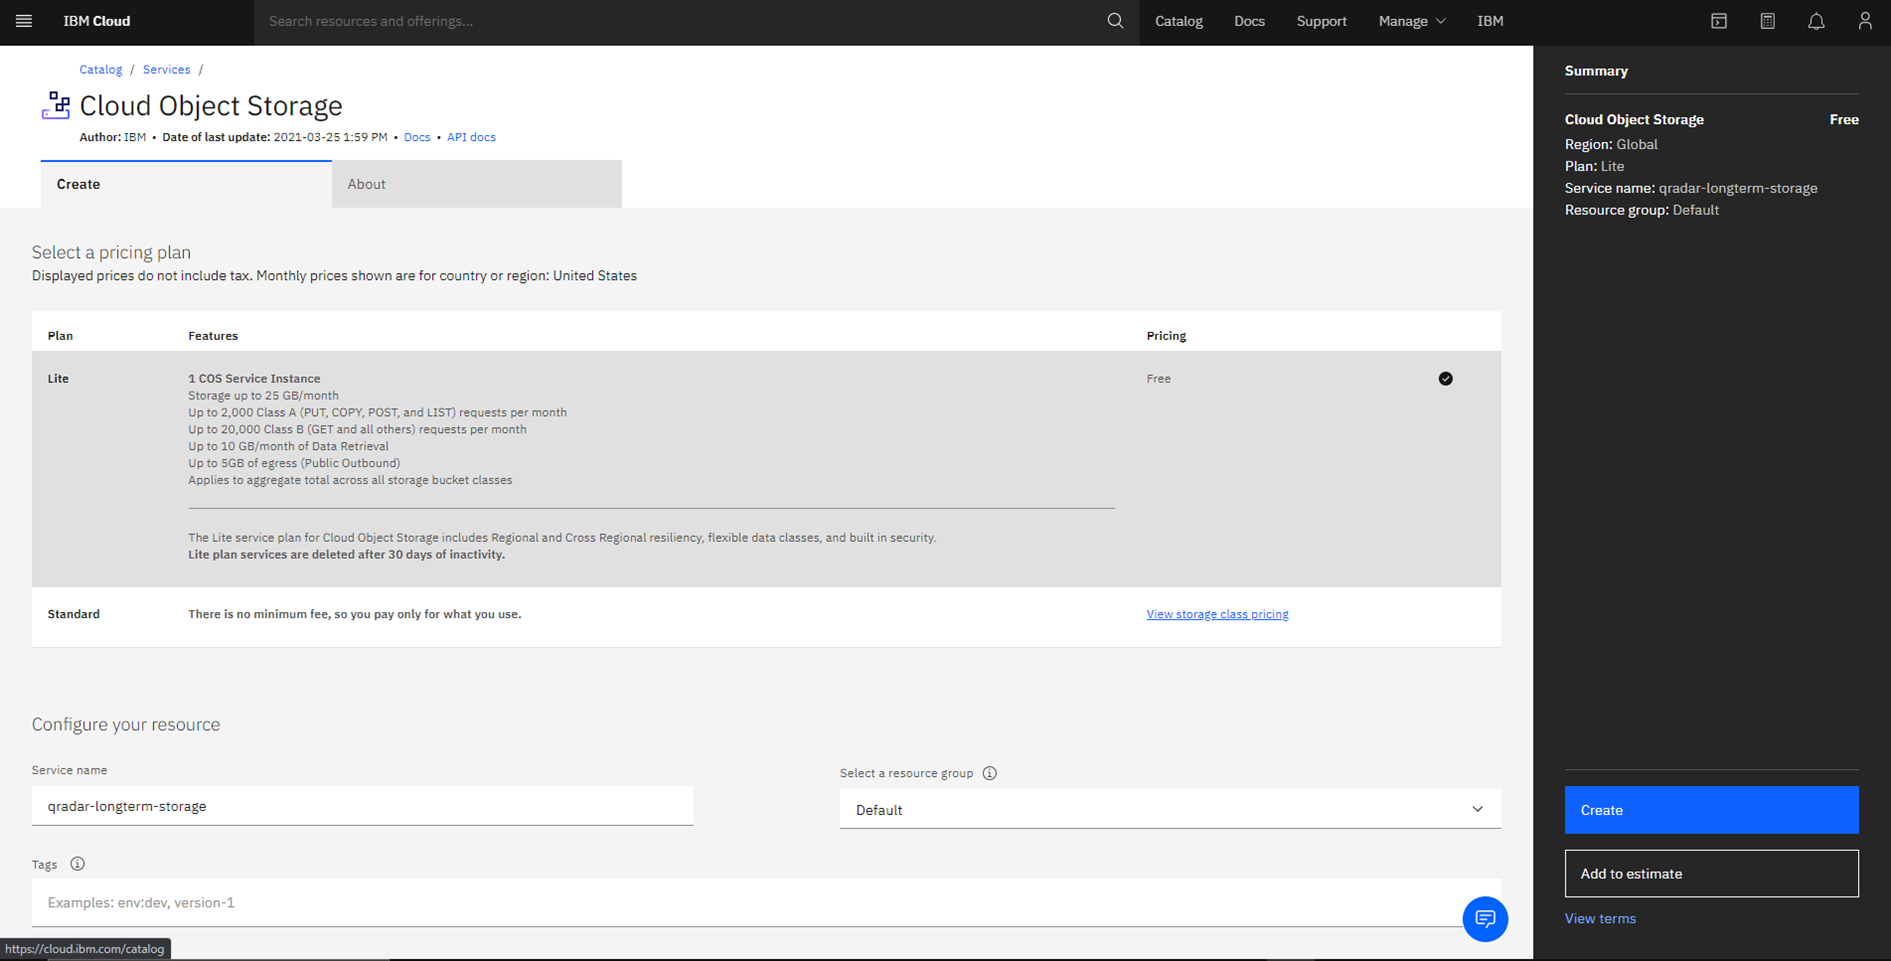
- After selecting your pricing model, I stuck with ‘Lite’ for this, the administration dashboard is made available.
- Create the bucket using the ‘Create a bucket’, I created a custom bucket.
- Unique Bucket Name: This is where you define the bucket name.
- Resiliency: I chose Regional, but Cross Region and Single Site options are available
- Location: This provides locations in Asia Pacific, Europe and US and gets more granular as you move down the resiliency models, I selected ‘us-south,’ this will define which endpoint you end up using in the script.
- Storage Class: This is where the operational cost considerations come into play. For this specific use case, I would recommend either Vault or Cold Vault depending on your data access requirements: monthly or less frequent. Standard and Smart Tier models are also available at this time.
- Object Versioning: This is at the bucket level, I leave it disabled in my example as I am tracking versions in the file names with dates.
- Advanced Configurations: Archive data rules can be created for the data least likely to be accessed, this is good for configuration backups as most of the time, known configurations are very recent and a copy may still exist on the QRadar appliance(s). Expiration rules can be configured to ensure that data that no longer needs to remain stored is deleted. For configuration files, this may be a short time window, depending on your QRadar local retention policies. For Data backup files, it would be best to have them expire after any regulatory or policy based retention requirements have lapsed. For example: for PCI in scope systems, their logs need to be available for a year so setting an expiration of a year and a day would be appropriate.
NOTE: These rules apply to the bucket, at the ‘Lite’ tier, only one bucket is available before getting into the paid tiers. Ideally, a bucket would be set up for config backups and another one for data backups.
- Service Integrations: I enabled Auditing and Monitoring. These also have pricing tiers, I again selected ‘Lite’ on these.
- Create the service account
- From the bucket administration dashboard, click on ‘Service credentials’
- Click on ‘New credential’
- Name the credential
- Change the ‘Role’ to ‘Object Writer’
- Clicking on the down arrow on the left of the newly listed service credential will help drop down the details for the service credential, including the API Key. This element of data we will need for this process.
- Adjust Access Policies
- Under Buckets> Access Policies, click on ‘Service IDs’
- Select the newly created ID from the ‘Select a service ID’ drop down.
- On ‘Role’ drop down, select writer.
- Click on ‘Create Access Policy’
- Collect Data Points necessary for uploading:
- The "Bucket": This element is the name of your storage bucket and is listed under 'buckets'.
- The "Endpoint": This element can be found under the object bucket configuration details, be sure to look at the 'public' hostname.
- The "API Key": This is part of the service credential details and is found under 'Service credentials,' dropping down the down arrow next to the service account created for this purpose.
- NOTE: These items will need to be replaced in the script below as for now, it's simply place-holders.
When these steps are complete, we’re ready to go! We just need to find a way to automate this… why not leverage the API capabilities of IBM Cloud Object Storage (COS) with cURL? It took me a little while and some testing, but I still FAILED! That is until I reached out to Charlie Price who then sent me down the right road with some solid guidance on cURL API use for IBM COS. After some more leg work and testing… I was finally able to piece together a script for uploading the backups.
NOTE: I am using a single bucket and thus only have one listed below, but I recommend having a bucket for configuration backups and a separate bucket for data backups mainly due to the Archive and Expiration capabilities potentially being different across them. In that case, the script below would need to be updated to add that capability by adding additional variables and adjusting the cURL command for these two cases.
The Script:
#!/bin/bash
#Script Name: ibmBackupCOS.sh
#Script Location: /store/script <THIS IS MY DEFAULT LOCATION, STORE WHERE YOU DEEM APPROPRIATE>
#Version: 0.1
#Owner: Cristian Xavier Ruvalcaba
#Document Purpose: Automated uploads of latest backups (data and config) to IBM Cloud Object Storage
# Define variables

# Configuration variable, available through the UI
# backupPath='/store/backup/' # Clear leading '#' character to define this as the path.

backupPath=$(grep "backup-directory-path" /opt/qradar/conf/backup-recovery-config.xml | awk -F"backup-directory-path=\"" '{print $2}' | awk -F"\"" '{print $1}')'/' # This will pull the directory from the configuration file and make it usable.

# Environmental Variables

host=$(hostname)
date=$(date '+%Y-%m-%d')

# Latest Backup File Variables

backupData=$(ls $backupPath | grep -i backup | grep -i data | tail -n 1)
backupConfig=$(ls $backupPath | grep -i backup | grep -i config | tail -n 1)

# Define IBM Cloud Object Storage Variables as defined when creating in IBM Cloud

# This acquires the token to be used for the uploading of the backup file.
token=$(curl -X "POST" "https://iam.cloud.ibm.com/identity/token"  -H 'Accept: application/json' -H 'Content-Type: application/x-www-form-urlencoded'   --data-urlencode "apikey=<APIKEY>"  --data-urlencode "response_type=cloud_iam" --data-urlencode "grant_type=urn:ibm:params:oauth:grant-type:apikey" | awk -F'token\":\"' '{print $2}' | awk -F'\"' '{print $1}')

bucket='<BUCKETNAME>' #Bucket name is defined when created on IBM COS
endpoint='<ENDPOINTHOSTNAME>' #Endpoint to which file will be uploaded, this is defined when bucket is created on IBM COS

# cURL command to upload files

if [ -z "$backupConfig" ]
then
        logger "No config file uploaded for $host on $date"
else
       curl -X "PUT" $endpoint/$bucket/$host-$date-configbackup.tgz -H "Authorization: bearer $token" -H "Content-Type: application/json" --data-binary @"$backupPath$backupConfig"
       logger "Config file $host-$date-configbackup.tgz uploaded to $bucket on $endpoint for $host on $date"
fi

if [ -z "$backupData" ]
then
      logger "No data file uploaded for $host on $date"
else
      curl -X "PUT" $endpoint/$bucket/$host-$date-databackup.tgz -H "Authorization: bearer $token" -H "Content-Type: application/json" --data-binary @"$backupPath$streambackupData"
      logger "Data file $host-$date-databackup.tgz uploaded to $bukcet on $endpoint for $host on $date"
fi
The script above looks for the latest data and configuration backups, then sends them up to the cloud storage bucket. They will have the following naming structure:
hostname-date-[config|data]backup.tgz
And you’ll find it all on the bucket object list.

Once you finish this… congrats! You’ve just successfully uploaded the backup file(s).
Now to the automation:
It’s a matter of setting up a crontab entry to run daily at a specified time. I don’t have a recommendation on this other than doing it during a lower event throughput time window so as to not tie up the NIC too much.
#Highlights-home#Highlights