Summary
This document will feature how to install IBM HATS (Host Access Transformation Services) 9.7, a prerequisite software.
Prerequisites
Below are a few mentioned system requirements for IBM HATS version 9.7. Higher maintenance levels, such as fix and service packs, may be supported as they become available. For detailed system requirements, kindly follow the below link:
https://www.ibm.com/software/reports/compatibility/clarity/softwareReqsForProduct.html
IBM Passport Advantage Tool allows users to download the supported Development tool and related software
https://www.ibm.com/software/passportadvantage/pao_customer.html
Operating System:
|
Operating System
|
Hardware
|
|
AIX 6.1, 7.1
|
POWER System – Big Endian
|
|
dIBM I 7.2, 7.3
|
POWER System – Big Endian
|
|
RHEL 6,7,8
|
X86-32, X86-64, IBM z Systems, POWER System - Little Endian
|
|
macOS Sierra 10.12
|
X86-64
|
|
Windows 8, 8.1, 10, 11
|
X86-32, X86-64
|
|
Windows Server 2012, 2016, 2019
|
X86-64
|
Supported Application Server:
|
Application Server
|
Version
|
|
IBM Websphere Application Server
|
8.5, 9.0
|
|
IBM Websphere Application Server Liberty Server
|
16.0.0.2, 19.0.0.1
|
|
IBM Websphere Application Server ND
|
8.5, 9.0
|
|
IBM Websphere Application Server Express
|
8.5.5
|
|
Apache Geronimo
|
2.1, 3.0.1
|
|
JBoss
|
7.1.0
|
|
Oracle Weblogic
|
12.0
|
Supported Development Tools
|
Tools
|
Version
|
|
Rational Application Developer for WebSphere Software (RAD)
|
9.7
|
|
Rational Developer for i
|
9.6
|
Software Requirement
|
Software
|
Version
|
|
IBM Installation Manager
|
Version 1.8.3 and higher
|
IBM Installation Manager
- Below are the steps to install IBM Installation Manager
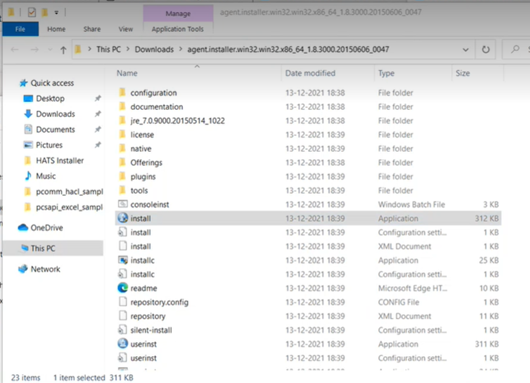
- Download and extract Installation Manager
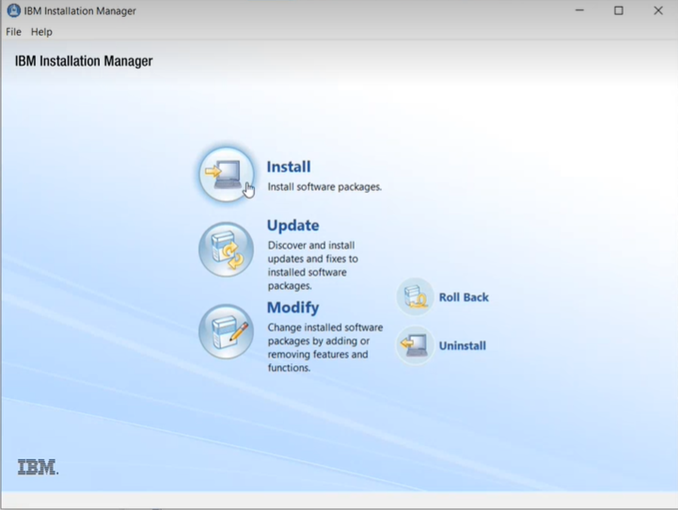
- To start the installation, double click on setup.exe
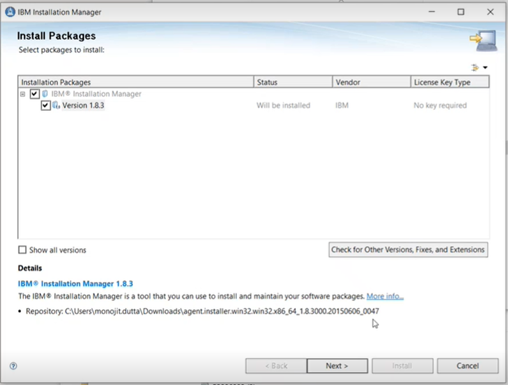
- Check the Installation Manager package and click on next
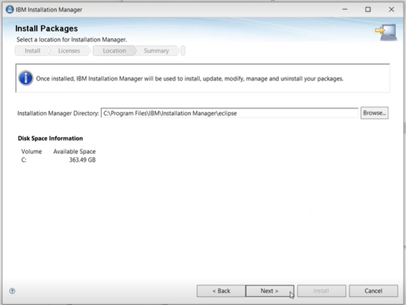
- Give installation path and click on next.
5. Click on Install

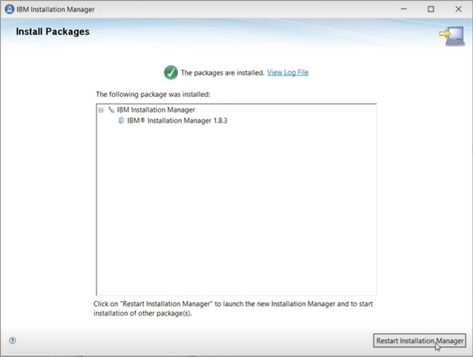
- Click on Restart Installation Manager to continue the installation of other related software.
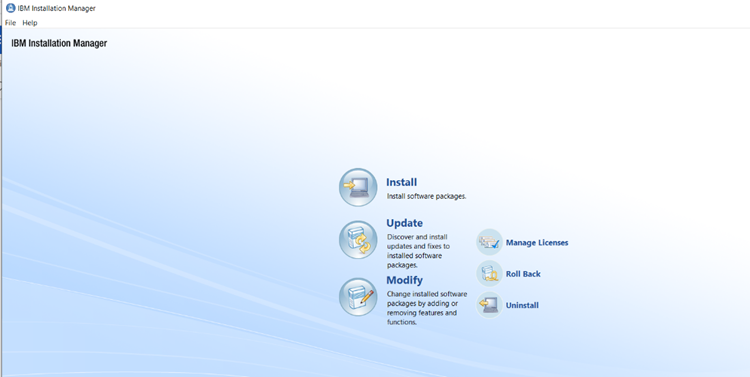
Installing IBM WebSphere Application Server
- Open Installation Manager
- Goto File
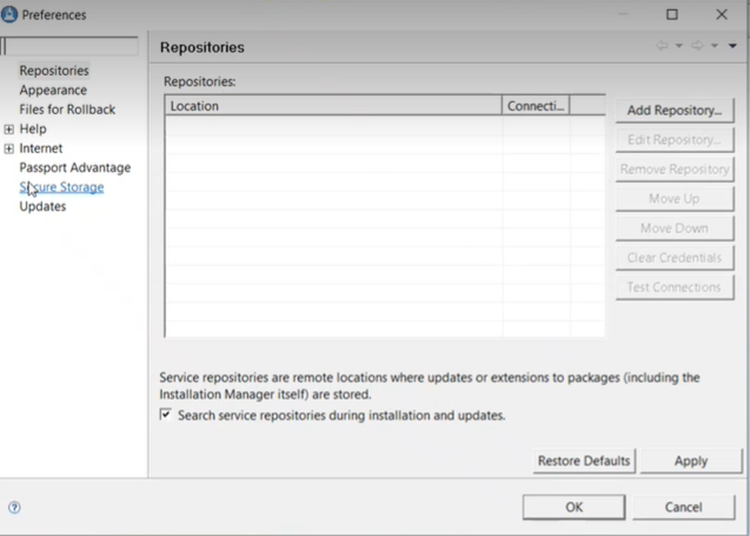
- Select Preference
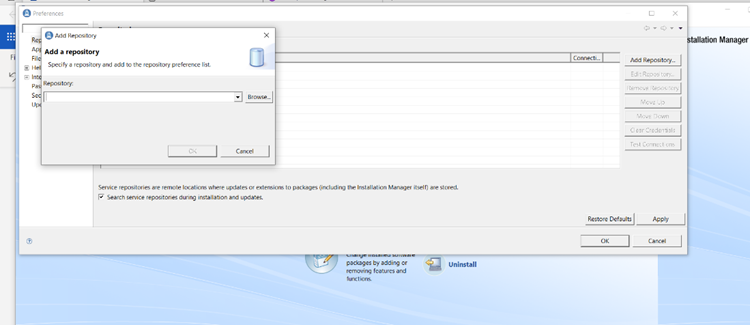
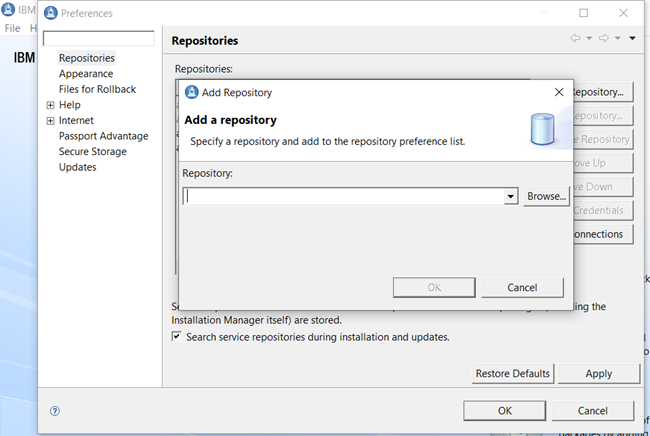
- Goto Repository

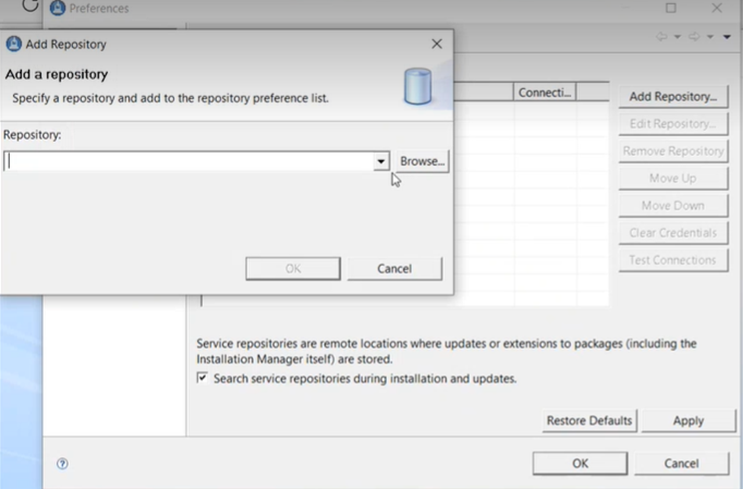
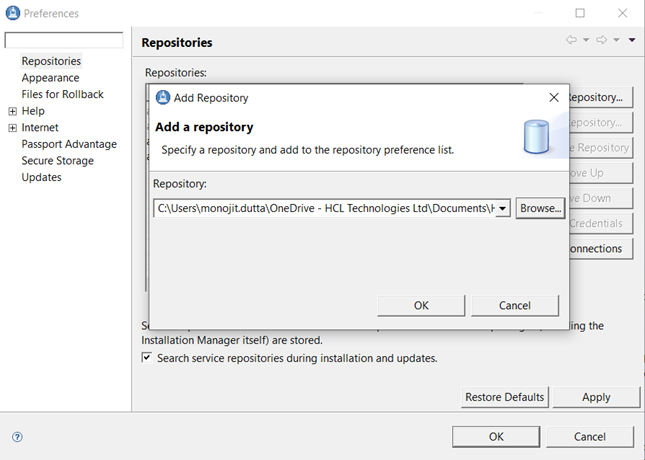
- Click on Add Repository
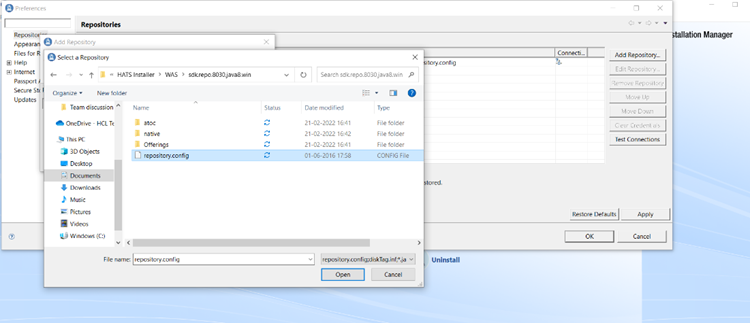
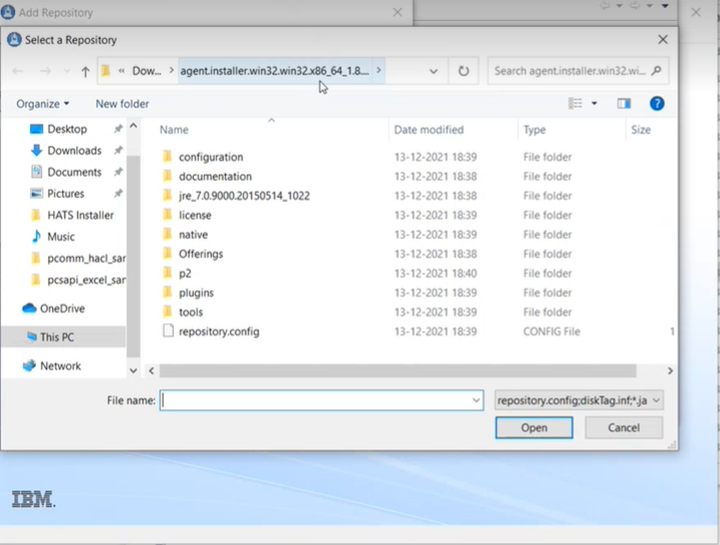
- Browser and select WAS repository.config file
- Click on open to add in Repository

- Browse the java sdk repository.config
- Click on open to add in Repository
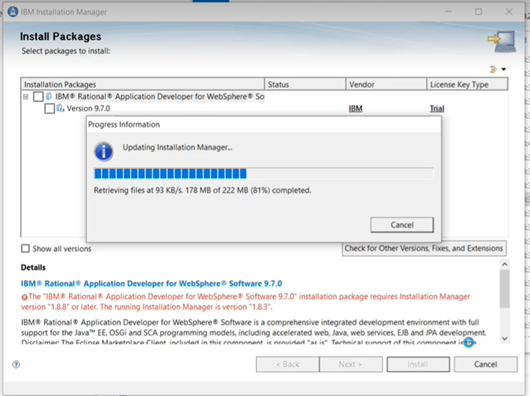
- Select WAS and SDK to install
- Click next
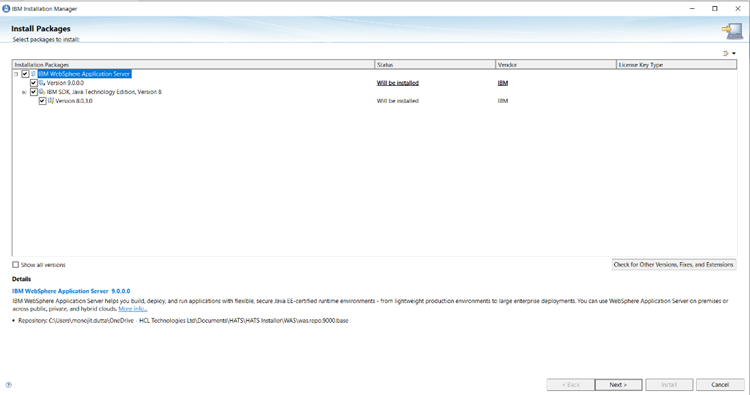
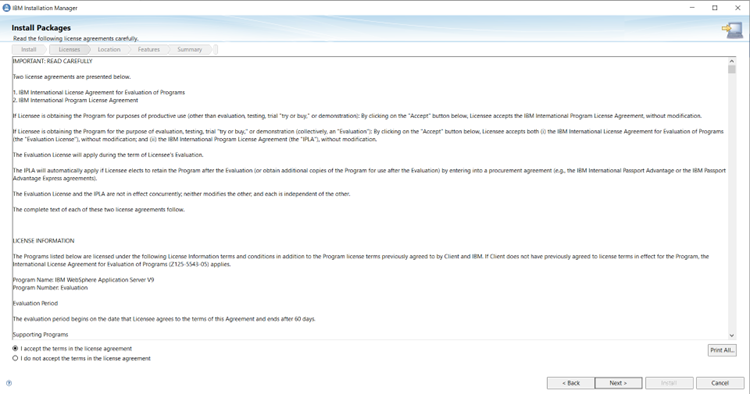
- Accept the license agreement
- Click on next
Contact us
For further information on Organizing Web Applications in HATS, automation capabilities and Lab services offerings, please write to:
ZIO@hcl.com
Akshata Betageri
Developer, Lab Services, IBM HACP & HATS
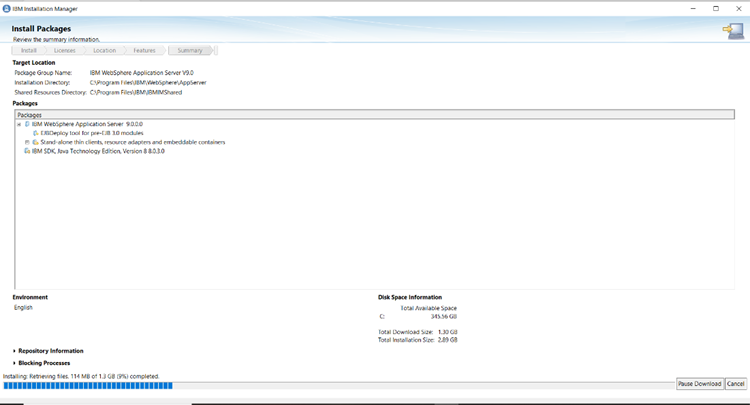
14. To install the packages, Click on Install.
Upon successful installation of IBM WAS, create a server profile.
- Click on Start
- Open IBM Websphere Application Server
- Goto Profile Management Tool

4. Click Create
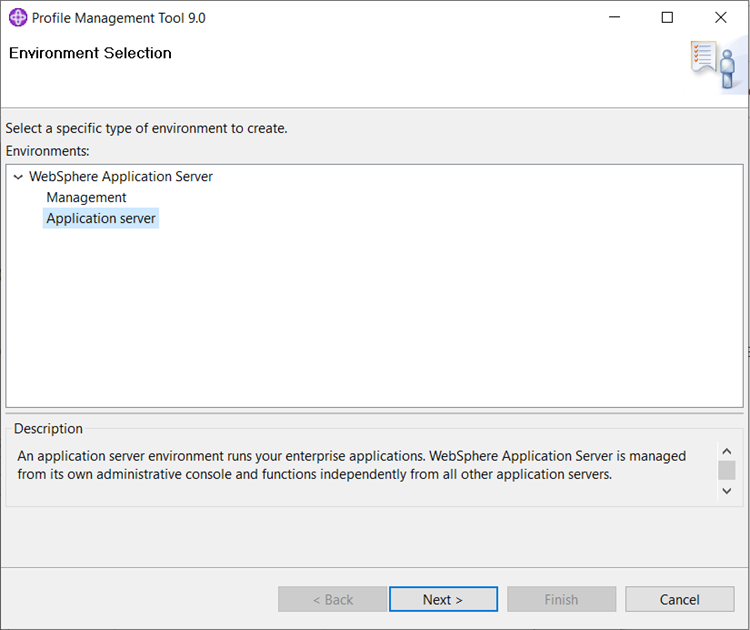
5. Click Next
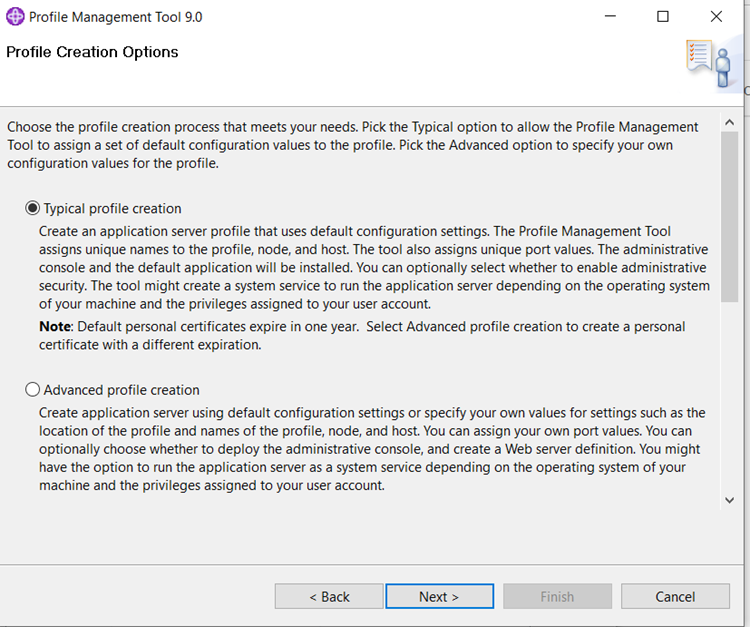
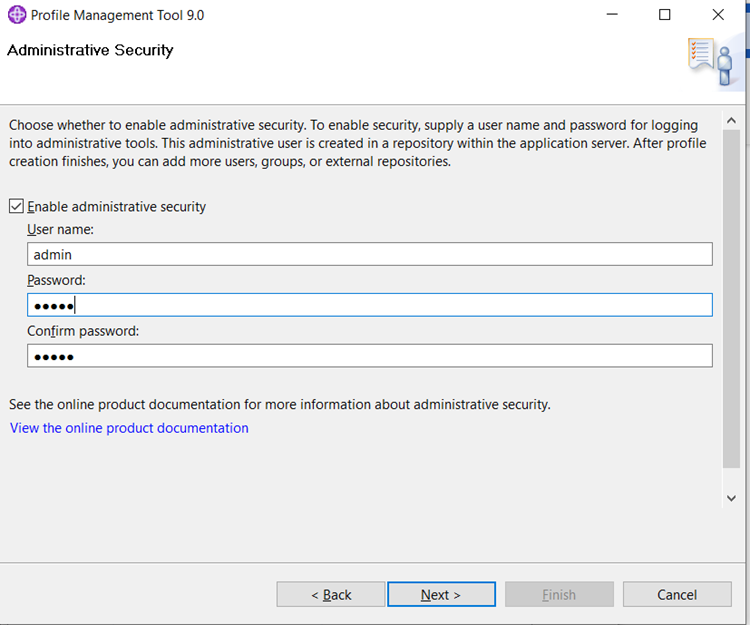
6. If required, select Enable Administrative security and enter username and password
7. Click next
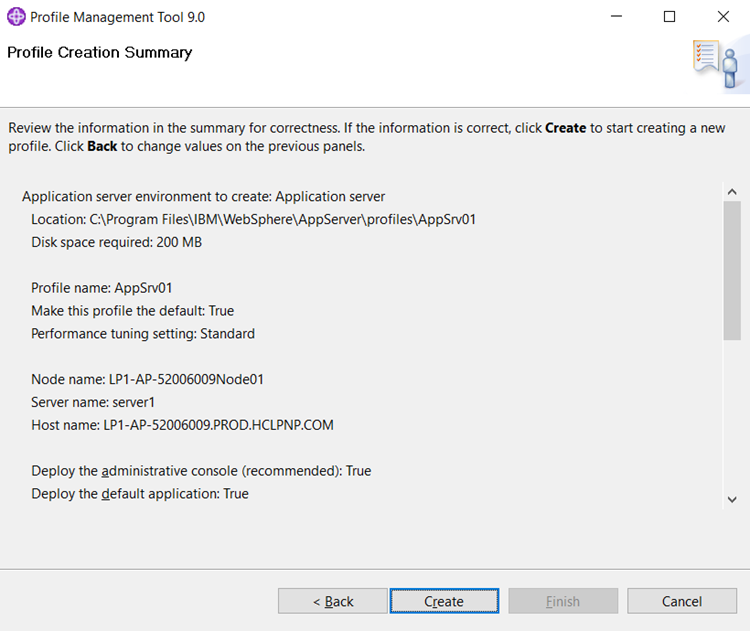
8. Click Create
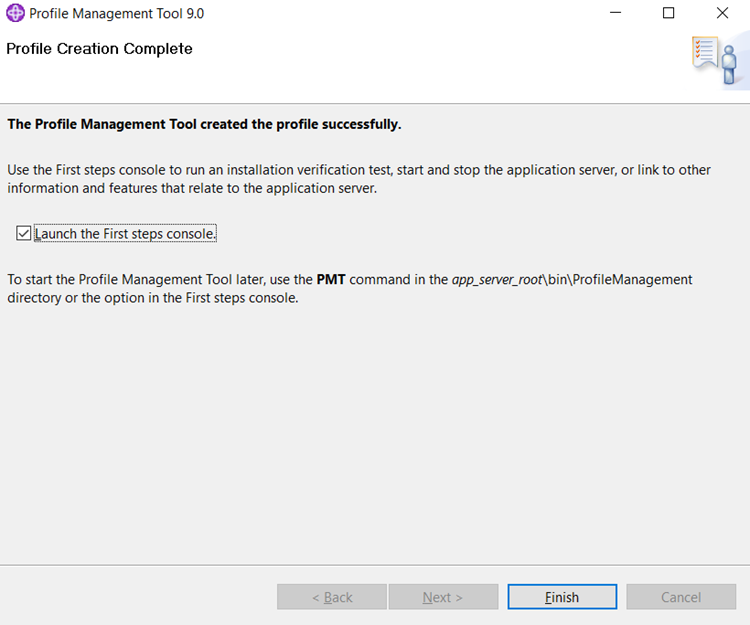
9. Click Finish
Installing IBM Development Tool, IBM RAD
Installation Steps
- Open Installation Manager
- Goto File
- select Preference
- Click on Add Repository
- Browse and select the RAD repository.config file
- Click on open to add in Repository
- Select the RAD package and click on install.
Add license key after successful installation of IBM RAD.
Add RAD License
- Click on Start
- Open Installation Manager
- Goto IBM Installation Manager
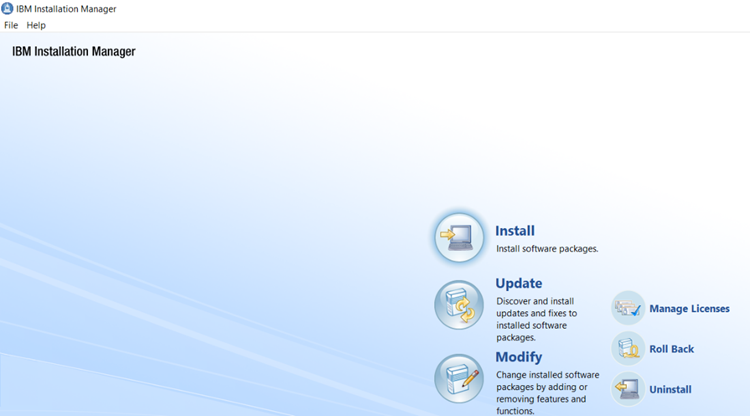
4. Click on Manage Licenses
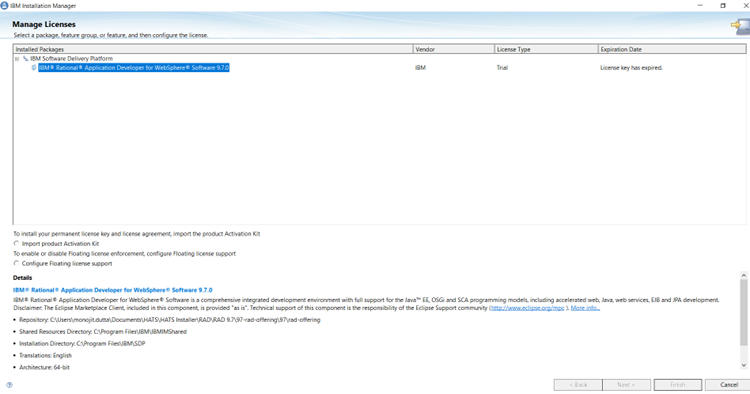
5. Select Import Product Activation Kit
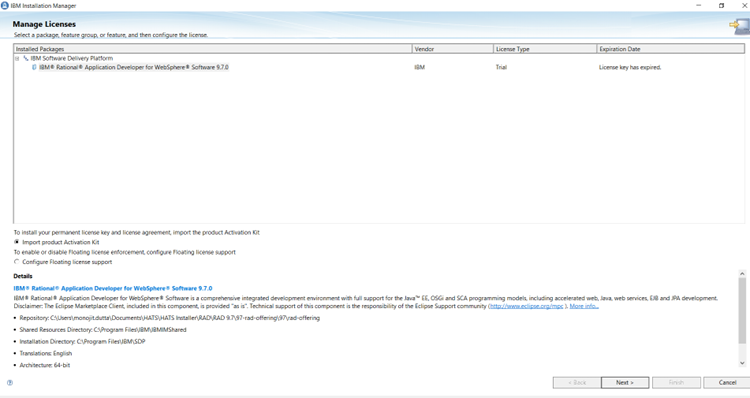
6. Click on Next
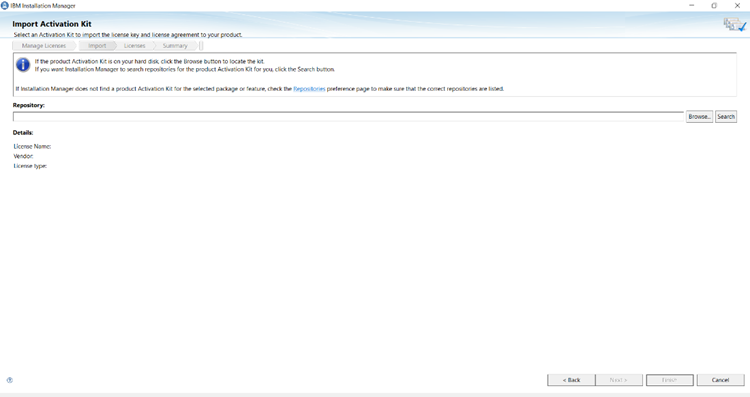
7. Browse the license file
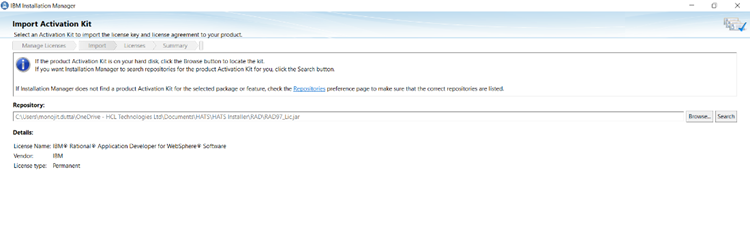
8. Click Next
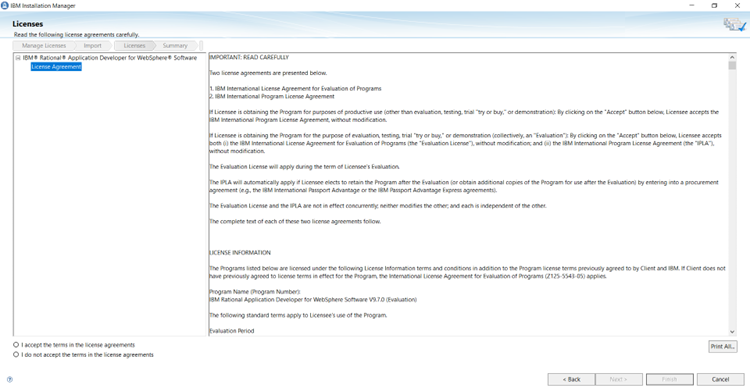
9. Accept the license agreement.
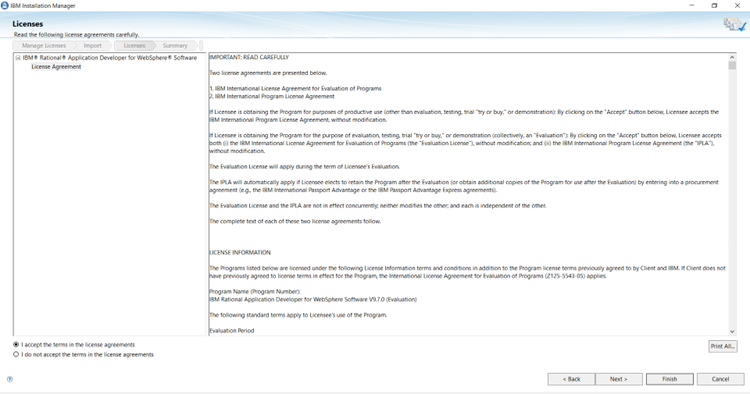
10. Click Next
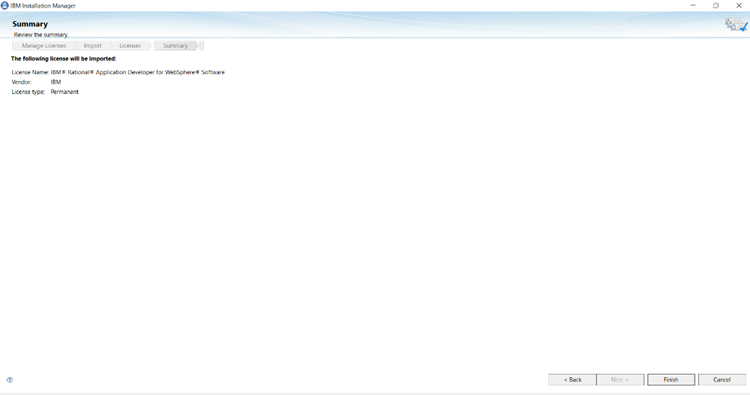
11. Click Finish
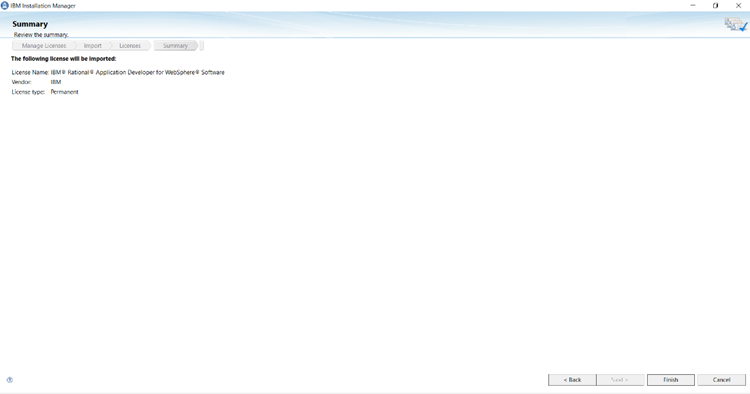
IBM Rational HATS installation
Installation Steps
- Open Installation Manager.
- Goto File
- Select Preference
- Goto Add Repository
5. Browse and select the HATS repository.config file
6. Click Ok to add in a Repository
- Click Apply and OK
- Click Install
- Select IBM Rational HATS and click Next
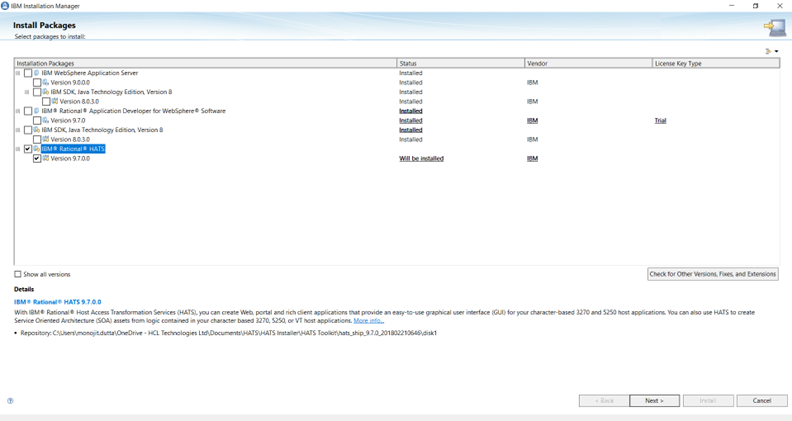
- Accept the license agreement.
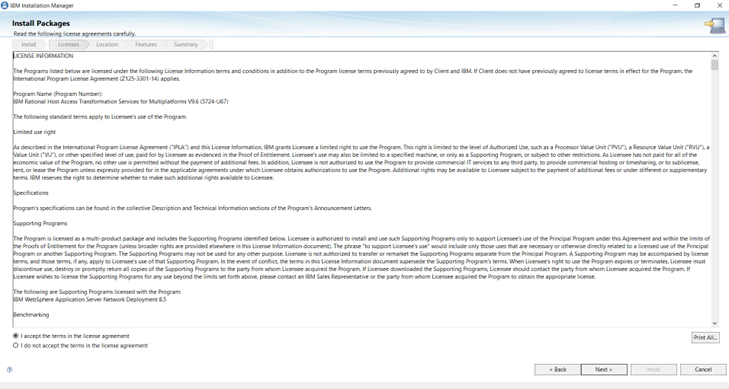
11. Click Next
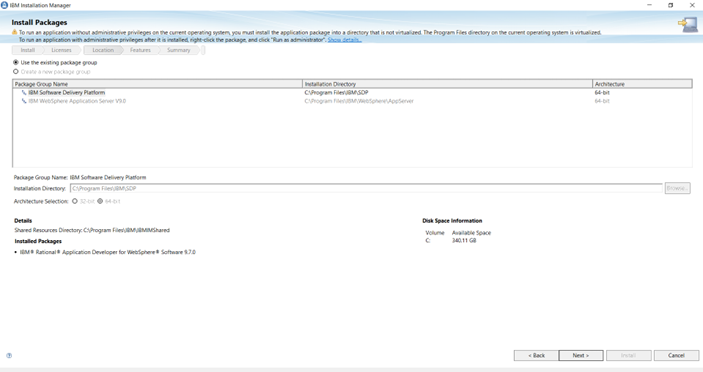
12. Click Next

- Click Next
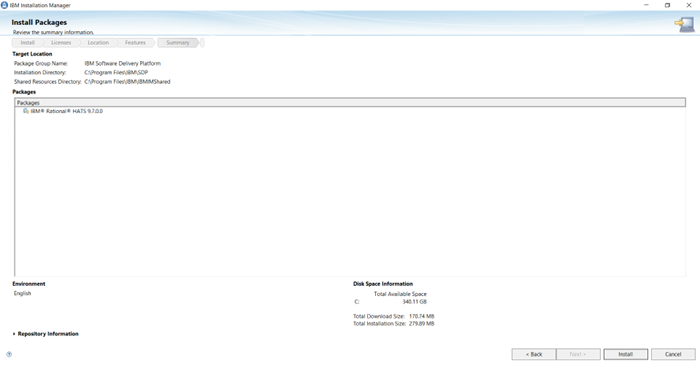
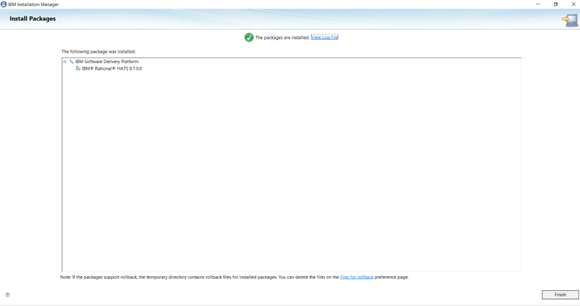
- Click Install
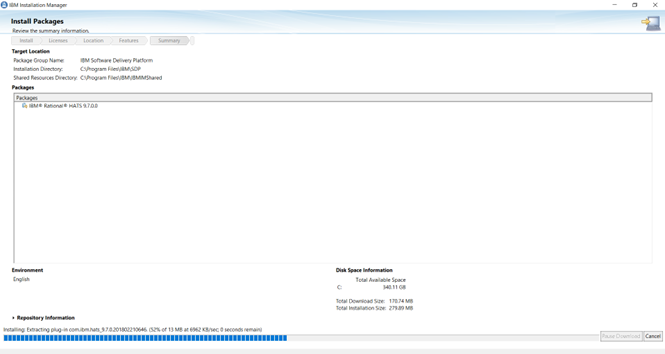
- Click Finish
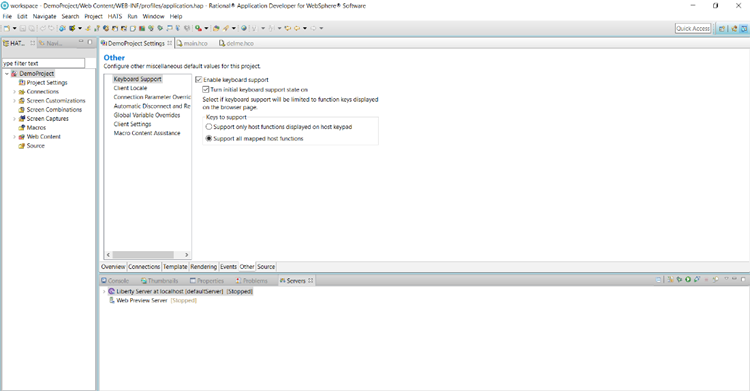
Configuring HATS Toolkit
Create HATS Workspace
- Click on Start
- Open IBM Software Delivery Platform
- Goto HATS Toolkit.
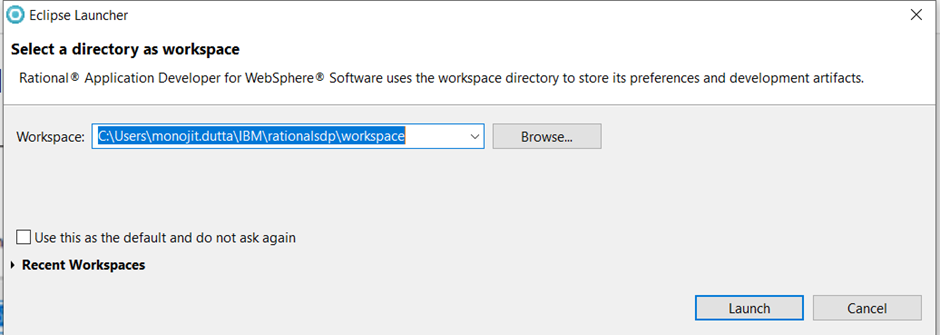
- Select a Workspace path or click on Launch to use the default path.
Note: This Folder contains the HATS project and EAR files.
Add HATS License
- Click on Start
- Open IBM Software Delivery Platform
- Goto HATS Toolkit
4. Click on HATS
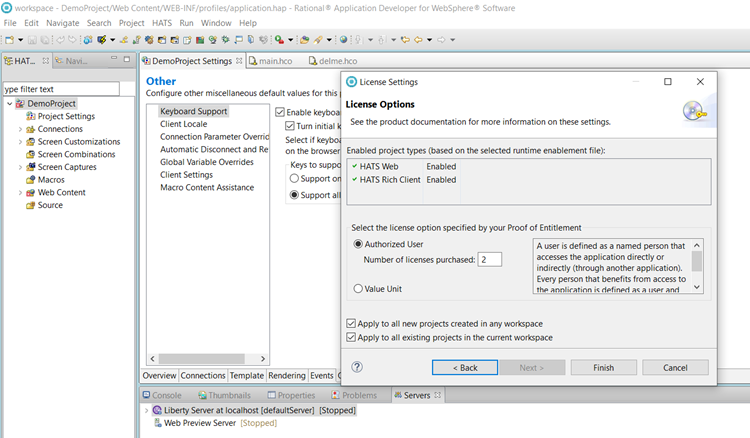
5. Goto License Settings
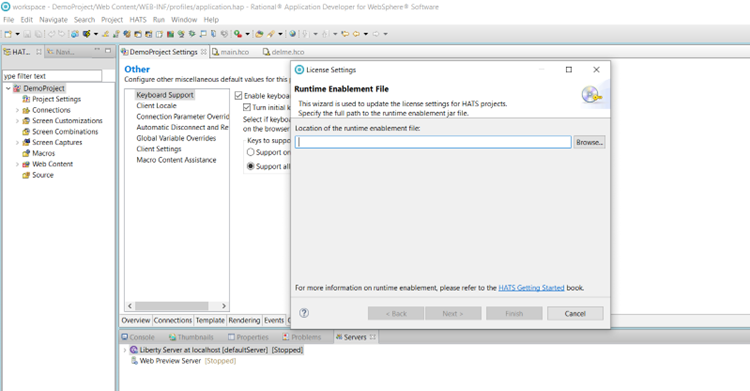
6. Select the HATS runtimeenablement jar
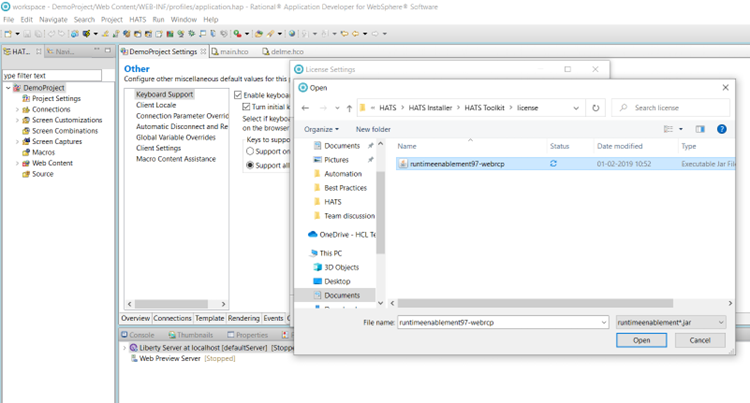
7. Click on Open
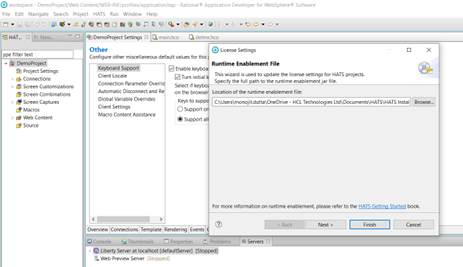
8. Click Finish
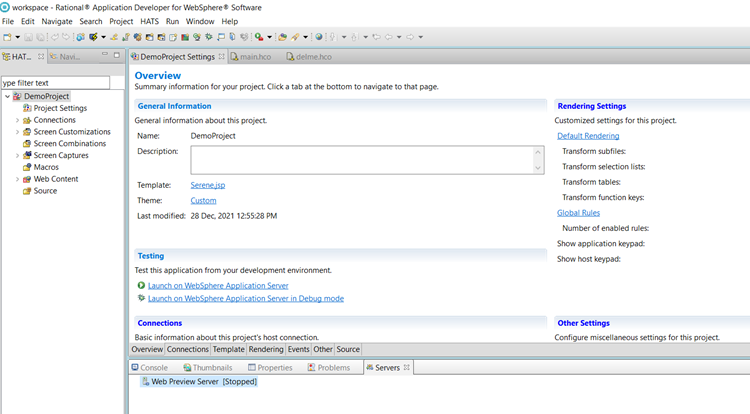
Add an application server in HATS Toolkit
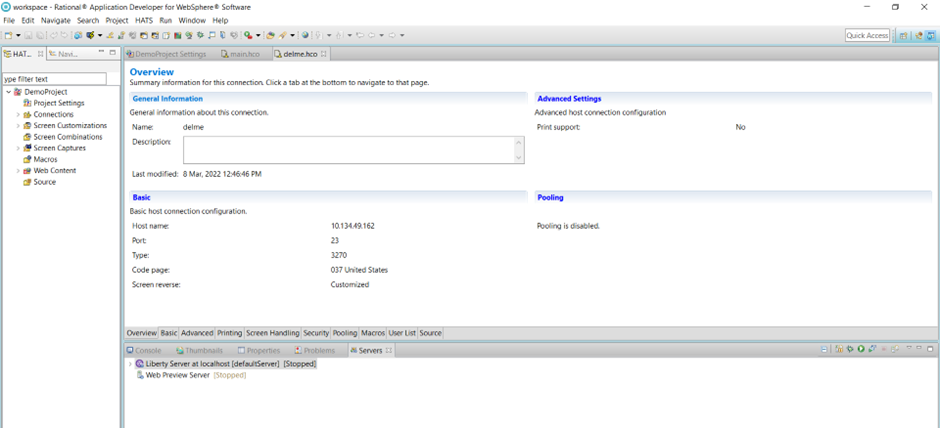
In this example, we will add the previously created IBM WAS profile in the HATS toolkit.
- Go to the Server tab
- Right-click to add a new Server
3. Select IBM WAS 9.0
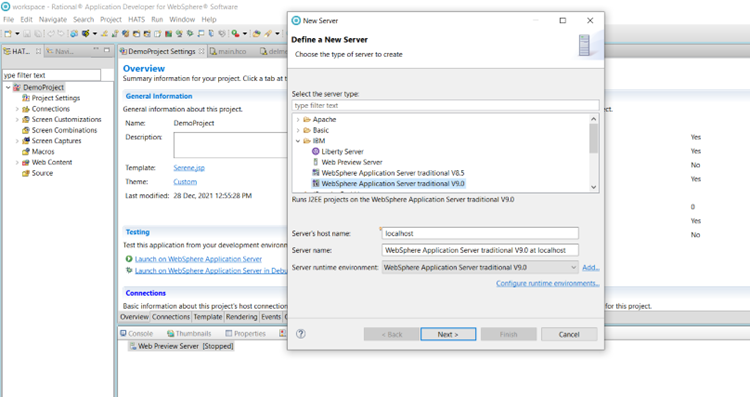
4. Click Next to continue.
5. Select WAS Server profile from the drop-down
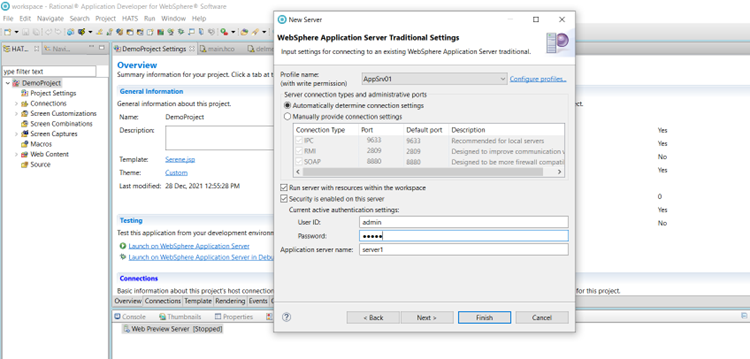
6. Click finish.
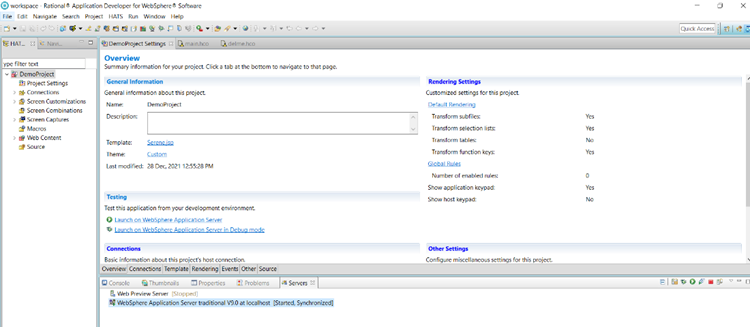
7. Adding WAS Server profile is successful
8. Now the developer can test the HATS application using this server profile
Contact us
For further information on Organizing Web Applications in HATS, automation capabilities and Lab services offerings, please write to:
ZIO@hcl.com
Monojit Dutta
Quality Assurance Engineer, Lab Services, IBM HACP & HATS